はじめに
この記事は、前回の記事「Spring Securityを使用したログイン機能の実装方法をわかりやすく解説 Part4」の続編としてお届けします。前回は簡単なログアウト機能の作成に取り組みました。今回はユーザ登録の機能の作成を行っていきます。
以下の手順に従って進めていきます。
1. ユーザ登録画面の作成
まずは、ユーザ登録画面を作成します。既存の「index.html」「login.html」「error.html」と同じ場所に「signup.html」をを新規作成してください。
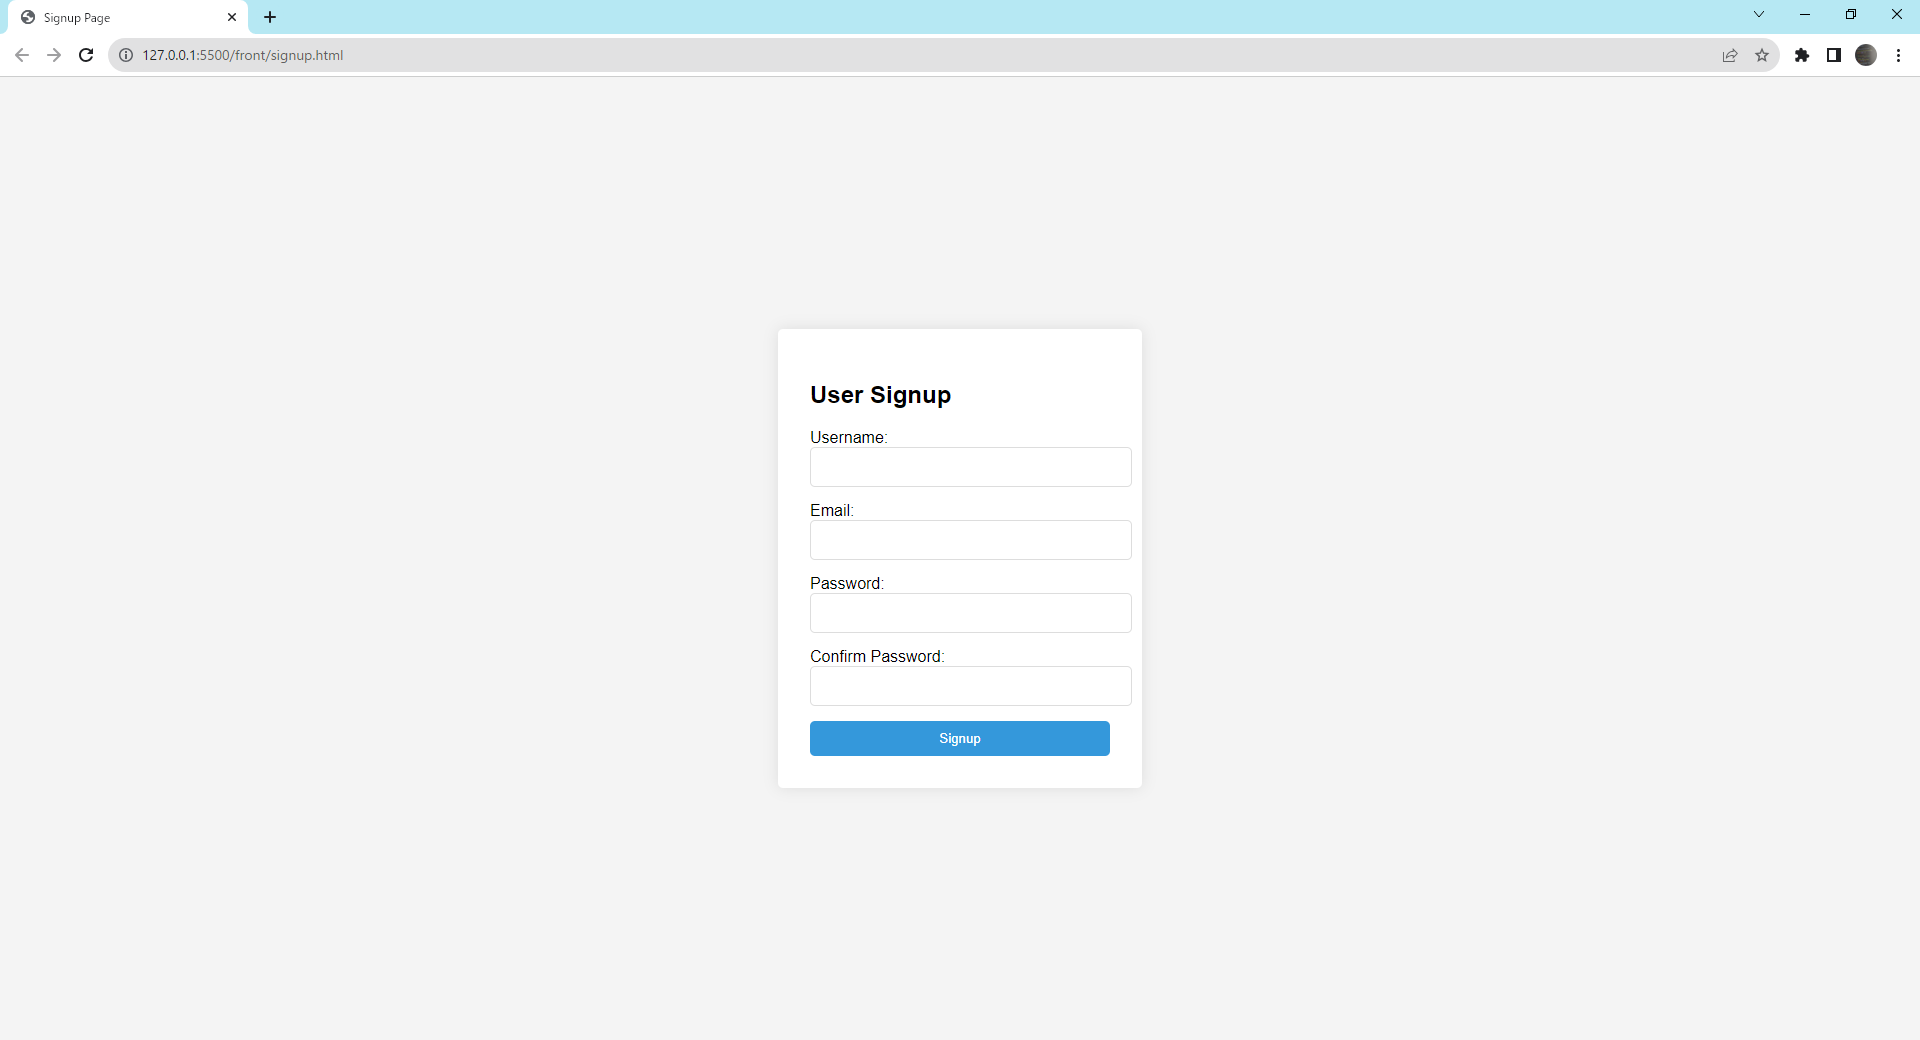
画面にはユーザ名、メールアドレス、パスワード、確認用のパスワードの入力欄を配置します。また、登録ボタンとエラー時の表示領域も必要です。
以下がその内容を実装したsignup.htmlのコードです。
<!DOCTYPE html>
<html lang="ja">
<head>
    <meta charset="UTF-8">
    <meta name="viewport" content="width=device-width, initial-scale=1.0">
    <title>Signup Page</title>
    <link rel="stylesheet" href="./css/styles.css">
    <script src="./js/signup.js" defer></script>
</head>
<body>
<div class="signup-container">
    <h2>User Signup</h2>
    <form action="http://localhost:8080/signup" method="post">
        <label for="username">Username:</label>
        <input type="text" id="username" name="username" required class="signup-input">

        <label for="email">Email:</label>
        <input type="email" id="email" name="email" required class="signup-input">

        <label for="password">Password:</label>
        <input type="password" id="password" name="password" required class="signup-input">

        <label for="password-confirm">Confirm Password:</label>
        <input type="password" id="passwordConfirm" name="passwordConfirm" required class="signup-input">

        <button type="submit" class="signup-btn">Signup</button>
    </form>
    <!-- エラーメッセージを表示するための場所 -->
    <div id="error-message" style="color: red;"></div>
</div>
</body>
</html>
また、既存の「styles.css」にユーザ登録画面のスタイルを追加します。下記のスタイルを追加してください。
/* サインアップフォームのコンテナのスタイル設定 */
.signup-container {
    background-color: #fff;
    padding: 2rem;
    border-radius: 5px;
    box-shadow: 0 0 15px rgba(0, 0, 0, 0.1);
    width: 300px;
}

/* サインアップの入力フィールドのスタイル設定 */
.signup-input {
    width: 100%;
    padding: 10px;
    margin-bottom: 15px;
    border: 1px solid #ddd;
    border-radius: 5px;
    font-size: 16px;
    outline: none;
}

/* サインアップボタンのスタイル設定 */
.signup-btn {
    width: 100%;
    padding: 10px;
    background-color: #3498db;
    border: none;
    border-radius: 5px;
    color: #fff;
    cursor: pointer;
    transition: background-color 0.3s;
}

/* サインアップボタンをホバーした時のスタイル設定 */
.signup-btn:hover {
    background-color: #2980b9;
}
最後に、エラー表示機能をJavaScriptで実装しますをJavaScriptで作成します。「signup.html」と同じ場所に「js」というフォルダを作成し、その中にsignup.jsを作成してください。
エラーが発生した際に、URLのクエリパラメータに含まれるエラーメッセージを取得して、画面上に表示する機能を実装します。
以下は上記の内容です。
// ウィンドウがロードされたときのイベントリスナーを設定します。
window.onload = function() {
    // 現在のURLのクエリパラメータを取得します。
    const urlParams = new URLSearchParams(window.location.search);

    // 'error' という名前のクエリパラメータを取得します。
    const errorMessage = urlParams.get('error');

    // errorMessageが存在する場合(エラーメッセージがURLに含まれる場合)
    if (errorMessage) {
        // エラーメッセージを表示するためのHTML要素にテキストとしてセットします。
        document.getElementById('error-message').textContent = errorMessage;
    }
};
以下のような画面になります。
2. ユーザ登録用リクエストDTOの作成
ユーザ登録の際、画面から「ユーザ名」「メールアドレス」「パスワード」「確認用のパスワード」を送信します。これらの情報を受け取るためのデータクラスを作成しましょう。
「../java/com/study/loginpractice」ディレクトリ内に「dtoパッケージ」を新規作成し、その中にSignupRequestDto.java ファイルを作成してください。
このデータクラスでは、SpringのValidation機能を利用して、入力データのバリデーションをアノテーションで設定します。
作成するクラスは以下の通りです。
package com.study.loginpractice.dto;

import jakarta.validation.constraints.Email;
import jakarta.validation.constraints.NotBlank;
import jakarta.validation.constraints.Size;
import lombok.Data;

@Data
public class SignupRequestDto {

    @NotBlank(message = "ユーザー名は必須です")
    @Size(min = 3, max = 255, message = "ユーザー名は3文字以上255文字以下で入力してください")
    private String username;

    @Email(message = "無効なメールアドレスです")
    private String email;

    @NotBlank(message = "パスワードは必須です")
    @Size(min = 6, message = "パスワードは6文字以上で入力してください")
    private String password;

    @NotBlank(message = "パスワード確認は必須です")
    private String passwordConfirm;
}
3. usersテーブルに登録処理を行う機能をUserMapperに追加
usersテーブルへのデータ登録機能をUserMapperに作成します。
最初に、UserMapper.java ファイルに、insertUserメソッドを次のように定義します。
package com.study.loginpractice.mapper;

import org.apache.ibatis.annotations.Mapper;
import com.study.loginpractice.entity.UserEntity;

@Mapper
public interface  UserMapper {
    UserEntity findByUsername(String username);

    void insertUser(UserEntity userEntity);
}続いて、UserMapper.xml ファイルに、usersテーブルへのデータを登録するためのSQLを以下の形式で記述します。
<?xml version="1.0" encoding="UTF-8"?>
<!DOCTYPE mapper PUBLIC "-//mybatis.org//DTD Mapper 3.0//EN" "http://mybatis.org/dtd/mybatis-3-mapper.dtd">
<mapper namespace="com.study.loginpractice.mapper.UserMapper">

    <select id="findByUsername" resultType="UserEntity">
        SELECT * FROM users WHERE username = #{username}
    </select>

    <insert id="insertUser">
        INSERT INTO users (username, password_hash, email, created_at, updated_at)
        VALUES (#{username}, #{passwordHash}, #{email}, CURRENT_TIMESTAMP, CURRENT_TIMESTAMP)
    </insert>

</mapper>
4. ユーザー情報登録処理を行う機能をUserServiceクラスに追加
UserServiceクラスに、ユーザー情報の登録を行うためのメソッドを作成します。具体的には、createUserメソッドを次のように追加します。
package com.study.loginpractice.service;

import com.study.loginpractice.entity.UserEntity;
import com.study.loginpractice.mapper.UserMapper;
import org.springframework.stereotype.Service;

@Service
public class UserService {

    private final UserMapper userMapper;

    public UserService(UserMapper userMapper) {
        this.userMapper = userMapper;
    }

    public UserEntity getUserByUsername(String username) {
        return userMapper.findByUsername(username);
    }

    public void createUser(UserEntity userEntity) {
        userMapper.insertUser(userEntity);
    }
}
5. ユーザー登録ロジックを実装するServiceクラスの作成
UserRegistrationServiceクラスを「../java/com/study/loginpractice/service」ディレクトリ内に作成します。
このクラスでは、入力されたユーザー情報の二重登録チェックやパスワードの確認などの検証を行い、検証に問題がある場合はエラーメッセージを送出します。
検証が正常に終了した場合は、データをユーザーテーブルへ登録する形式に変換し、パスワードをハッシュ化。その後、ユーザデータの登録処理を行います。
以下の通りです。
package com.study.loginpractice.service;

import org.springframework.security.crypto.password.PasswordEncoder;
import org.springframework.stereotype.Service;
import org.springframework.transaction.annotation.Transactional;
import com.study.loginpractice.dto.SignupRequestDto;
import com.study.loginpractice.entity.UserEntity;

@Service
public class UserRegistrationService {
    private final UserService userService;
    private final PasswordEncoder passwordEncoder;

    public UserRegistrationService(UserService userService, PasswordEncoder passwordEncoder) {
        this.userService = userService;
        this.passwordEncoder = passwordEncoder;
    }

    // 新しいユーザーを登録
    @Transactional
    public void registerUser(SignupRequestDto userDto) throws Exception {
        // 二重登録のチェック
        if (userService.getUserByUsername(userDto.getUsername()) != null) {
            throw new Exception("ユーザ名が既に存在します。");
        }

        // パスワード一致のチェック
        if (!userDto.getPassword().equals(userDto.getPasswordConfirm())) {
            throw new Exception("パスワードと確認用パスワードが一致しません。");
        }

        // 新しいユーザーエンティティの作成と保存
        UserEntity user = new UserEntity();
        user.setUsername(userDto.getUsername());
        user.setEmail(userDto.getEmail());
        // パスワードをハッシュ化してセットする
        user.setPasswordHash(passwordEncoder.encode(userDto.getPassword()));
        userService.createUser(user);
    }
}
6. ユーザー登録のエンドポイントを持つControllerクラスの作成
「../java/com/study/loginpractice」の下に「controllerパッケージ」を作成して、その下にUserController.java を作成してください。
このクラスでは、ユーザーの登録を行うエンドポイント「/signup」を提供し、リクエストデータのバリデーションや登録処理を行います。エラーが発生した場合、適切なエラーメッセージを返します。
以下がその内容です。
package com.study.loginpractice.controller;

import java.net.URI;
import java.util.stream.Collectors;

import org.springframework.http.HttpStatus;
import org.springframework.http.ResponseEntity;
import org.springframework.validation.BindingResult;
import org.springframework.web.bind.annotation.ModelAttribute;
import org.springframework.web.bind.annotation.PostMapping;
import org.springframework.web.bind.annotation.RestController;
import org.springframework.web.util.UriComponentsBuilder;
import com.study.loginpractice.dto.SignupRequestDto;
import com.study.loginpractice.service.UserRegistrationService;

import jakarta.validation.Valid;

@RestController
public class UserController {

    private final UserRegistrationService userRegistrationService;
    private static final String BASE_FRONTEND_URL = "http://127.0.0.1:5500/front";

    public UserController(UserRegistrationService userRegistrationService) {
        this.userRegistrationService = userRegistrationService;
    }

    // ユーザー登録のエンドポイント
    @PostMapping("/signup")
    public ResponseEntity<String> signup(@Valid @ModelAttribute SignupRequestDto signupRequestDto,
            BindingResult bindingResult) {

        // バリデーションエラーのチェック
        if (bindingResult.hasErrors()) {
            String errorMessage = bindingResult.getAllErrors().stream()
                    .map(err -> err.getDefaultMessage())
                    // エラーメッセージをカンマで連結
                    .collect(Collectors.joining(", "));
            return redirectToErrorPage(errorMessage);
        }

        try {
            // ユーザー登録処理
            userRegistrationService.registerUser(signupRequestDto);
            return ResponseEntity.status(HttpStatus.FOUND).location(URI.create(BASE_FRONTEND_URL + "/index.html"))
                    .body("User registered successfully.");
        } catch (Exception ex) {
            // 登録エラーのハンドリング
            return redirectToErrorPage(ex.getMessage());
        }
    }

    // エラーメッセージを持ったエラーページへのリダイレクト
    private ResponseEntity<String> redirectToErrorPage(String errorMessage) {
        UriComponentsBuilder builder = UriComponentsBuilder
                .fromHttpUrl(BASE_FRONTEND_URL + "/signup.html")
                .queryParam("error", errorMessage);

        URI errorPageUri = builder.build().encode().toUri();
        return ResponseEntity.status(HttpStatus.FOUND)
                .location(errorPageUri)
                .body(errorMessage);
    }
}
7. ユーザー登録のエンドポイントを許可する設定をSecurityConfigクラスに追加
ログイン機能の作成を行った際、「/login」 へのリクエストは全て許可される設定を追加しました。ユーザー登録機能を実装するにあたって、「/signup 」へのリクエストも全て許可されるようにSecurityConfigを更新する必要があります。
以下はSecurityConfigの更新後の内容です。
// ほかの設定は省略
            .authorizeHttpRequests(authorizeRequests -> authorizeRequests
                    // loginのパスへのリクエストはすべて許可
                    .requestMatchers("/login", "/signup").permitAll()
                    // その他のリクエストは認証が必要
                    .anyRequest().authenticated())
// ほかの設定は省略以下は上記の修正を行ったSecurityConfig の内容です。
package com.study.loginpractice.config;

import org.springframework.context.annotation.Bean;
import org.springframework.context.annotation.Configuration;
import org.springframework.security.config.annotation.web.builders.HttpSecurity;
import org.springframework.security.config.annotation.web.configuration.EnableWebSecurity;
import org.springframework.security.web.SecurityFilterChain;
import org.springframework.web.cors.CorsConfiguration;
import org.springframework.web.cors.UrlBasedCorsConfigurationSource;

// クラスに@Configurationをつけることで、このクラスがSpringの設定クラスであることを示す
@Configuration
// @EnableWebSecurityをつけることで、Spring Securityのウェブセキュリティサポートを有効化する
@EnableWebSecurity
public class SecurityConfig {

    // CustomAuthenticationProvider Beanをこのクラスに注入する
    private final CustomAuthenticationProvider customAuthenticationProvider;

    public SecurityConfig(
            CustomAuthenticationProvider customAuthenticationProvider) {
        this.customAuthenticationProvider = customAuthenticationProvider;
    }

    @Bean
    public SecurityFilterChain securityFilterChain(HttpSecurity http) throws Exception {
        http
            // カスタム認証プロバイダを設定
            .authenticationProvider(customAuthenticationProvider)
            // CORSの設定を適用
            .cors(customizer -> customizer.configurationSource(corsConfigurationSource()))
            // CSRFの保護を無効にする
            .csrf(csrf -> csrf.disable())
            .authorizeHttpRequests(authorizeRequests -> authorizeRequests
                    // loginのパスへのリクエストはすべて許可
                    .requestMatchers("/login", "/signup").permitAll()
                    // その他のリクエストは認証が必要
                    .anyRequest().authenticated())
            .formLogin(formLogin -> formLogin
                    // ログイン処理のURLを指定(フロントがログインボタン実行時にPOSTする場所)
                    .loginProcessingUrl("/login")
                    // カスタムログインページのURLを指定(Spring Securityデフォルトの画面を置き換える)
                    .loginPage("http://127.0.0.1:5500/front/login.html")
                    // ログイン成功時のリダイレクト先URLを指定
                    .defaultSuccessUrl("http://127.0.0.1:5500/front/index.html")
                    // 認証失敗時のリダイレクト先URLを指定
                    .failureUrl("http://127.0.0.1:5500/front/error.html"))
            .logout(logout -> logout
                    // ログアウト処理のURLを指定
                    .logoutUrl("/logout")
                    // ログアウト成功時のリダイレクト先URLを指定
                    .logoutSuccessUrl("http://127.0.0.1:5500/front/login.html"));

        return http.build();
    }

    // @Beanをつけることで、このメソッドがSpringのコンテナにBeanとして登録される
    @Bean
    public UrlBasedCorsConfigurationSource corsConfigurationSource() {
        // CORSの設定を行うためのオブジェクトを生成
        CorsConfiguration configuration = new CorsConfiguration();

        // クレデンシャル(資格情報(CookieやHTTP認証情報))を含むリクエストを許可する
        configuration.setAllowCredentials(true);

        // 許可するオリジン(この場合は"http://127.0.0.1:5500"のみ)を設定
        configuration.addAllowedOrigin("http://127.0.0.1:5500");

        // 任意のヘッダーを許可
        configuration.addAllowedHeader("*");

        // 任意のHTTPメソッド(GET, POSTなど)を許可
        configuration.addAllowedMethod("*");

        // CORS設定をURLベースで行うためのオブジェクトを生成
        UrlBasedCorsConfigurationSource source = new UrlBasedCorsConfigurationSource();

        // 全てのURLパスにこのCORS設定を適用
        source.registerCorsConfiguration("/**", configuration);

        return source;
    }
}
8. 動作確認
画面とサーバを起動して動作確認を行います。以下をブラウザで起動してください。
http://127.0.0.1:5500/front/signup.html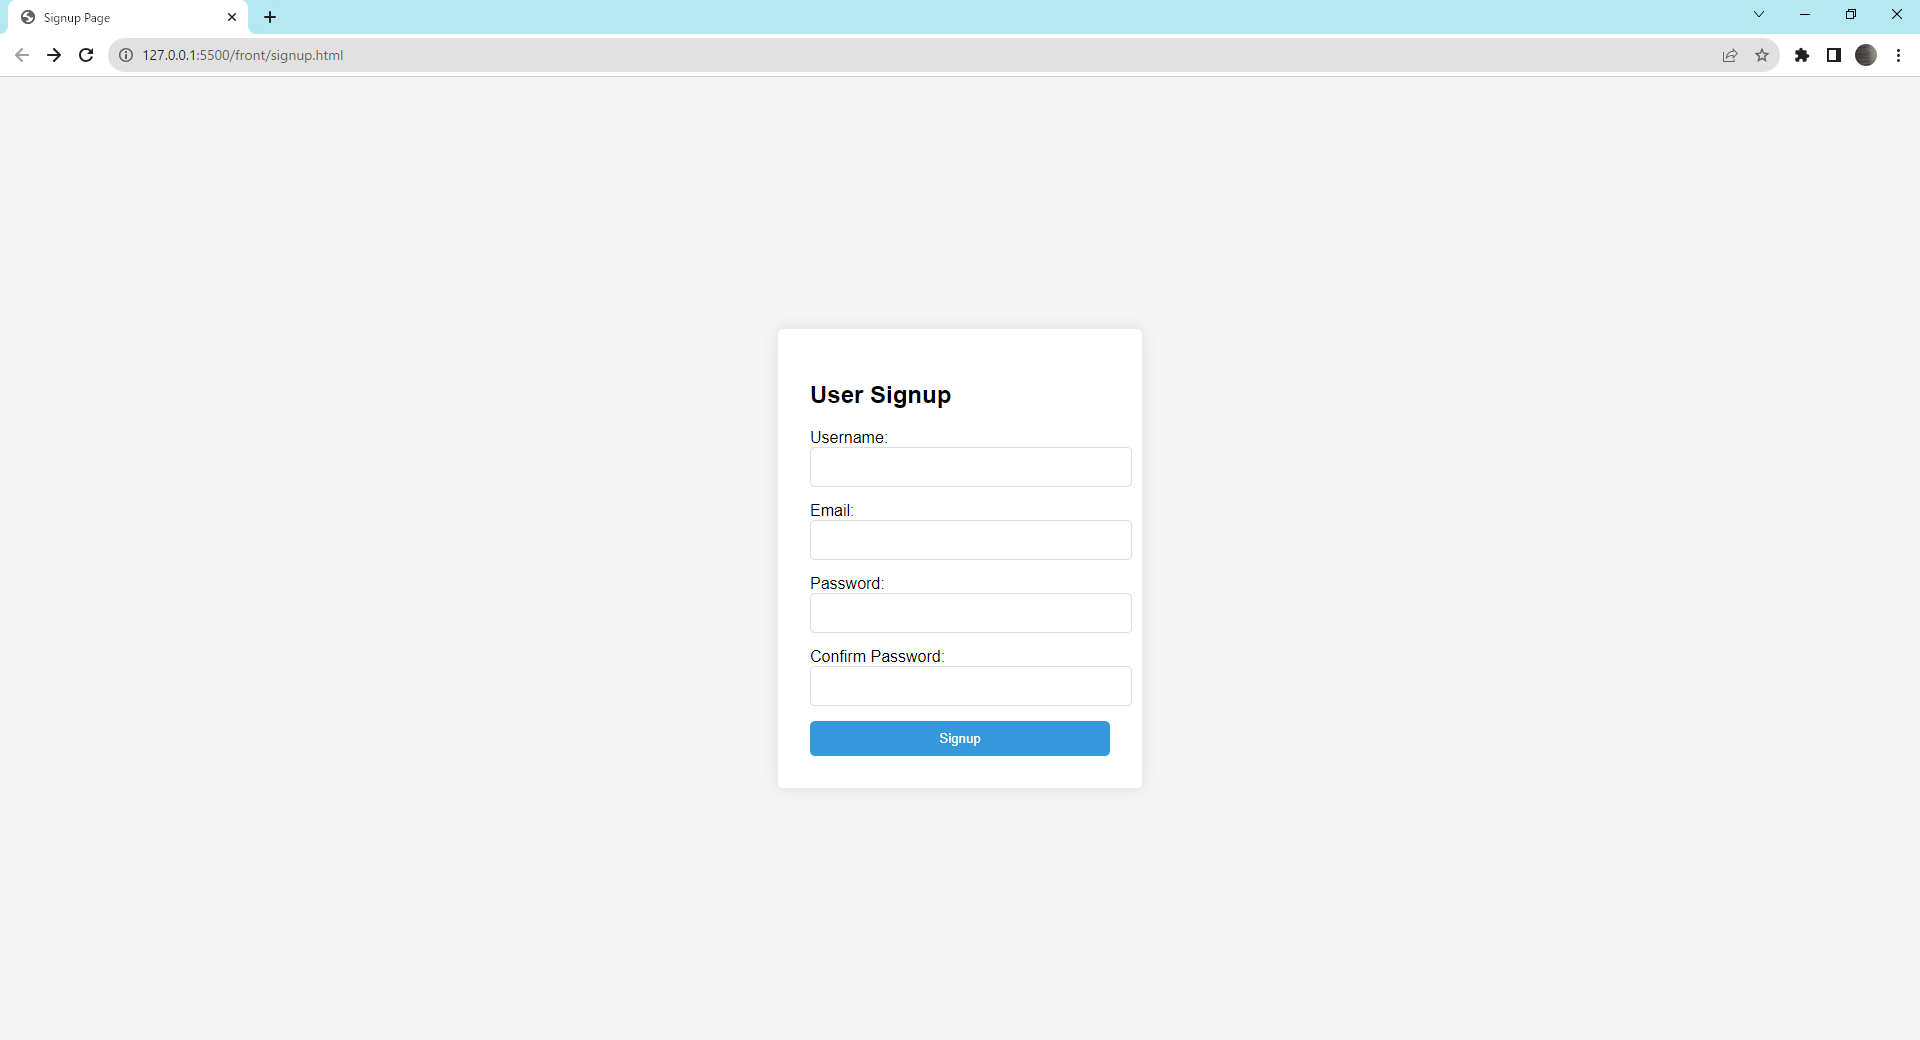
ユーザ登録の確認(正常系)
まずは、正常にユーザ登録が行われるか確認します。
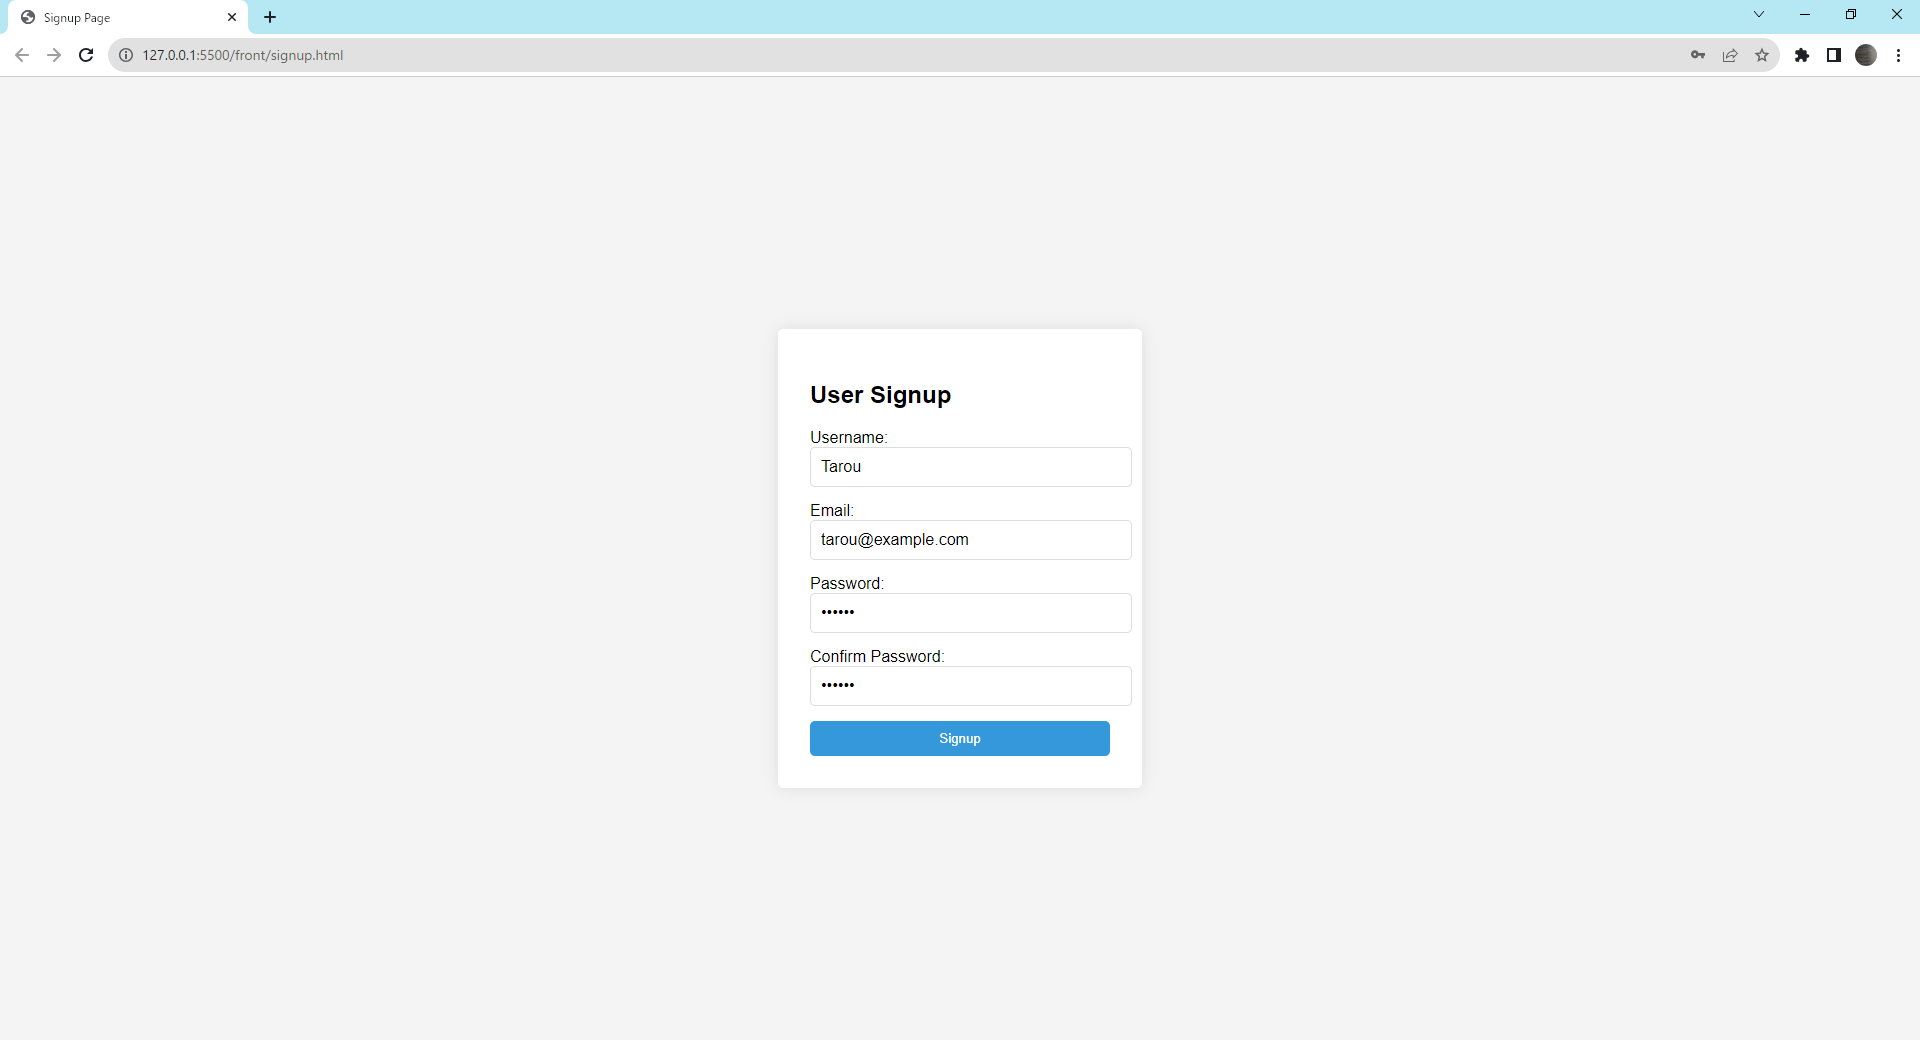
以下の「ユーザ名」「メールアドレス」「パスワード」「確認用のパスワード」を入力して「Signup」をクリックしてください。
- ユーザ名:
Tarou - メールアドレス:
tarou@example.com - パスワード:
123456 - 確認用のパスワード:
123456
以下の表示されたら成功です。
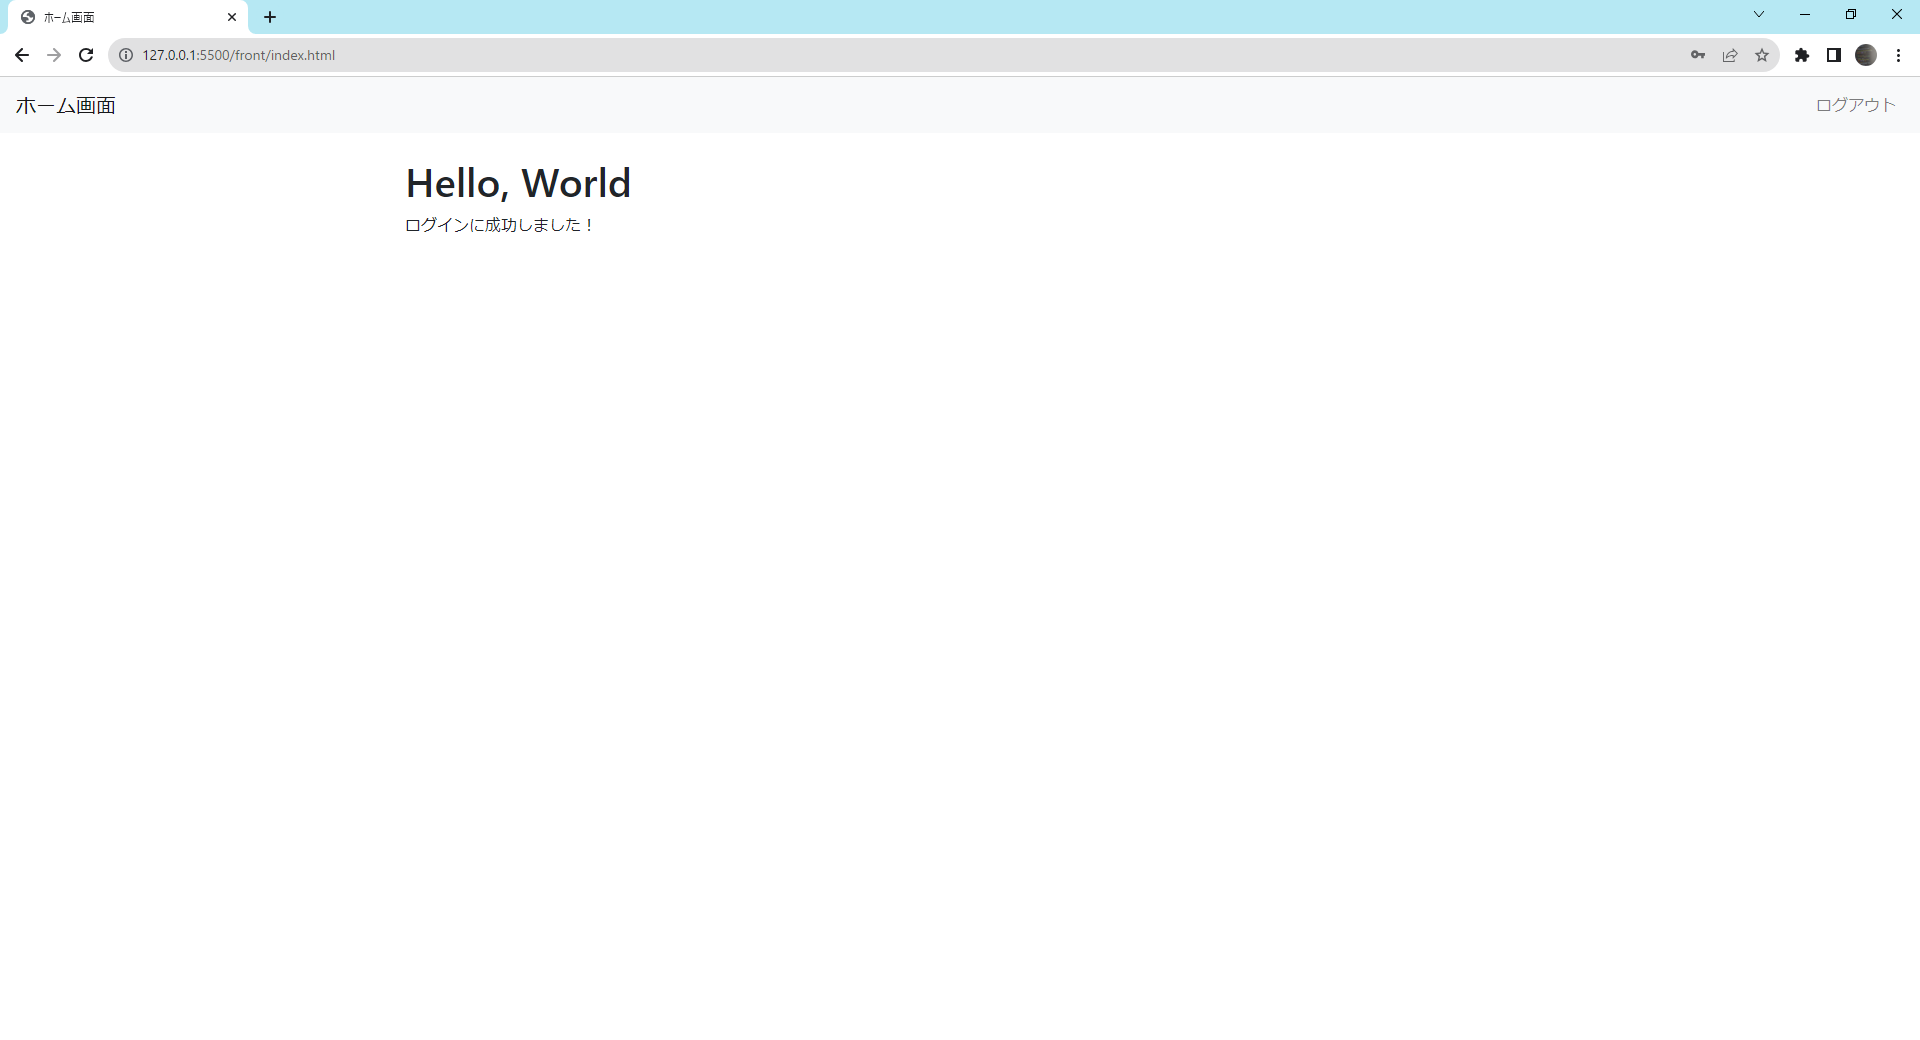
次に、今登録したユーザでログインできるか確認します。
「ログアウト」ボタンを押してログイン画面に戻ってください。
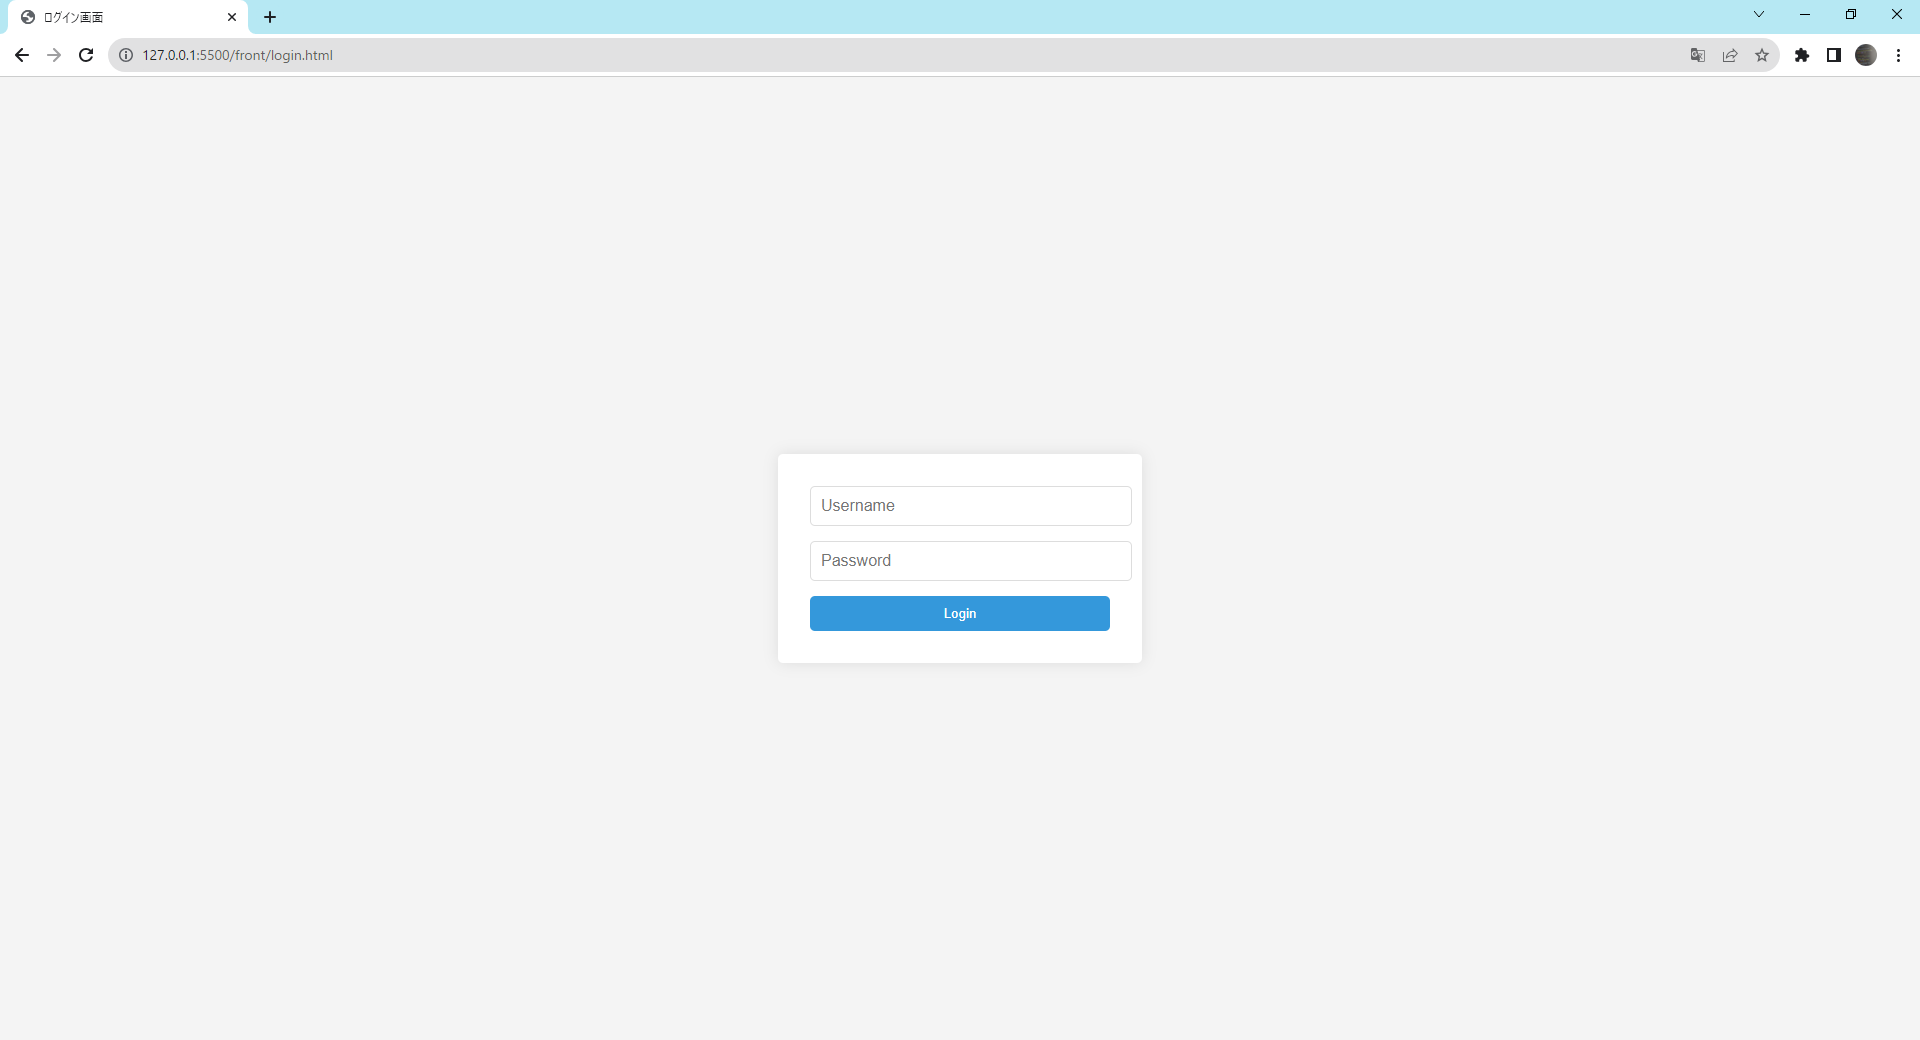
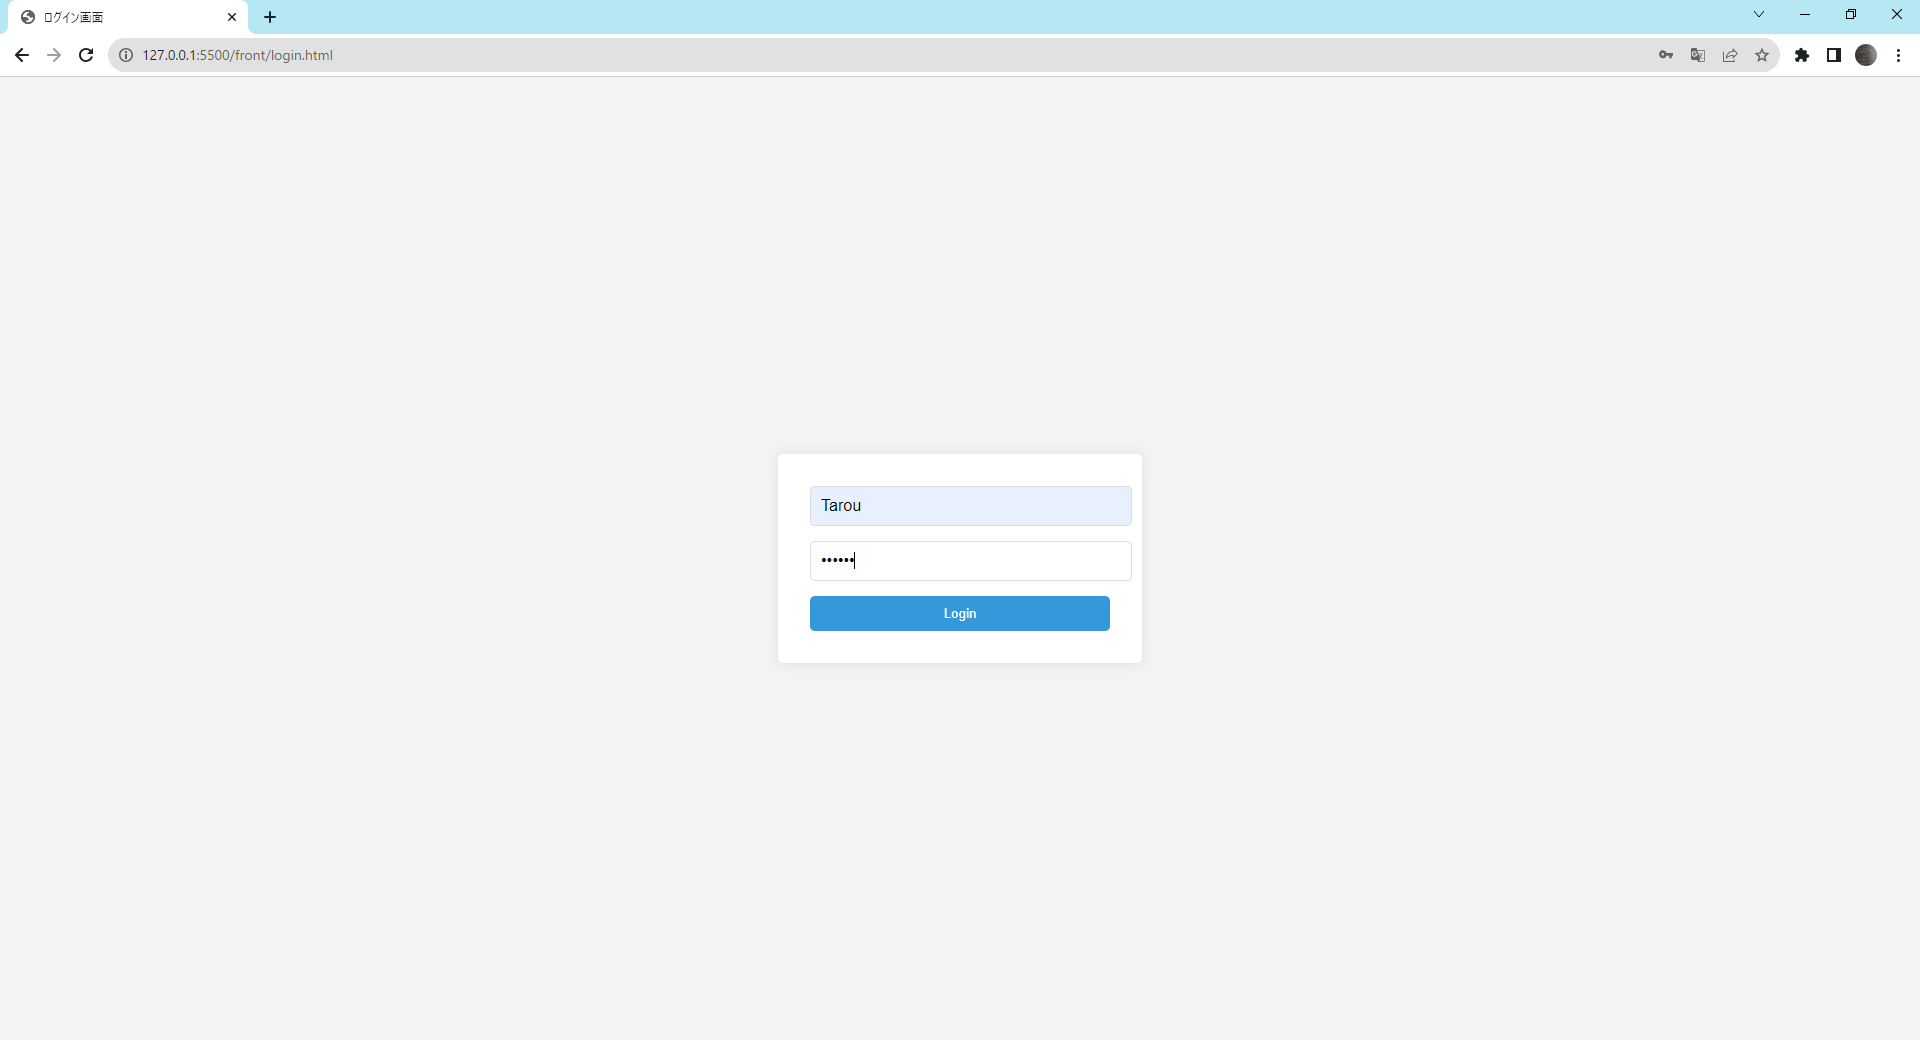
以下のユーザ名とパスワードを入力して、Loginボタンをクリックしてください。
- ユーザ名:
Tarou - パスワード:
123456
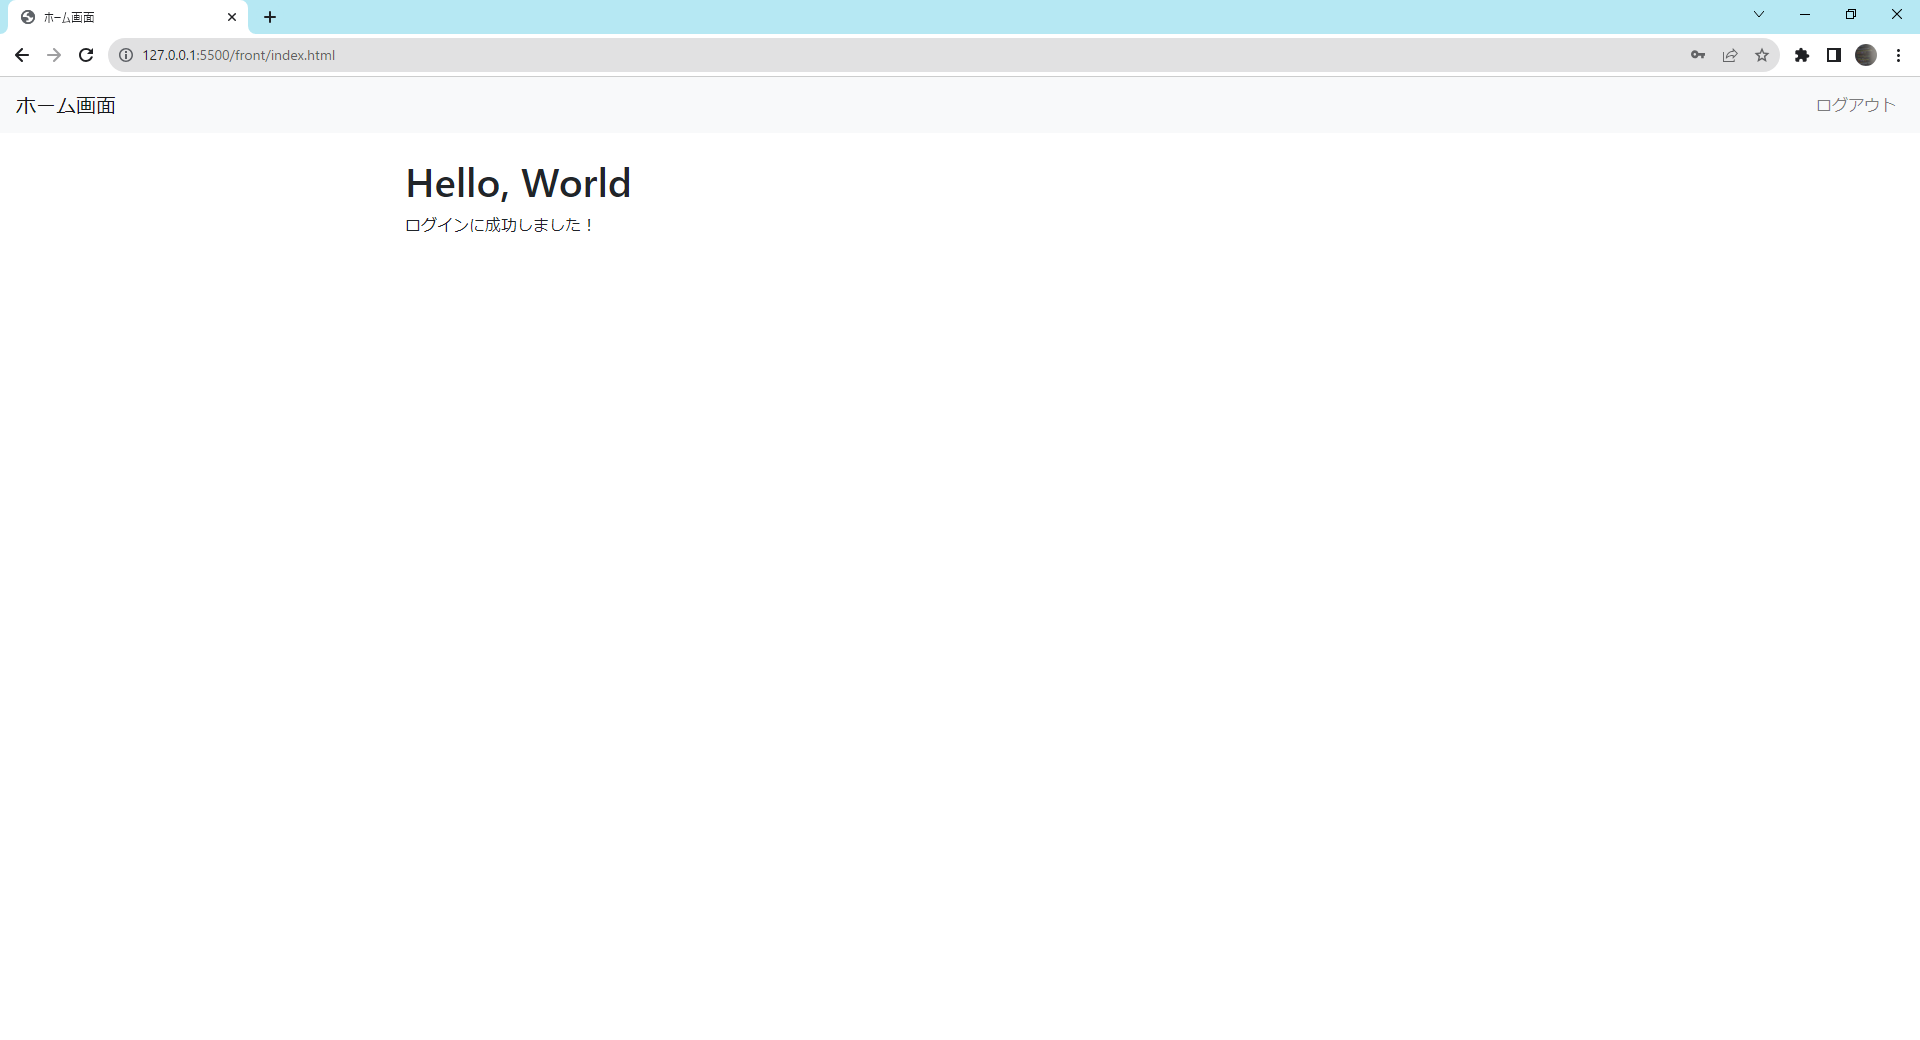
以下のように表示されたら成功です。
ユーザ登録エラーの確認(異常系)
ユーザ登録時のエラーの場合についてもいくつか確認します。
入力チェックエラー
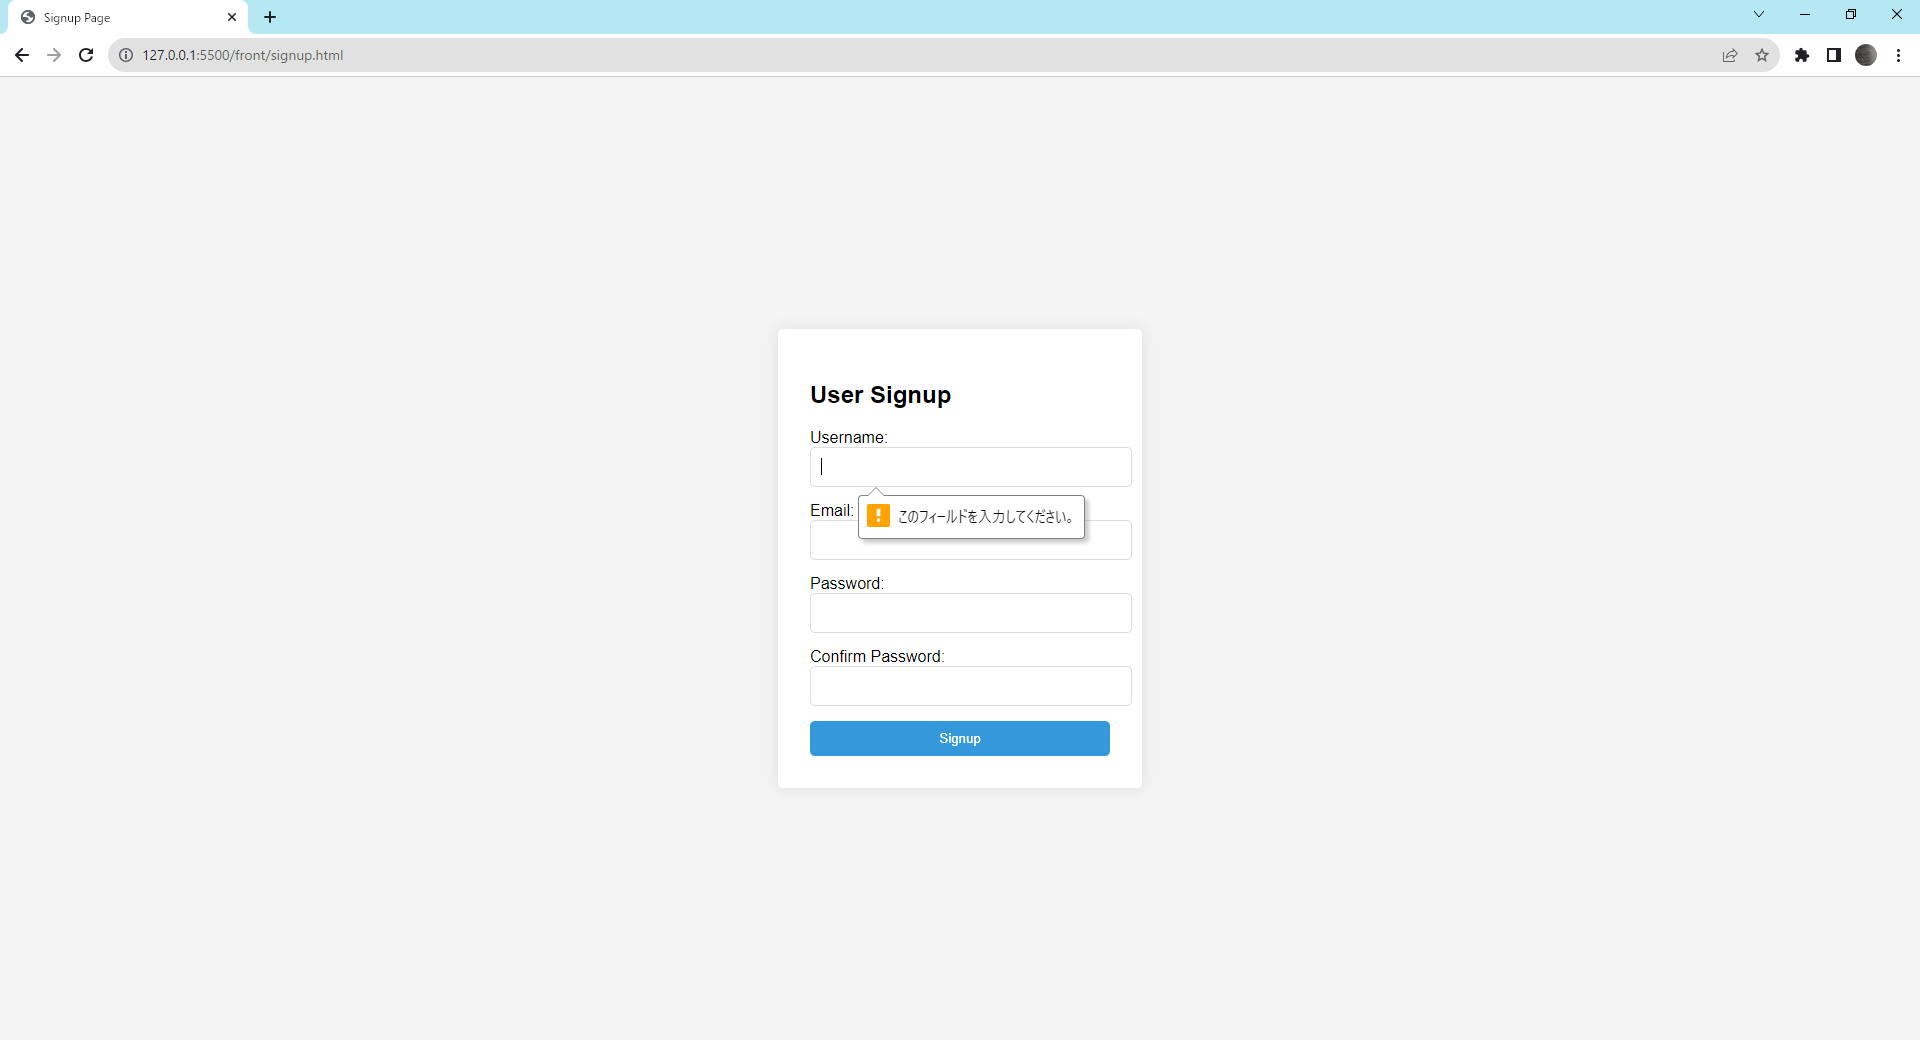
何も入力せずに、「Signup」をクリックしてください。
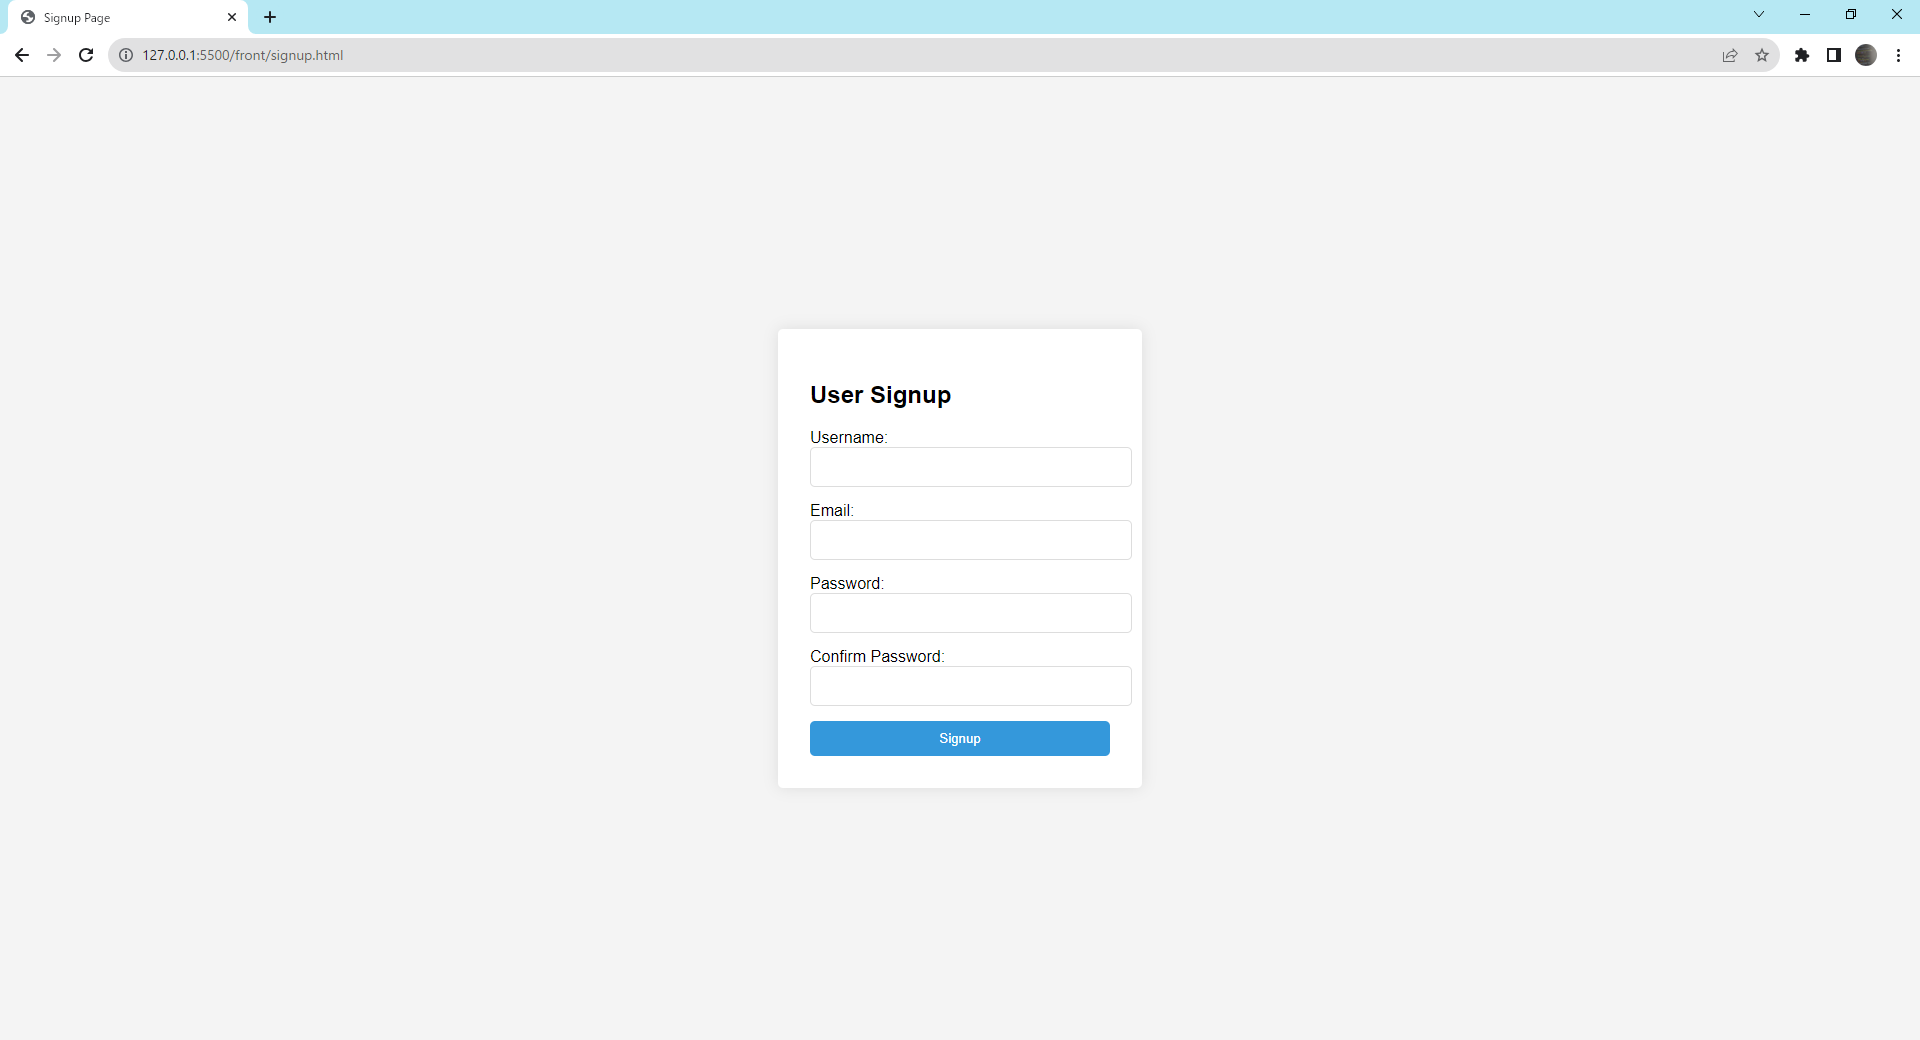
ユーザ名に「! このフィールドを入力してください。」と表示されたら成功です。
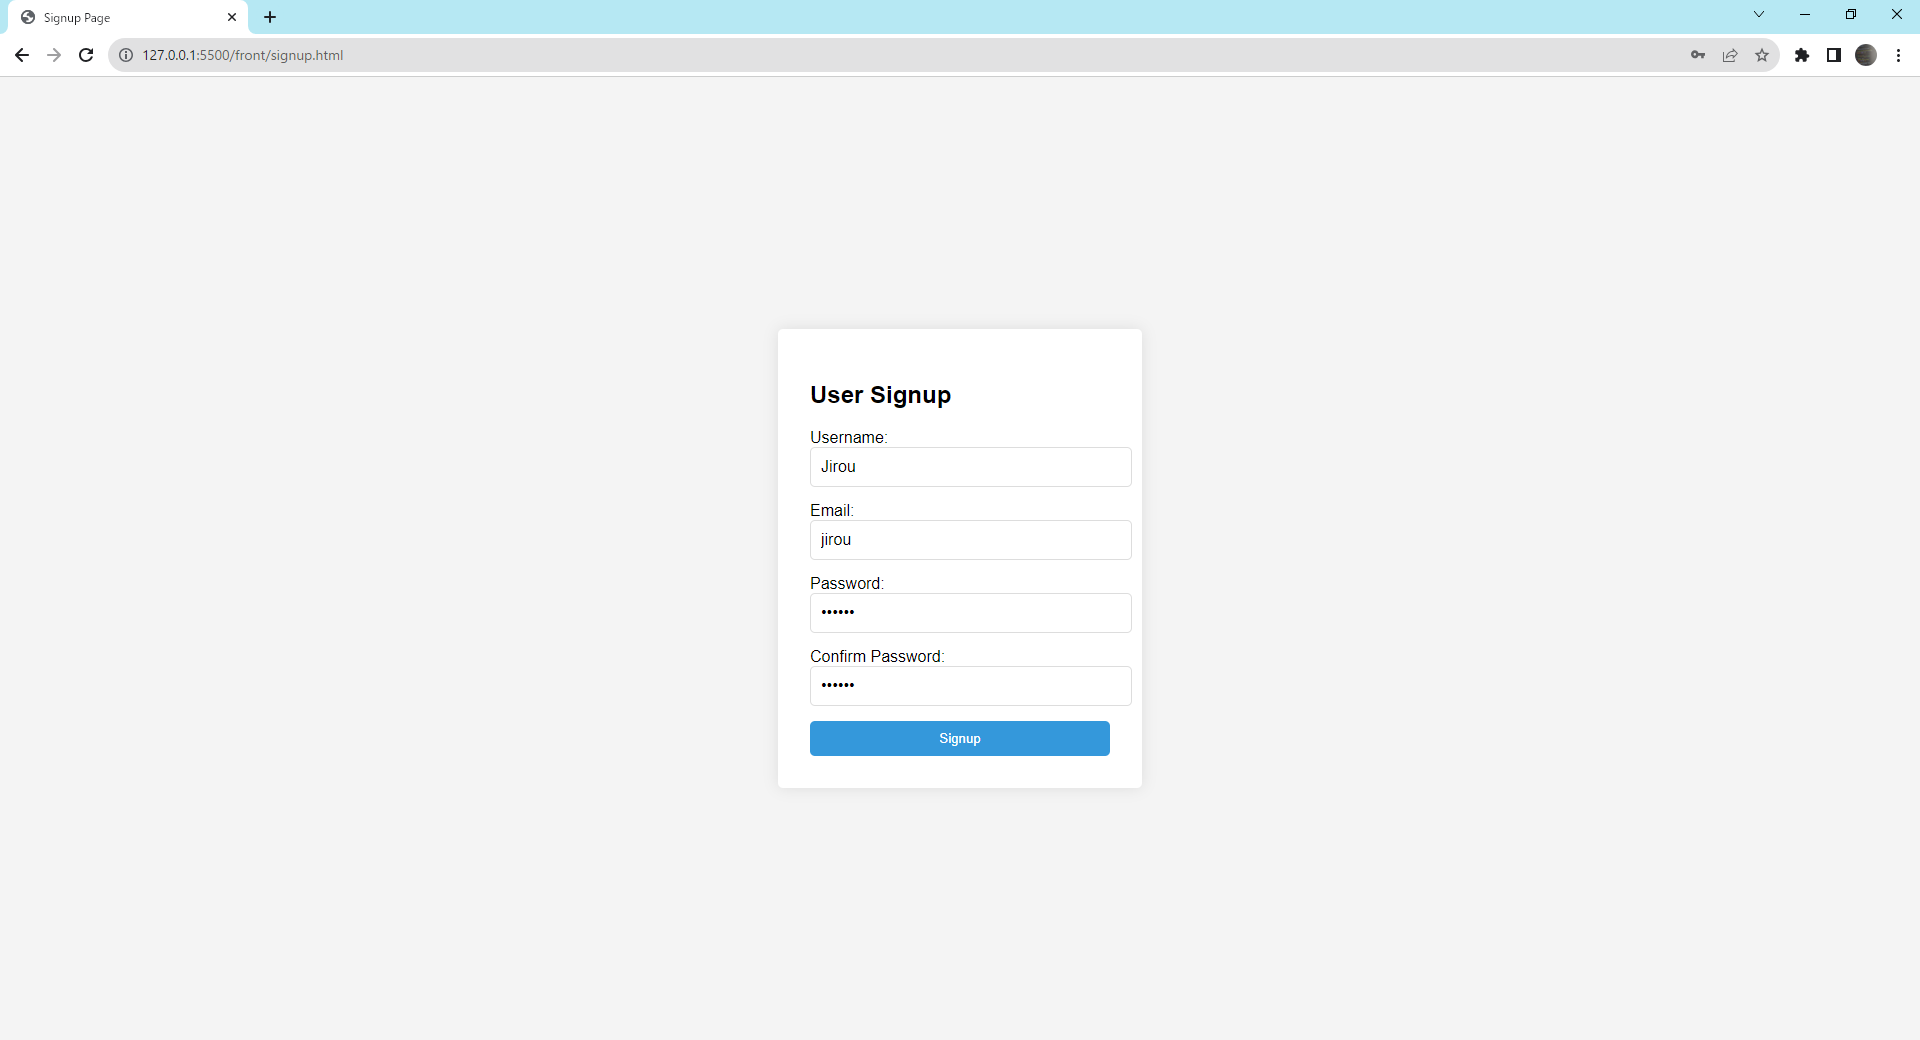
また、以下のようにメールアドレスの形式が正しくない形式で入力して「Signup」をクリックしてください。
- ユーザ名:
Jirou - メールアドレス:
jirou - パスワード:
987654 - 確認用のパスワード:
987654
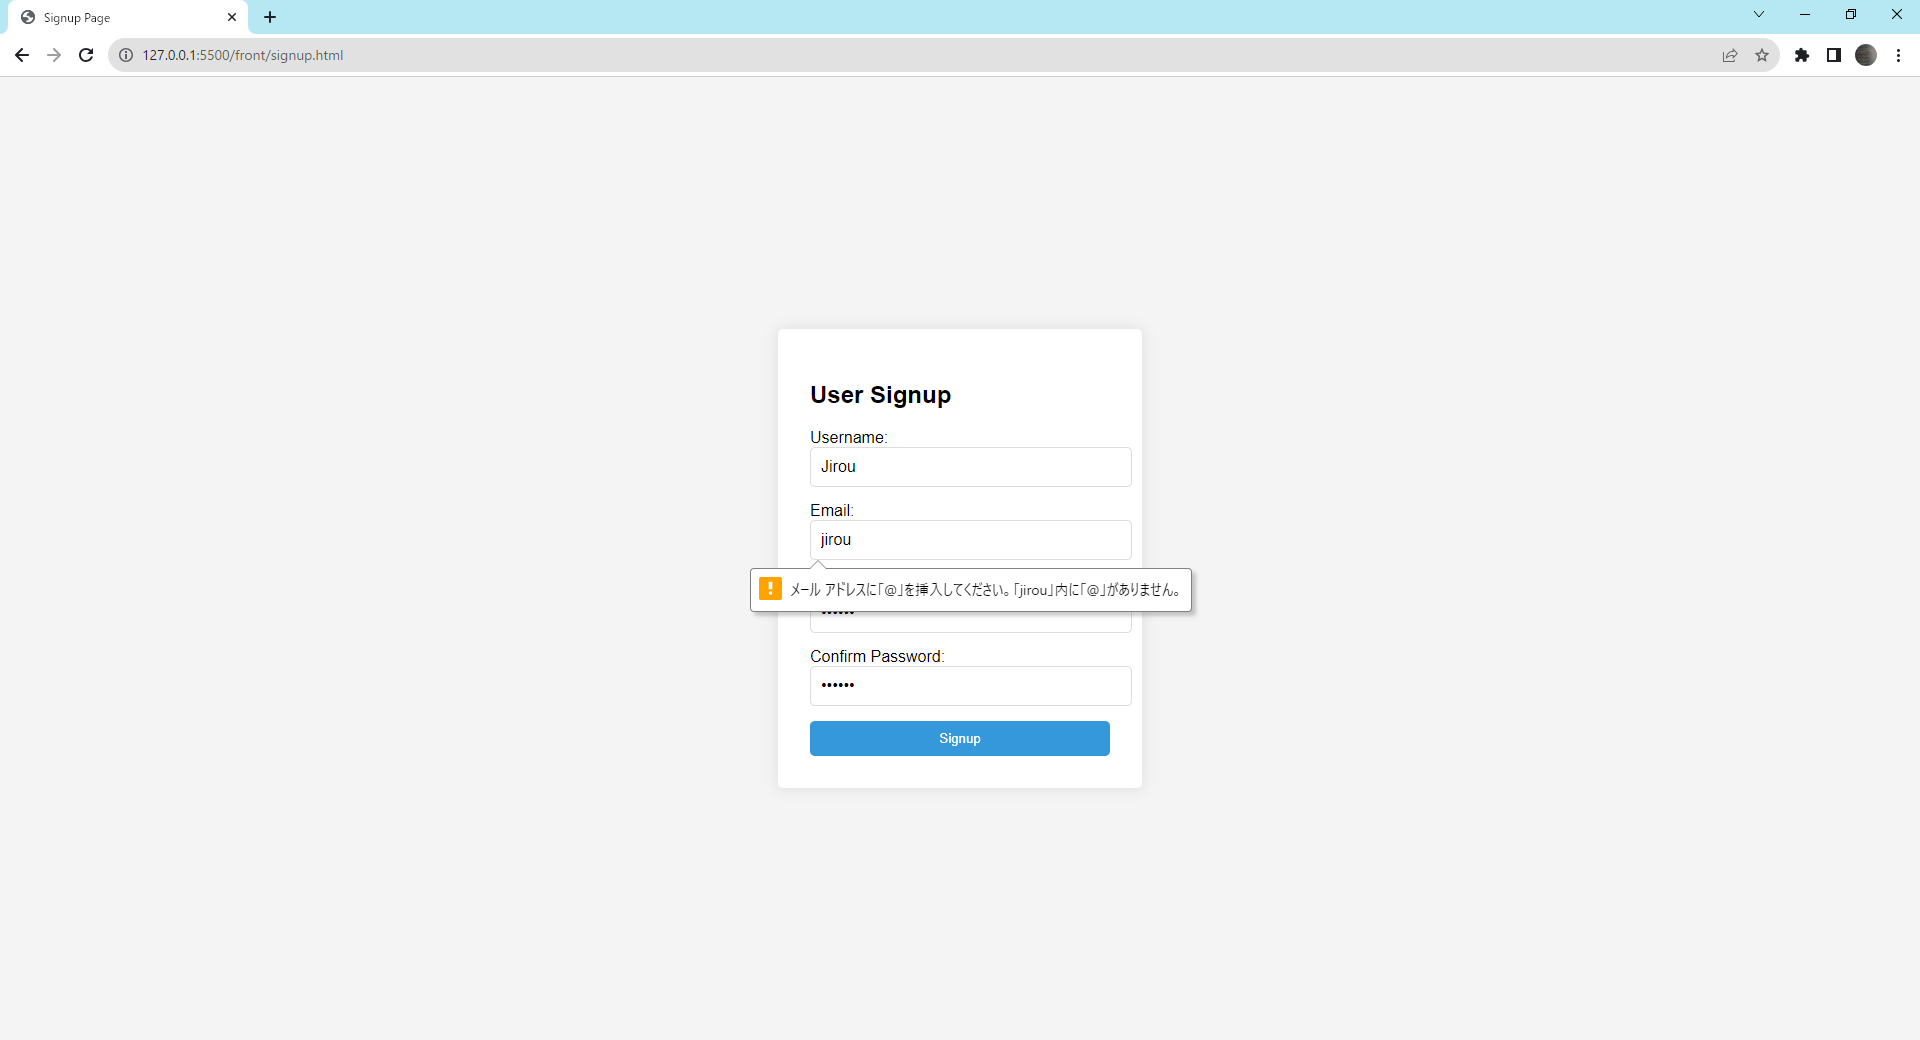
メールアドレスに「! メールアドレスにフィールド「@」を挿入してください。「jirou」内に「@」がありません。」と表示されたら成功です。
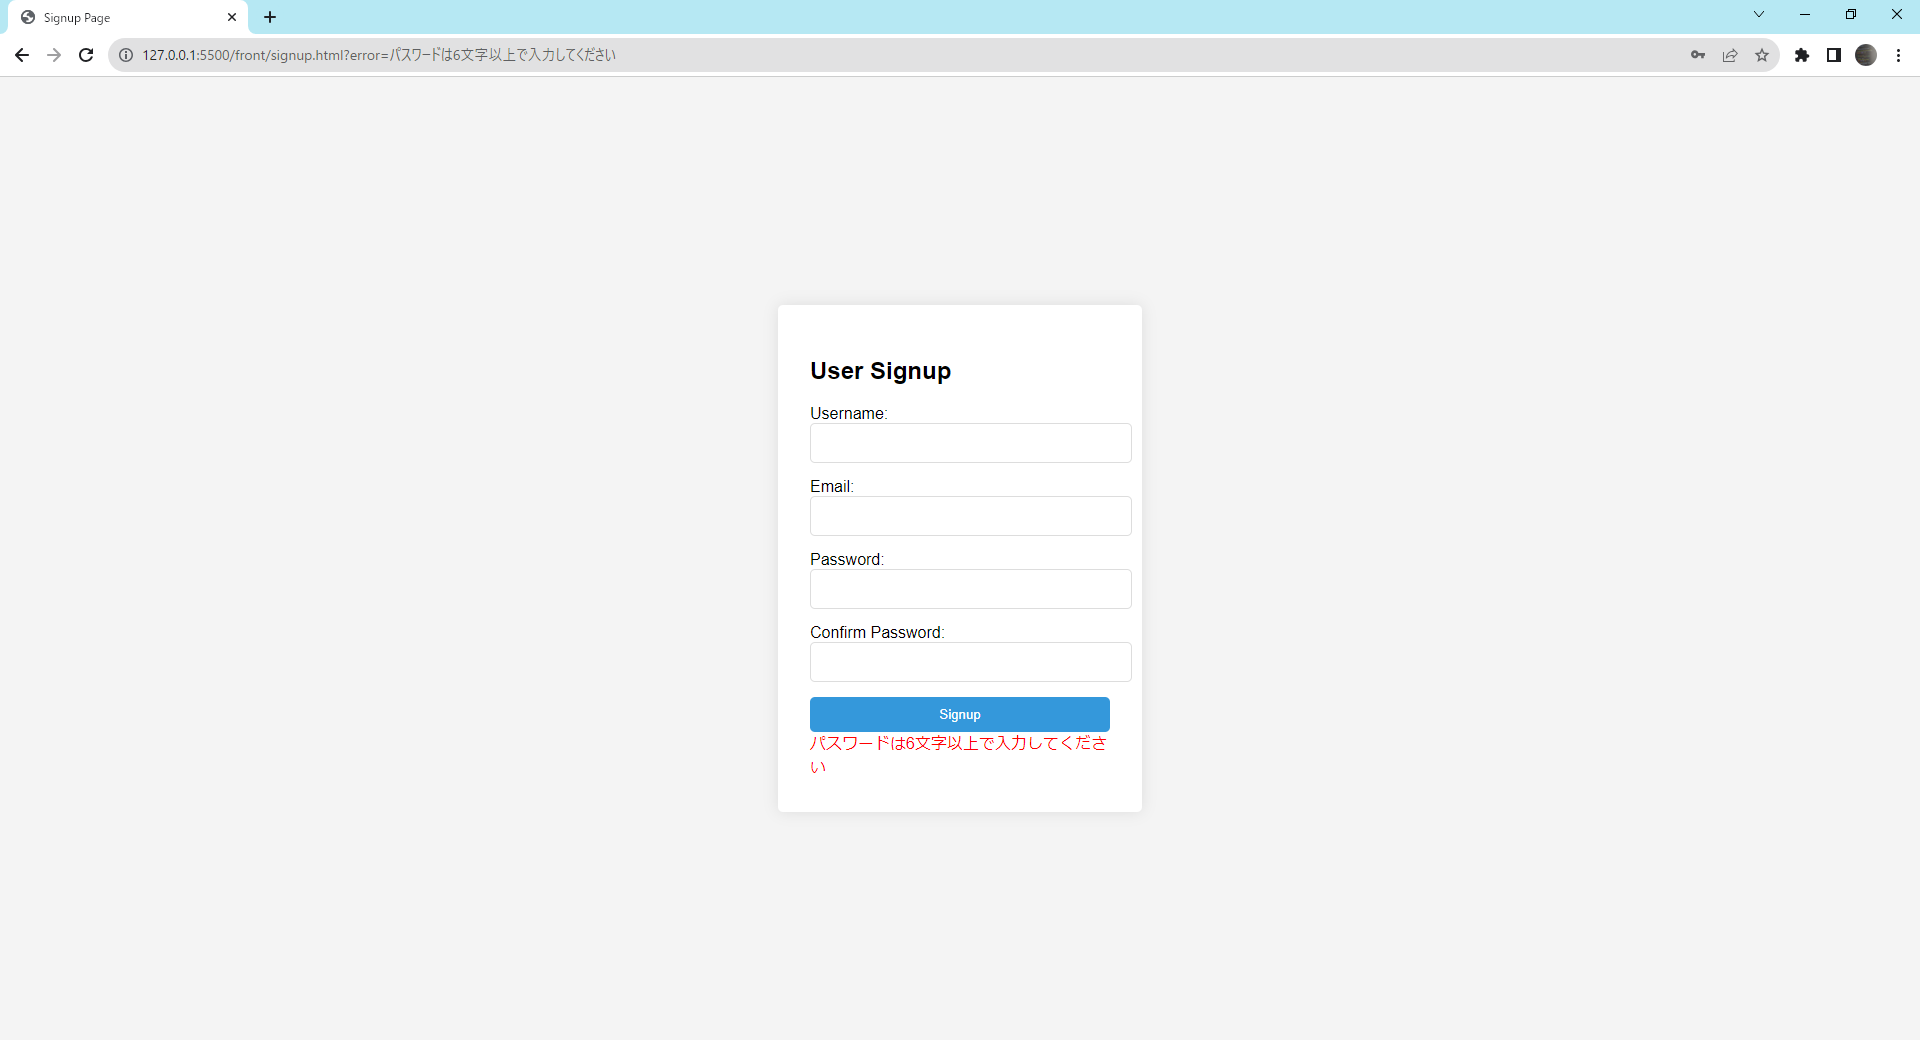
また、以下のようにパスワードの入力数を6文字未満にして「Signup」をクリックしてください。
- ユーザ名:
Jirou - メールアドレス:
jirou@example.com - パスワード:
987 - 確認用のパスワード:
987
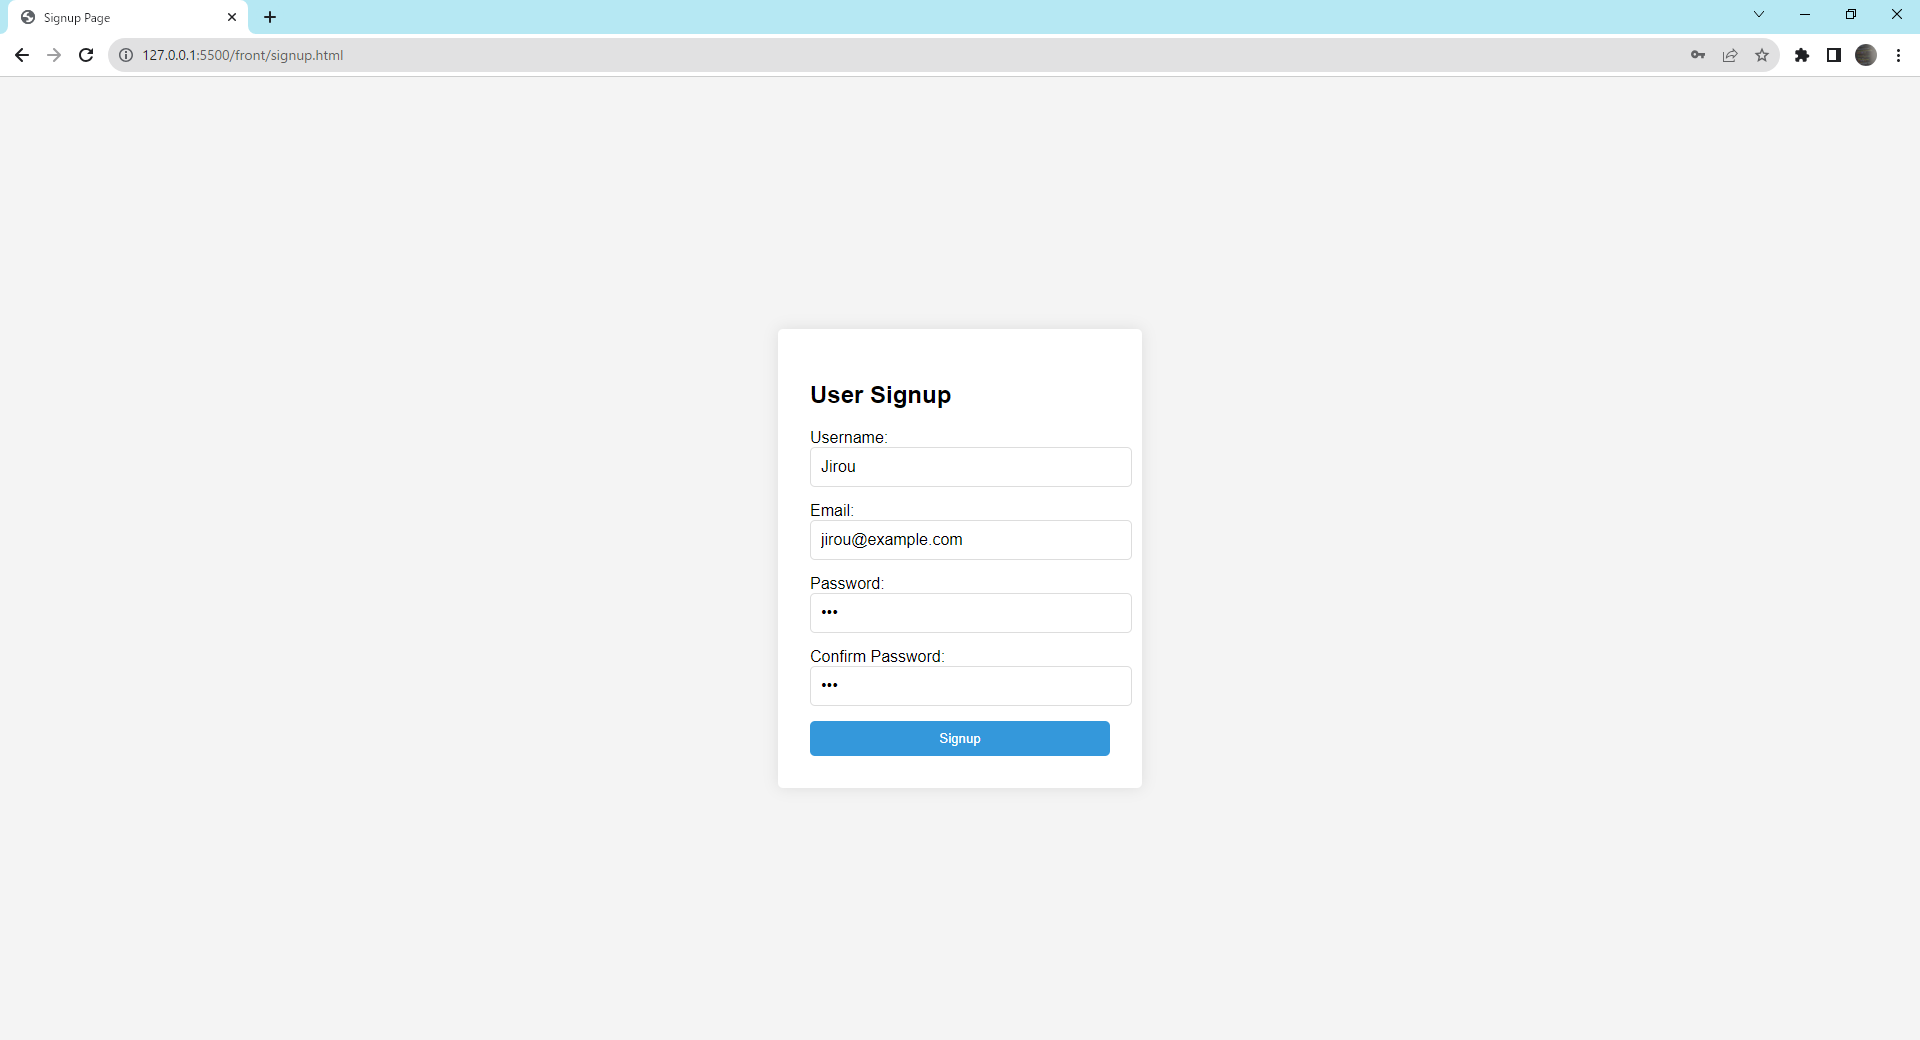
「パスワードは6文字以上で入力してください」と表示されたら成功です。
二重登録エラー
先ほど登録を実施したのと同じように以下の「ユーザ名」「メールアドレス」「パスワード」「確認用のパスワード」を入力して「Signup」をクリックしてください。
- ユーザ名:
Tarou - メールアドレス:
tarou@example.com - パスワード:
123456 - 確認用のパスワード:
123456
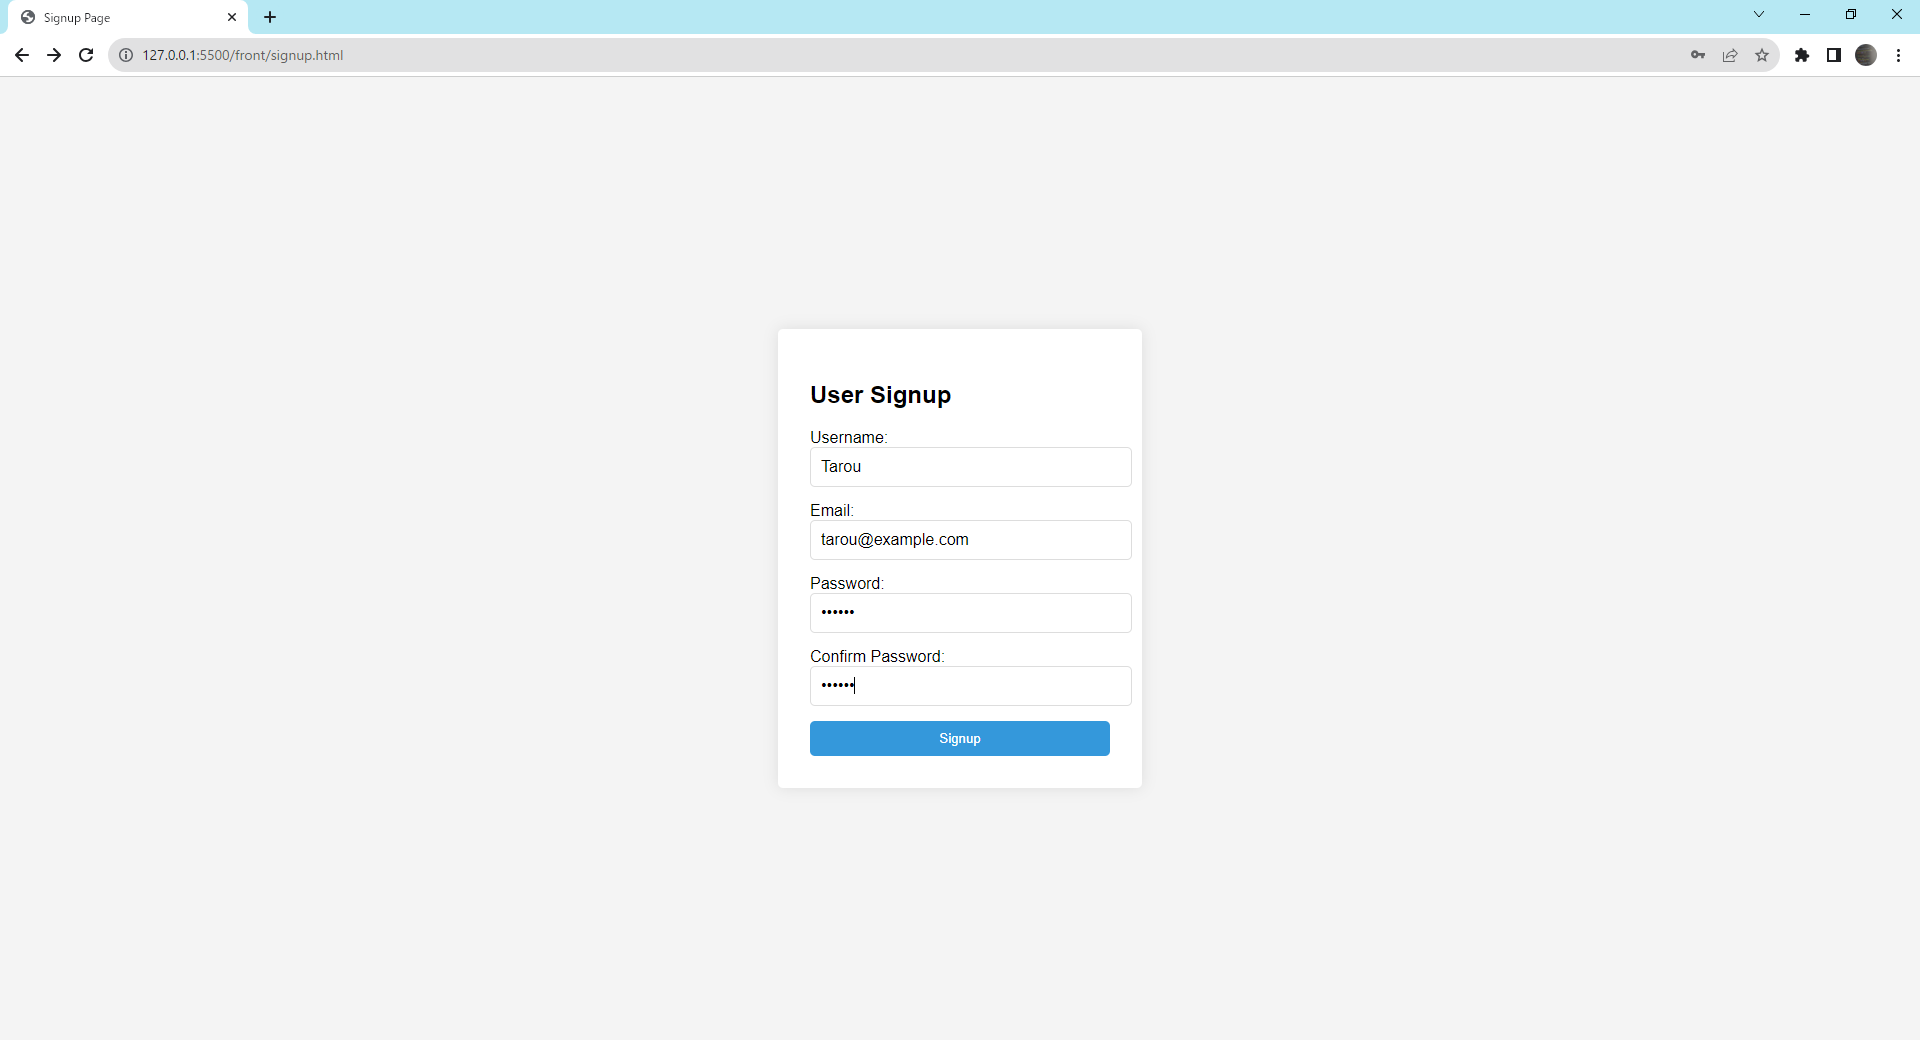
「ユーザ名が既に存在します。」と表示成功されたら成功です。
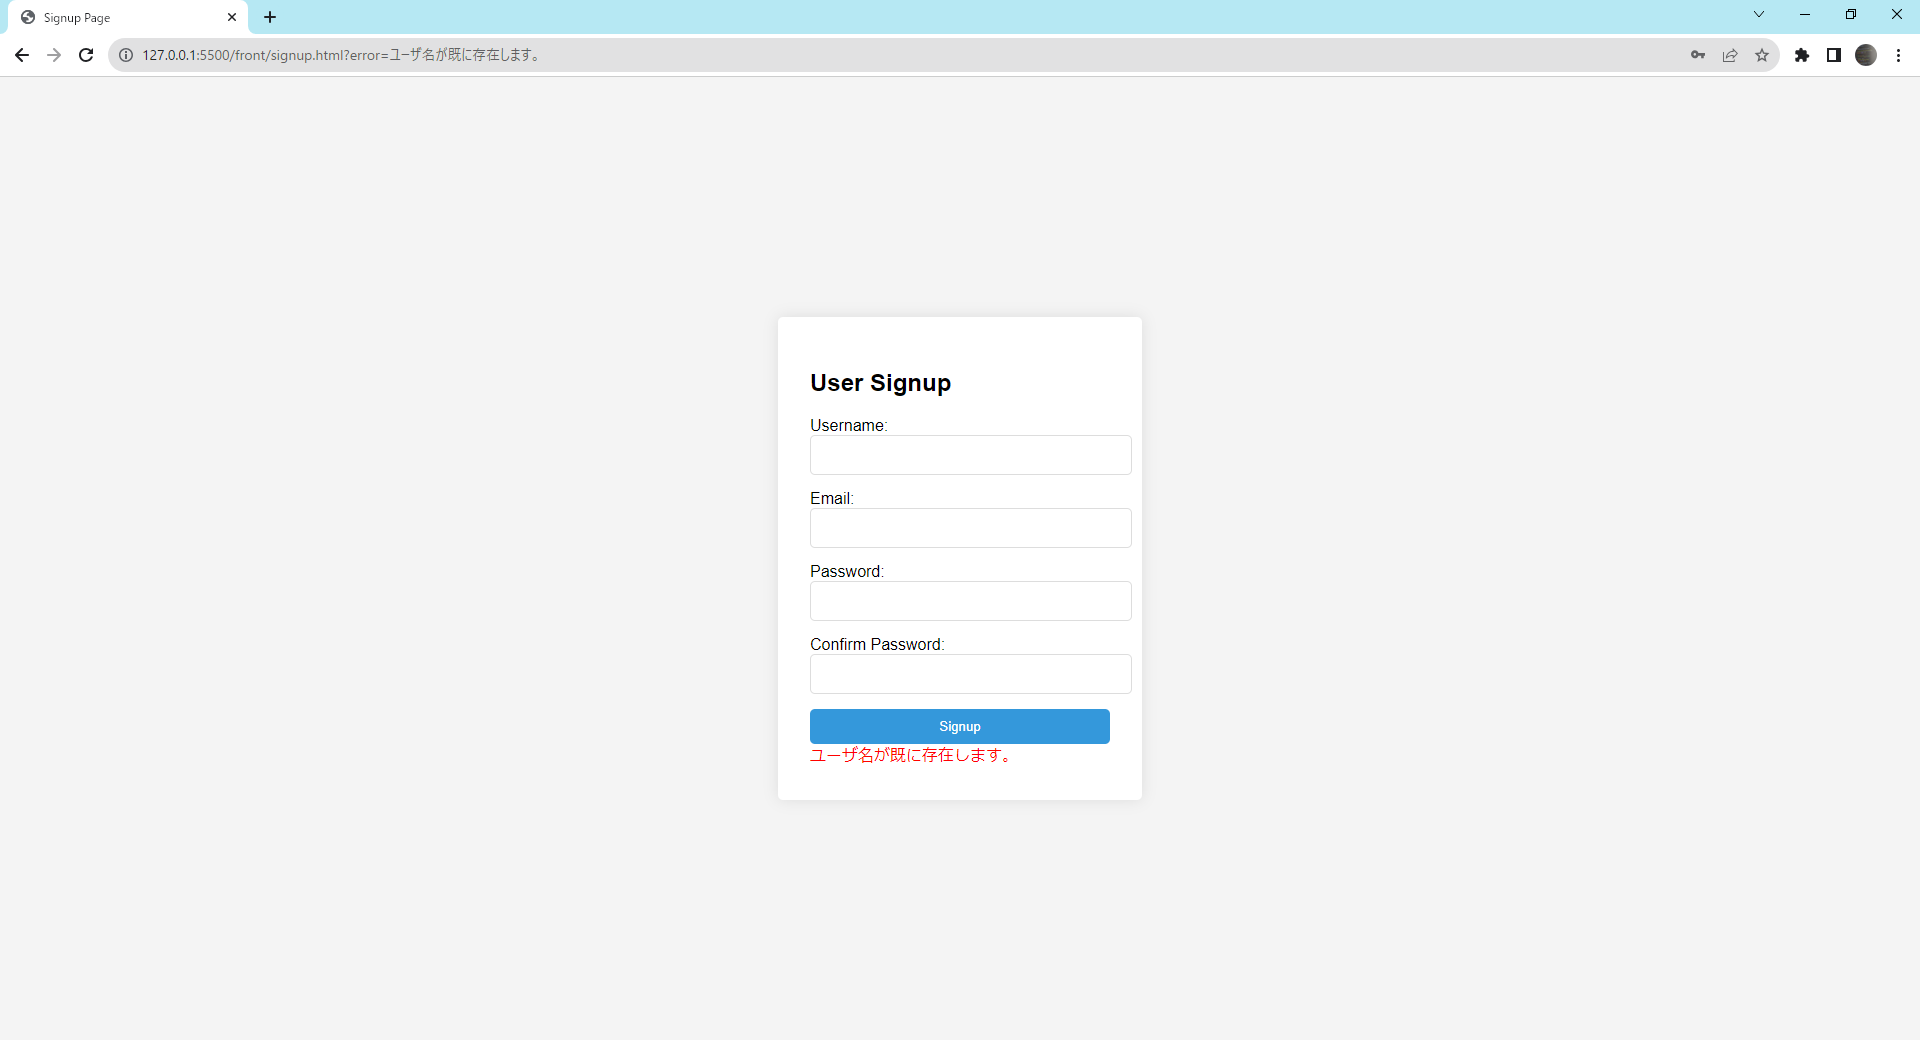
パスワードと確認用パスワードの不一致ー
以下の「ユーザ名」「メールアドレス」「パスワード」「確認用のパスワード」を入力して「Signup」をクリックしてください。
- ユーザ名:
Jirou - メールアドレス:
tarou@example.com - パスワード:
123456 - 確認用のパスワード:
999999
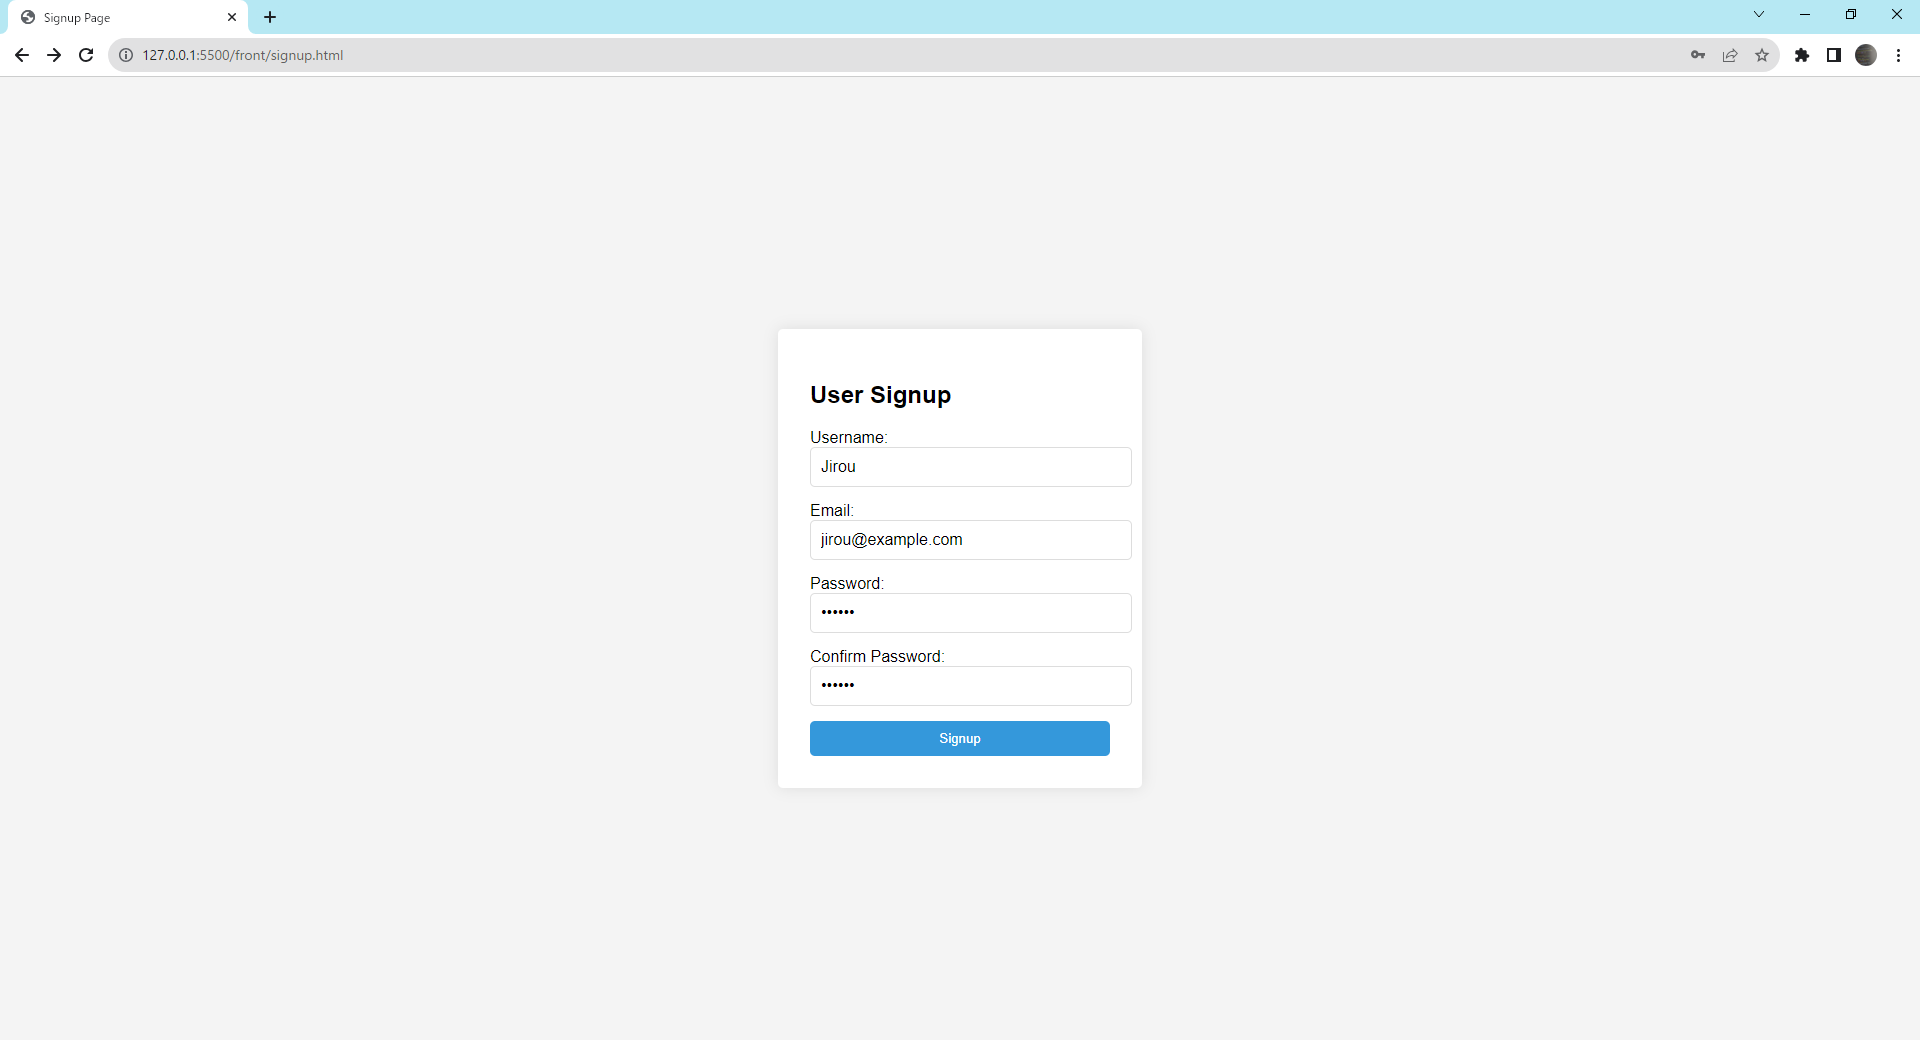
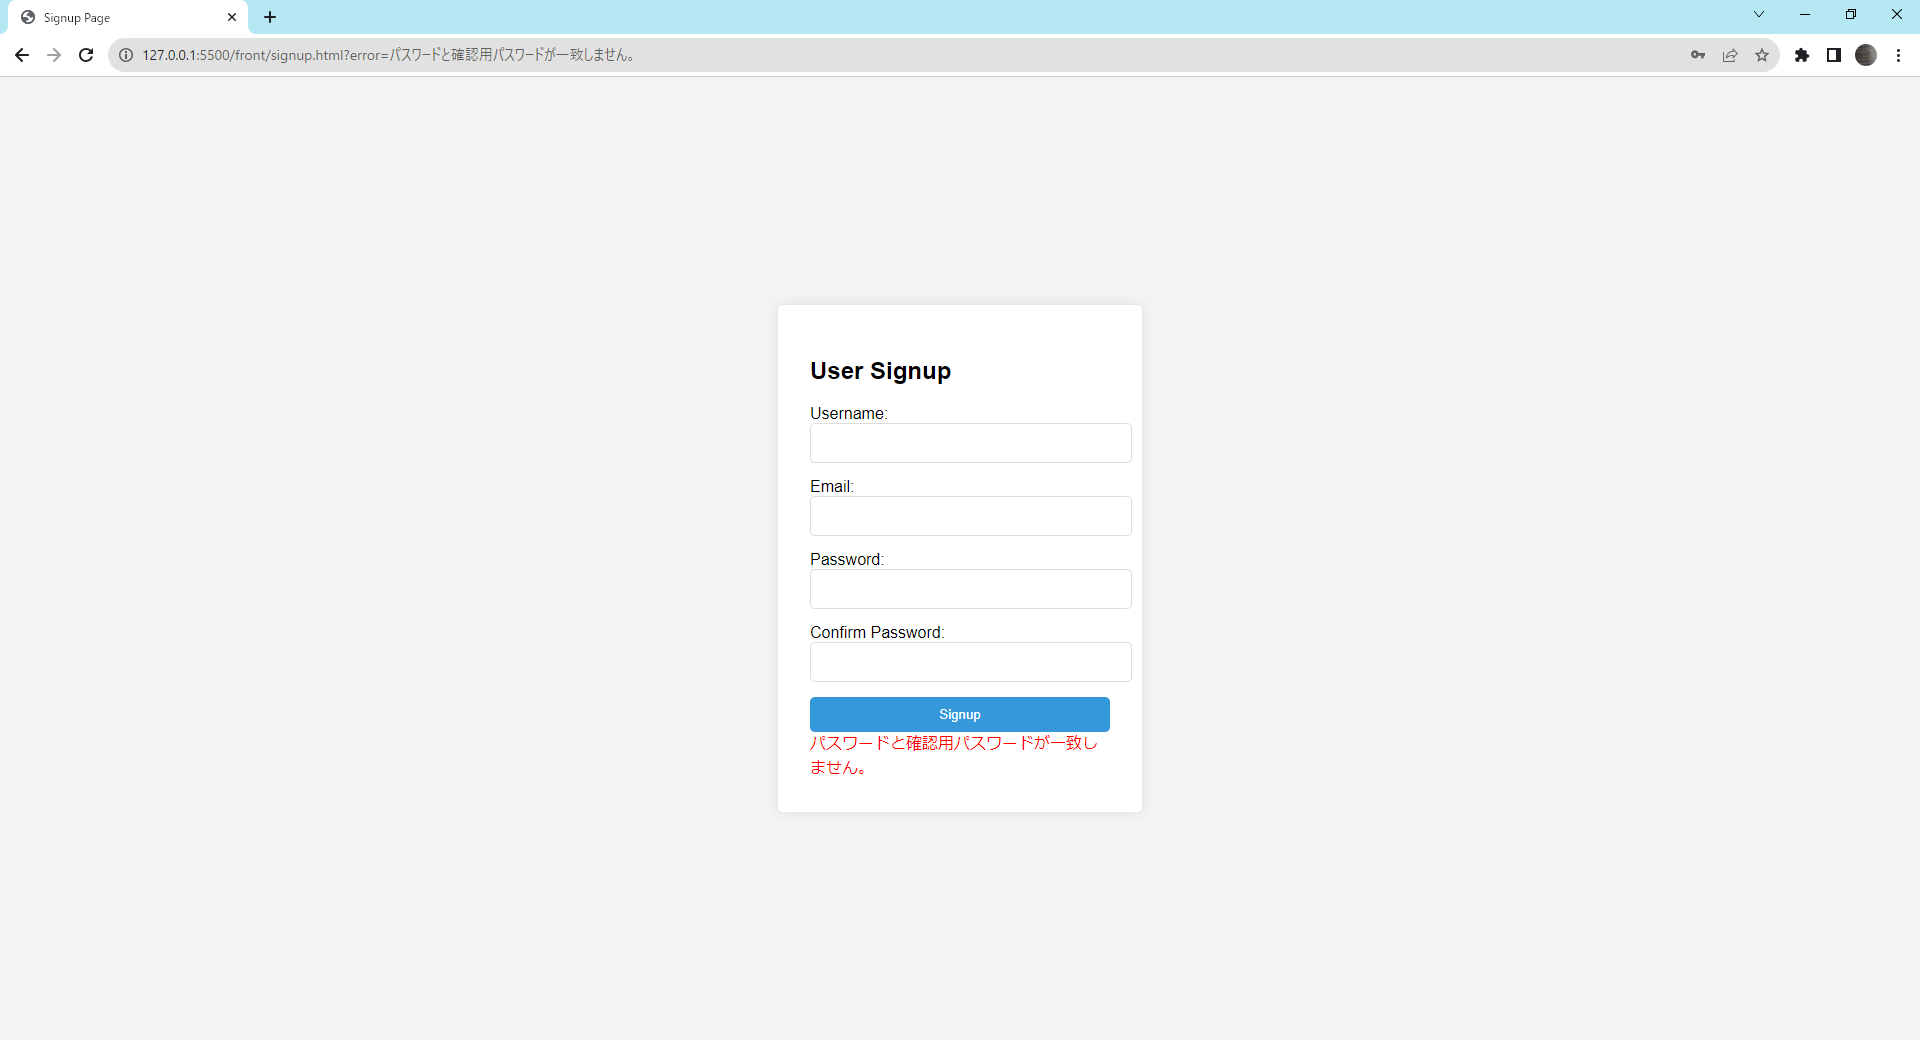
「パスワードと確認用パスワードが一致しません。」と表示成功されたら成功です。
終わりに
Part5を完了することで、新規のユーザ登録する機能が実現できました。次のステップ、Part6では、ユーザのプロフィール情報の編集やパスワードの変更といった基本的な機能を実装していきます。これにより、ユーザは自身の情報を自由に更新することができるようになります。
また、セキュリティの観点からも、正確なユーザ認証を行った上での情報の編集が必要となるため、この部分の実装も行ないます。


コメント