| 目次 |
|---|
| 初めに |
| 1.ログイン失敗時の画面作成 |
| 2.SecurityConfigクラスの作成 |
| 3.CustomAuthenticationProviderクラスの作成 |
| 4.動作確認 |
| CORSとは |
| 最後に |
初めに
この記事は、以前の記事「Spring Securityを使用したログイン機能の実装方法をわかりやすく解説 Part1」の続きです。今回のパートでは、ログイン機能の簡単なサーバ側の機能を実装します。具体的には、クライアント側で入力したログイン情報(ユーザ名とパスワード)をサーバ側に固定で値を設定した値を比較させて、正しければホーム画面に遷移する機能を実装します。
以下の手順で行います。
| 手順 |
|---|
| 1.ログイン失敗時の画面作成 |
| 2.SecurityConfigクラスの作成 |
| 3.CustomAuthenticationProviderクラスの作成 |
| 4.動作確認 |
1.ログイン失敗時の画面作成
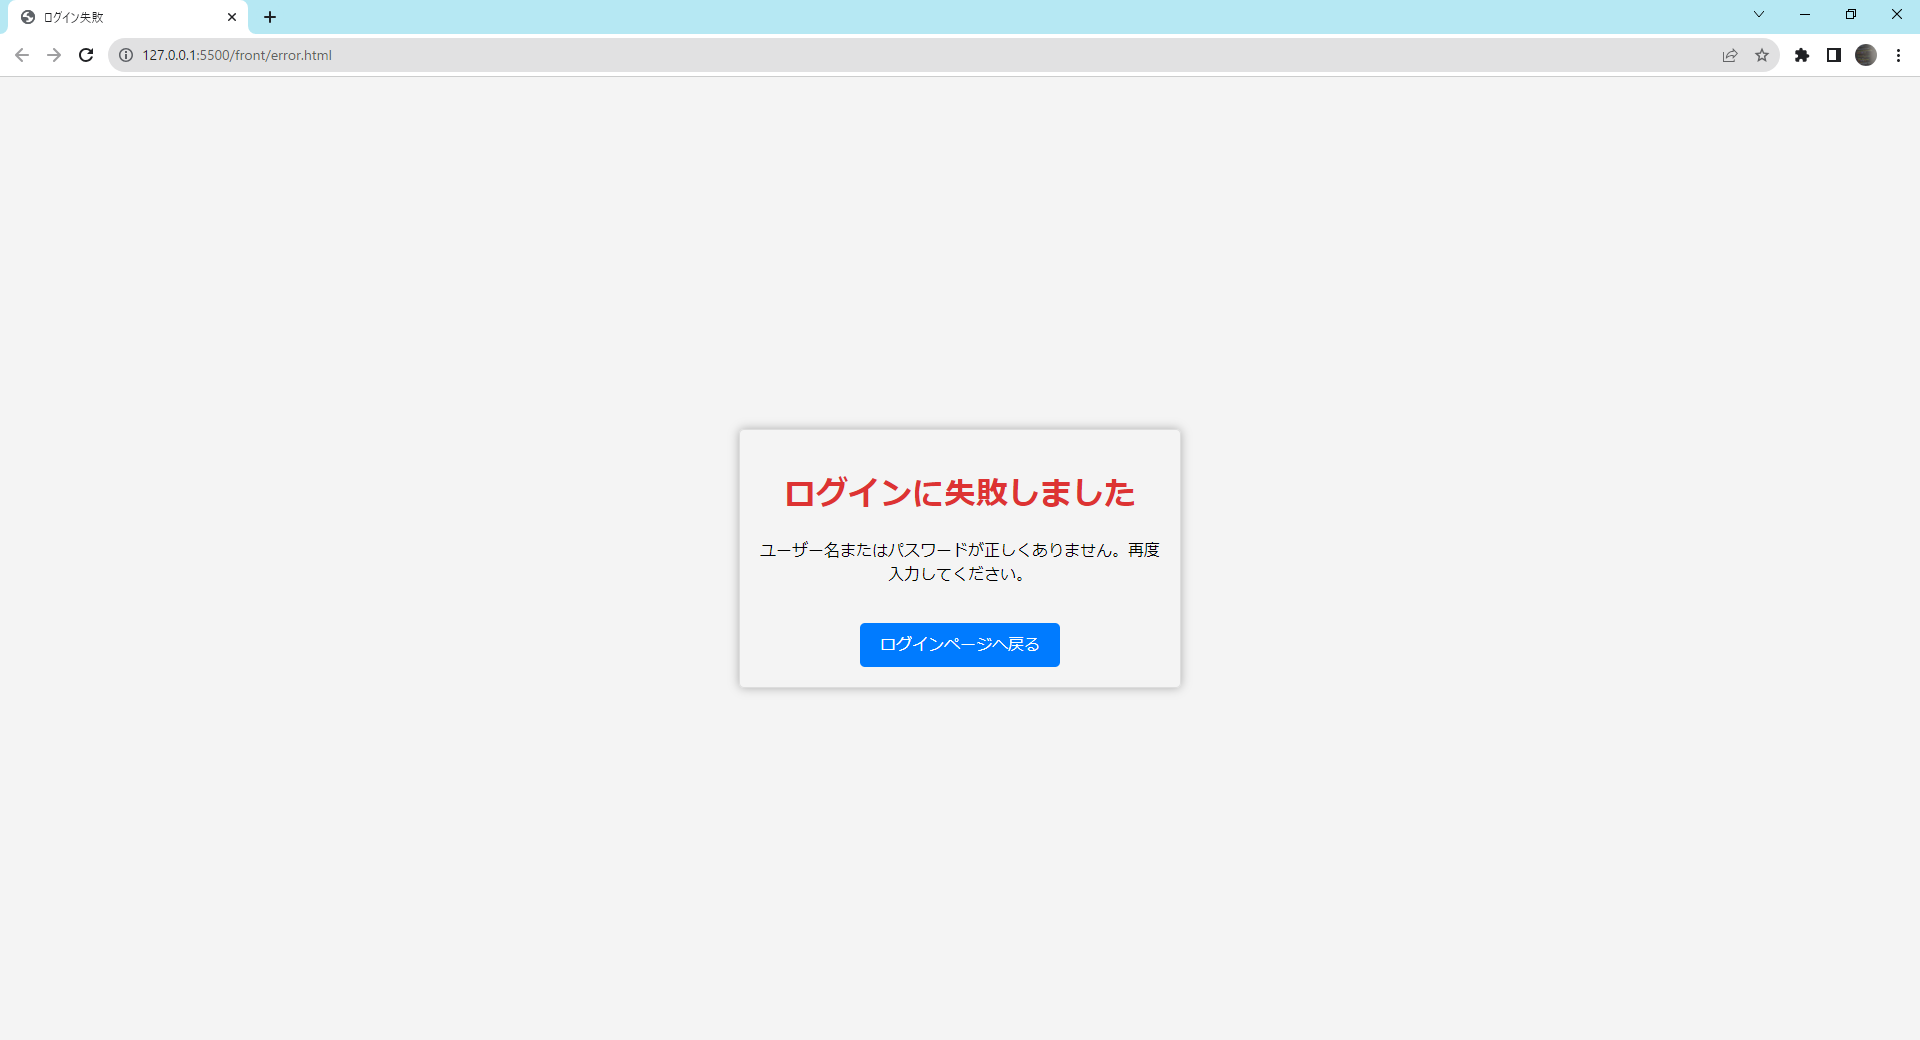
前回、ログイン画面とホーム画面を作成しましたがログインに失敗したときのエラー画面が必要なので作成します。
「index.html」や「login.html」と同じ場所に「error.html」を作成してください。
<!DOCTYPE html>
<html lang="en">
<head>
    <meta charset="UTF-8">
    <meta name="viewport" content="width=device-width, initial-scale=1.0">
    <link rel="stylesheet" href="css/styles.css">
    <title>ログイン失敗</title>
</head>
<body>
    <div class="error-container">
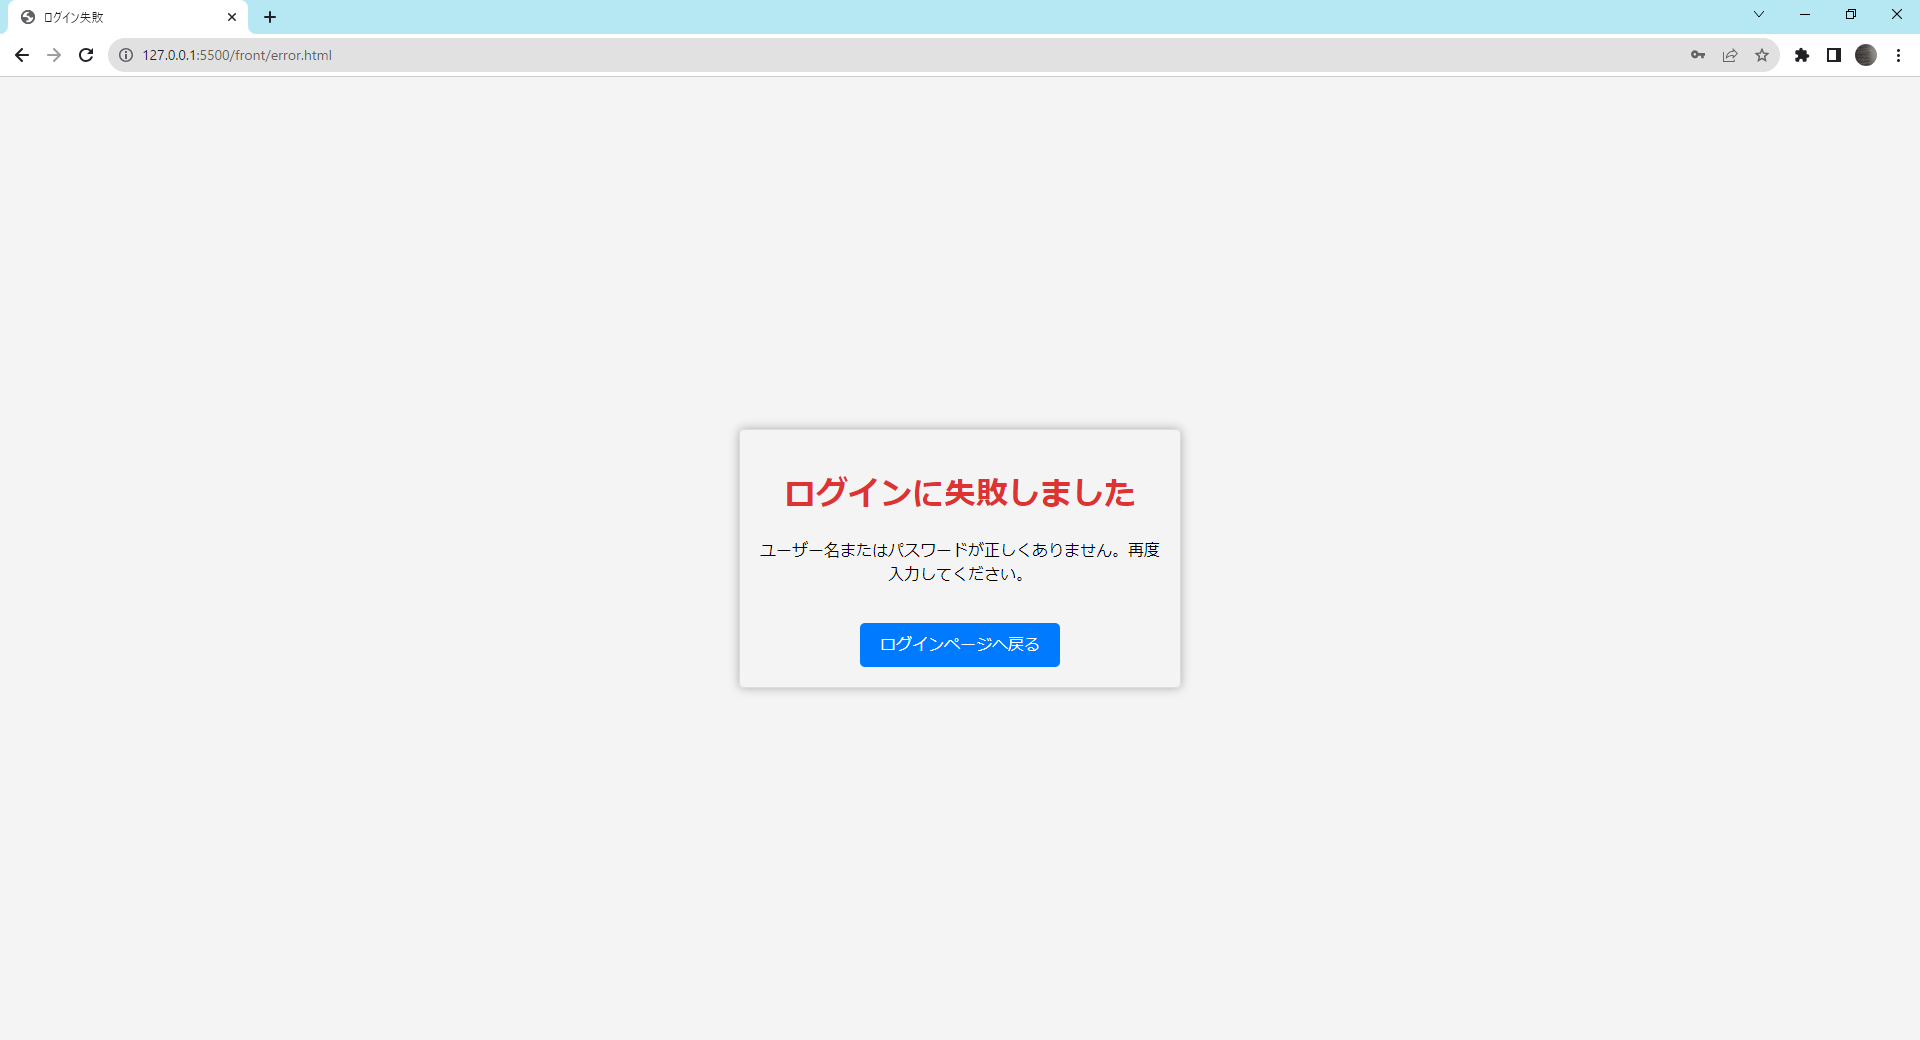
        <h1>ログインに失敗しました</h1>
        <p>ユーザー名またはパスワードが正しくありません。再度入力してください。</p>
        <a href="login.html">ログインページへ戻る</a>
    </div>
</body>
</html>
「styles.css」にエラー画面のスタイルを追記してください。
/* ↑ログイン画面のスタイル */

/* ログイン失敗エラーコンテナのスタイル設定 */
.error-container {
    text-align: center;              /* テキストを中央寄せ */
    max-width: 400px;                /* 最大幅 */
    margin: 100px auto;              /* 上下のマージンを100px、左右を自動に設定 */
    padding: 20px;                   /* 内側の余白 */
    border: 1px solid #ddd;          /* 枠線 */
    border-radius: 5px;              /* 角の丸み */
    box-shadow: 0px 0px 10px #aaa;   /* ボックスシャドウ */
}

/* エラーメッセージのスタイル設定 */
.error-container h1 {
    color: #d33;                     /* 文字色 */
    margin-bottom: 20px;             /* 下側の余白 */
}

/* ログインページへ戻るリンクのスタイル設定 */
.error-container a {
    display: inline-block;           /* インラインブロックとして表示 */
    margin-top: 20px;                /* 上側の余白 */
    padding: 10px 20px;              /* 内側の余白 */
    color: #fff;                     /* 文字色 */
    background-color: #007bff;       /* 背景色 */
    border-radius: 5px;              /* 角の丸み */
    text-decoration: none;           /* テキストの下線を非表示 */
}

/* ログインページへ戻るリンクをホバーした時のスタイル設定 */
.error-container a:hover {
    background-color: #0056b3;       /* 背景色 */
}「Go Live」を実行して動作確認します。
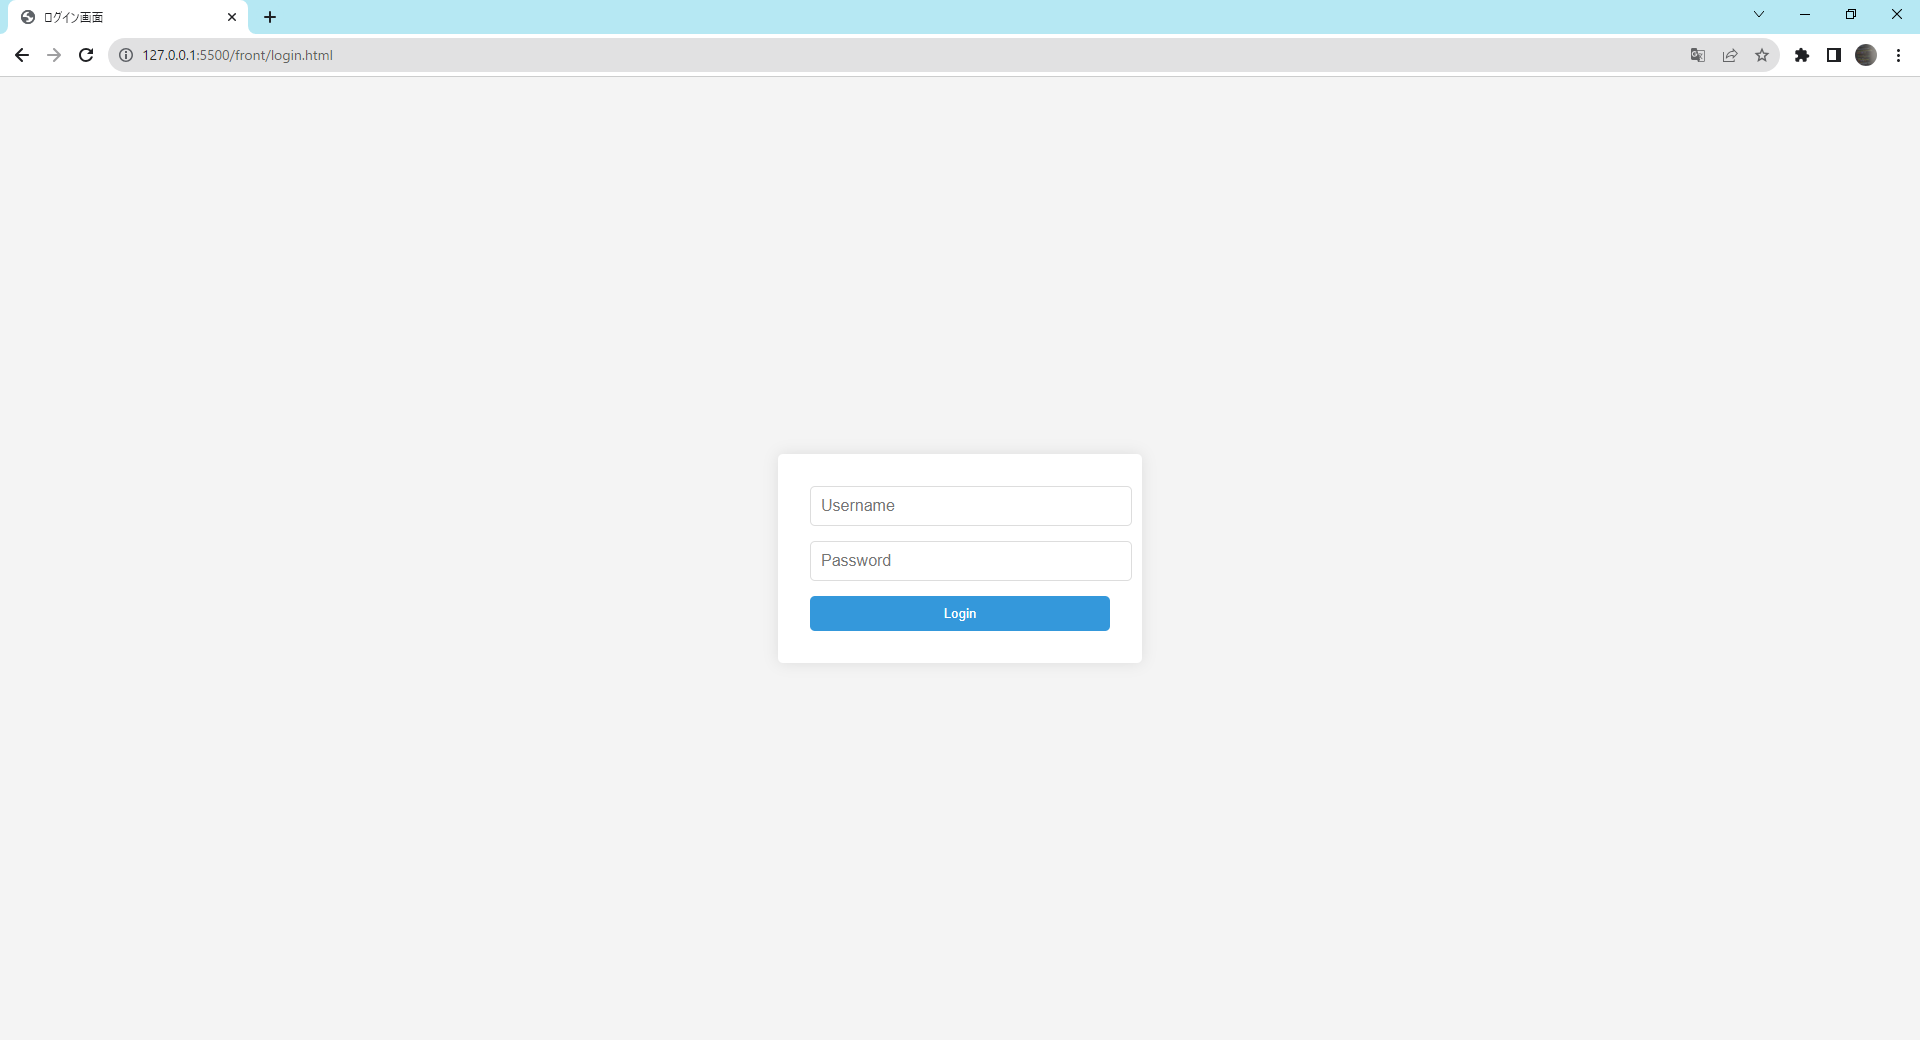
「ログインページへ戻る」をクリックするとログイン画面に遷移します。
2.SecurityConfigクラスの作成
| 手順 |
|---|
| 2-1.SecurityConfigクラスの概要 |
| 2-2.SecurityConfigクラスの実装 |
2-1.SecurityConfigクラスの概要
SecurityConfigは、アプリケーションのセキュリティに関する設定やルールを中心的に管理する場所です。ここでの設定により、ユーザーがアクセスしようとする際の挙動や制限を定義します。
以下のような設定を行います。
- 基本設定:「@Configuration」と「@EnableWebSecurity」のアノテーションを使用して、Springにセキュリティ関連の設定を行うことを伝えます。
- 認証:
SecurityConfigクラスの次に作成するCustomAuthenticationProviderクラスを使って、ログイン情報が提供された際の認証方法を定義します。
※今回は固定値のみ通します。 - アクセス制御:どのURLに誰がアクセスできるのか、ログインが必要なのか、公開されているのかなどのルールを設定します。
- フォームベースのログイン:ユーザーがログインする際のURLや、ログイン成功後に遷移するページなどの設定を行います。
- CORS:外部のウェブページからの安全なリクエストを許可するための設定を行います。
- CSRF:ウェブサイトの偽装リクエストを防ぐ設定を行います。
※今回は一旦無視します。
2-2.SecurityConfigクラスの実装
SecurityConfig.javaの新規作成
「../java/com/study/loginpractice/config」に「SecurityConfig.java」を新規作成してください。
package com.study.loginpractice.config;

public class SecurityConfig {

}
SecurityConfig.javaのクラスにアノテーションの付与
「@Configuration」と「@EnableWebSecurity」の2つの設定を行なってください。
- @Configuration:Springにこのクラスが設定クラスであることを伝えるアノテーションです。
- @EnableWebSecurity:Spring Securityのウェブセキュリティを有効にするアノテーションです。
package com.study.loginpractice.config;

import org.springframework.context.annotation.Configuration;
import org.springframework.security.config.annotation.web.configuration.EnableWebSecurity;

// クラスに@Configurationをつけることで、このクラスがSpringの設定クラスであることを示す
@Configuration
// @EnableWebSecurityをつけることで、Spring Securityのウェブセキュリティサポートを有効化する
@EnableWebSecurity
public class SecurityConfig {

}
corsConfigurationSourceメソッドを作成
corsConfigurationSourceメソッドを作成します。このメソッドでは、CORSの設定を行います。CORSの設定は異なるオリジンのリソースに安全にアクセスできるようにするための仕組みです。以下を実装します。
- CORSの設定を行うためのオブジェクトを生成
- クレデンシャル(資格情報)の設定
- 許可するオリジンの設定
- 許可するヘッダーの設定
- 許可するHTTPメソッドの設定
- 許可するHTTPメソッドの設定
- CORS設定をURLベースで行うためのオブジェクトを生成
- URLパスにこのCORS設定を適用
- メソッドに@Beanを付与
package com.study.loginpractice.config;

import org.springframework.context.annotation.Bean;
import org.springframework.context.annotation.Configuration;
import org.springframework.security.config.annotation.web.configuration.EnableWebSecurity;
import org.springframework.web.cors.CorsConfiguration;
import org.springframework.web.cors.UrlBasedCorsConfigurationSource;

// クラスに@Configurationをつけることで、このクラスがSpringの設定クラスであることを示す
@Configuration
// @EnableWebSecurityをつけることで、Spring Securityのウェブセキュリティサポートを有効化する
@EnableWebSecurity
public class SecurityConfig {

    // @Beanをつけることで、このメソッドがSpringのコンテナにBeanとして登録される
    @Bean
    public UrlBasedCorsConfigurationSource corsConfigurationSource() {
        // CORSの設定を行うためのオブジェクトを生成
        CorsConfiguration configuration = new CorsConfiguration();

        // クレデンシャル(資格情報(CookieやHTTP認証情報))を含むリクエストを許可する
        configuration.setAllowCredentials(true);

        // 許可するオリジン(この場合は"http://127.0.0.1:5500"のみ)を設定
        configuration.addAllowedOrigin("http://127.0.0.1:5500");

        // 任意のヘッダーを許可
        configuration.addAllowedHeader("*");

        // 任意のHTTPメソッド(GET, POSTなど)を許可
        configuration.addAllowedMethod("*");

        // CORS設定をURLベースで行うためのオブジェクトを生成
        UrlBasedCorsConfigurationSource source = new UrlBasedCorsConfigurationSource();

        // 全てのURLパスにこのCORS設定を適用
        source.registerCorsConfiguration("/**", configuration);

        return source;
    }
}
CustomAuthenticationProvider.javaの新規作成
「../java/com/study/loginpractice/config」に「CustomAuthenticationProvider.java」を新規作成してください。
package com.study.loginpractice.config;

public class CustomAuthenticationProvider {

}
CustomAuthenticationProvider.javaのクラスにアノテーションの付与
「@Component」の設定を行なってください。
package com.study.loginpractice.config;

import org.springframework.stereotype.Component;

// @Componentをつけることで、このクラスがSpringのコンテナにBeanとして登録される
@Component
public class CustomAuthenticationProvider {

}
AuthenticationProviderインターフェースを継承
CustomAuthenticationProvider.javaにAuthenticationProviderインターフェースを継承だけとりあえず行ってください。具体的な解説は「3.CustomAuthenticationProviderクラスの作成」で行います。
package com.study.loginpractice.config;

import org.springframework.security.authentication.AuthenticationProvider;
import org.springframework.security.core.Authentication;
import org.springframework.security.core.AuthenticationException;
import org.springframework.stereotype.Component;

// @Componentをつけることで、このクラスがSpringのコンテナにBeanとして登録される
@Component
public class CustomAuthenticationProvider implements AuthenticationProvider{

    @Override
    public Authentication authenticate(Authentication authentication) throws AuthenticationException {
        // TODO Auto-generated method stub
        throw new UnsupportedOperationException("Unimplemented method 'authenticate'");
    }

    @Override
    public boolean supports(Class<?> authentication) {
        // TODO Auto-generated method stub
        throw new UnsupportedOperationException("Unimplemented method 'supports'");
    }

}
CustomAuthenticationProviderクラスBeanをSecurityConfigクラスに注入する
「@Autowired」を使用してCustomAuthenticationProviderクラスをSecurityConfigクラスに注入してください。
package com.study.loginpractice.config;

import org.springframework.beans.factory.annotation.Autowired;
import org.springframework.context.annotation.Bean;
import org.springframework.context.annotation.Configuration;
import org.springframework.security.config.annotation.web.configuration.EnableWebSecurity;
import org.springframework.web.cors.CorsConfiguration;
import org.springframework.web.cors.UrlBasedCorsConfigurationSource;

// クラスに@Configurationをつけることで、このクラスがSpringの設定クラスであることを示す
@Configuration
// @EnableWebSecurityをつけることで、Spring Securityのウェブセキュリティサポートを有効化する
@EnableWebSecurity
public class SecurityConfig {

    // CustomAuthenticationProvider Beanをこのクラスに注入する
    @Autowired
    private CustomAuthenticationProvider customAuthenticationProvider;

    // @Beanをつけることで、このメソッドがSpringのコンテナにBeanとして登録される
    @Bean
    public UrlBasedCorsConfigurationSource corsConfigurationSource() {
        // CORSの設定を行うためのオブジェクトを生成
        CorsConfiguration configuration = new CorsConfiguration();

        // クレデンシャル(資格情報(CookieやHTTP認証情報))を含むリクエストを許可する
        configuration.setAllowCredentials(true);

        // 許可するオリジン(この場合は"http://127.0.0.1:5500"のみ)を設定
        configuration.addAllowedOrigin("http://127.0.0.1:5500");

        // 任意のヘッダーを許可
        configuration.addAllowedHeader("*");

        // 任意のHTTPメソッド(GET, POSTなど)を許可
        configuration.addAllowedMethod("*");

        // CORS設定をURLベースで行うためのオブジェクトを生成
        UrlBasedCorsConfigurationSource source = new UrlBasedCorsConfigurationSource();

        // 全てのURLパスにこのCORS設定を適用
        source.registerCorsConfiguration("/**", configuration);

        return source;
    }
}
securityFilterChainメソッドの作成
securityFilterChainメソッドを作成します。このメソッドでは、セキュリティフィルタチェーンに関連する設定を行います。セキュリティフィルタチェーンは、文字通り「連鎖したフィルタ」のようなもので、リクエストがサーバに到達したときにそれを順番に通過する一連のセキュリティ関連の処理を意味します。これには以下を実装を行ないます。
- カスタム認証プロバイダを設定
- CORSの設定を適用
- CSRFの保護の設定(無効化)
- loginのパスへのリクエストを常に許可する設定
- login以外のパスへのリクエスト許可の設定
- ログイン処理のURLを設定
- カスタムログインページのURLを設定
- ログイン成功時のリダイレクト先URLを設定
- 認証失敗時のリダイレクト先URLを設定
package com.study.loginpractice.config;

import org.springframework.beans.factory.annotation.Autowired;
import org.springframework.context.annotation.Bean;
import org.springframework.context.annotation.Configuration;
import org.springframework.security.config.annotation.web.builders.HttpSecurity;
import org.springframework.security.config.annotation.web.configuration.EnableWebSecurity;
import org.springframework.security.web.SecurityFilterChain;
import org.springframework.web.cors.CorsConfiguration;
import org.springframework.web.cors.UrlBasedCorsConfigurationSource;

// クラスに@Configurationをつけることで、このクラスがSpringの設定クラスであることを示す
@Configuration
// @EnableWebSecurityをつけることで、Spring Securityのウェブセキュリティサポートを有効化する
@EnableWebSecurity
public class SecurityConfig {

    // CustomAuthenticationProvider Beanをこのクラスに注入する
    @Autowired
    private CustomAuthenticationProvider customAuthenticationProvider;

    @Bean
    public SecurityFilterChain securityFilterChain(HttpSecurity http) throws Exception {
        http
        // カスタム認証プロバイダを設定
        .authenticationProvider(customAuthenticationProvider)
        // CORSの設定を適用
        .cors(customizer -> customizer.configurationSource(corsConfigurationSource()))
        // CSRFの保護を無効にする
        .csrf(csrf -> csrf.disable())
        .authorizeHttpRequests(authorizeRequests ->
            authorizeRequests
                // loginのパスへのリクエストはすべて許可
                .requestMatchers("/login").permitAll()
                 // その他のリクエストは認証が必要
                .anyRequest().authenticated()
        )
        .formLogin(formLogin ->
            formLogin
            // ログイン処理のURLを指定(フロントがログインボタン実行時にPOSTする場所)
            .loginProcessingUrl("/login")
            // カスタムログインページのURLを指定(Spring Securityデフォルトの画面を置き換える)
            .loginPage("http://127.0.0.1:5500/front/login.html")
            // ログイン成功時のリダイレクト先URLを指定
            .defaultSuccessUrl("http://127.0.0.1:5500/front/index.html")
            // 認証失敗時のリダイレクト先URLを指定
            .failureUrl("http://127.0.0.1:5500/front/error.html")
        );

    return http.build();
    }

    // @Beanをつけることで、このメソッドがSpringのコンテナにBeanとして登録される
    @Bean
    public UrlBasedCorsConfigurationSource corsConfigurationSource() {
        // CORSの設定を行うためのオブジェクトを生成
        CorsConfiguration configuration = new CorsConfiguration();

        // クレデンシャル(資格情報(CookieやHTTP認証情報))を含むリクエストを許可する
        configuration.setAllowCredentials(true);

        // 許可するオリジン(この場合は"http://127.0.0.1:5500"のみ)を設定
        configuration.addAllowedOrigin("http://127.0.0.1:5500");

        // 任意のヘッダーを許可
        configuration.addAllowedHeader("*");

        // 任意のHTTPメソッド(GET, POSTなど)を許可
        configuration.addAllowedMethod("*");

        // CORS設定をURLベースで行うためのオブジェクトを生成
        UrlBasedCorsConfigurationSource source = new UrlBasedCorsConfigurationSource();

        // 全てのURLパスにこのCORS設定を適用
        source.registerCorsConfiguration("/**", configuration);

        return source;
    }
}
3.CustomAuthenticationProviderクラスの作成
| 手順 |
|---|
| 3-1.CustomAuthenticationProviderクラスの概要 |
| 3-2.CustomAuthenticationProviderクラスの実装 |
3-1.CustomAuthenticationProviderクラスの概要
CustomAuthenticationProviderクラスは、Spring Securityにデフォルトであるログイン認証の機能を独自のログイン認証機能に置き換えるために使用します。これにより、特定のユースケース(シナリオやタスク)やビジネスルールに合わせた認証処理を追加することができます。
以下のような処理を実装します。
- ユーザーからのログイン情報(例:ユーザー名とパスワード)を受け取る
- 受け取ったログイン情報をもとに、データベースや外部APIなどでユーザーの認証を試みる。
- 認証が成功した場合、認証情報をセットしてアクセスを許可する。失敗した場合はエラーメッセージを返す。
- 認証に関連するその他の処理や設定、例えばロールに基づくアクセス制御など。
3-2.CustomAuthenticationProviderクラスの実装
supportsメソッドの作成
supportsメソッドでは使用する認証方式(認証方法)がCustomAuthenticationProviderで使用できるかを判定するメソッドです。認証方式(認証方法)には以下のようなものがあります。
-
ユーザー名とパスワード認証:これは最も一般的な認証方法で、ユーザーがユーザー名とパスワードを提供することで認証されます。
-
多要素認証 (MFA) / 二要素認証 (2FA):これはユーザー名とパスワードだけでなく、さらにもう一つ以上の認証方法を組み合わせたものです。例えば、SMSで送信されるコードやハードウェアトークン、バイオメトリクス(指紋や顔認証)などがこれに該当します。
-
OAuth / OpenID Connect:ソーシャルメディアのアカウントやGoogle、Facebookなどのサードパーティサービスを使用してユーザーを認証する方法です。
-
APIキー認証:サーバー間通信やアプリケーション間通信の際に用いられる認証方法で特定のAPIキーを持つリクエストのみが認証されます。
-
クライアント証明書認証:ユーザーやサーバーが所持するデジタル証明書を利用して認証を行う方法です。
-
JWT (JSON Web Token) 認証:JSON形式のトークンを使用してユーザーを認証・認可する方法でこのトークンは一時的に発行され、期限が切れると使用できなくなります。
-
SAML認証:エンタープライズ環境(例: Microsoft 365やSAP, Oracle ERPなど)でよく使用される認証プロトコルで、シングルサインオン(SSO)(一度のログインで複数のサービスやアプリケーションへのアクセスを許可する仕組み)を利用する仕組みとして使われます。
今回は、ユーザー名とパスワード認証をサポートさせます。
以下のように実装してください。
package com.study.loginpractice.config;

import org.springframework.security.authentication.AuthenticationProvider;
import org.springframework.security.authentication.UsernamePasswordAuthenticationToken;
import org.springframework.security.core.Authentication;
import org.springframework.security.core.AuthenticationException;
import org.springframework.stereotype.Component;

// @Componentをつけることで、このクラスがSpringのコンテナにBeanとして登録される
@Component
public class CustomAuthenticationProvider implements AuthenticationProvider{

    @Override
    public Authentication authenticate(Authentication authentication) throws AuthenticationException {
        // TODO Auto-generated method stub
        throw new UnsupportedOperationException("Unimplemented method 'authenticate'");
    }

    @Override
    public boolean supports(Class<?> authentication) {
        // authentication(認証方式)がUsernamePasswordAuthenticationToken.class(ユーザー名とパスワード認証)か判定
        return authentication.equals(UsernamePasswordAuthenticationToken.class);
    }

}
UsernamePasswordAuthenticationTokenはSpring Securityで提供されるクラスで、ユーザー名とパスワードに基づく認証情報を保持するためのものです。このクラスは認証リクエスト情報(ユーザ名とパスワード)を持ち、また認証成功時には認証済みのプリンシパル(ログインしたユーザーの情報)とその権限を表すものとしても使用されます。
authenticateメソッドの作成
authenticateメソッドを作成します。このメソッドでは、ユーザーの認証処理を実装します。具体的には、ログインフォームから送られてきたユーザー名やパスワードを、アプリケーションが持つデータベースや他の情報源と照らし合わせ、正しい情報が提供されているかを確認します。今回のサンプルでは、固定のユーザー名とパスワードをもって、それらとブラウザからの入力情報を検証します。ユーザー名とパスワードが正しければ認証トークン(ユーザ名、パスワード、権限)を返し、正しくない場合はエラーを返します。
package com.study.loginpractice.config;

import org.springframework.security.authentication.AuthenticationProvider;
import org.springframework.security.authentication.BadCredentialsException;
import org.springframework.security.authentication.UsernamePasswordAuthenticationToken;
import org.springframework.security.core.Authentication;
import org.springframework.security.core.AuthenticationException;
import org.springframework.stereotype.Component;

// @Componentをつけることで、このクラスがSpringのコンテナにBeanとして登録される
@Component
public class CustomAuthenticationProvider implements AuthenticationProvider{

    // テスト用の固定値ユーザー名とパスワード
    private static final String FIXED_USERNAME = "testUser";
    private static final String FIXED_PASSWORD = "testPass123";

    @Override
    public Authentication authenticate(Authentication authentication) throws AuthenticationException {
        // ブラウザから入力したユーザ名・パスワードを取得
        String username = authentication.getName();
        String password = (String) authentication.getCredentials();

        if (FIXED_USERNAME.equals(username) && FIXED_PASSWORD.equals(password)) {
            // 認証成功時は、認証トークン(ユーザ名、パスワード、権限)を作成
            return new UsernamePasswordAuthenticationToken(username, password, null);
        } else {
            // 認証失敗は、エラーを返す
            throw new BadCredentialsException("Authentication failed");
        }
    }

    @Override
    public boolean supports(Class<?> authentication) {
        // authentication(認証方式)がUsernamePasswordAuthenticationToken.class(ユーザー名とパスワード認証)か判定
        return authentication.equals(UsernamePasswordAuthenticationToken.class);
    }

}
4.動作確認
画面とサーバを起動して動作確認を行います。以下をブラウザで起動してください。
http://127.0.0.1:5500/front/login.html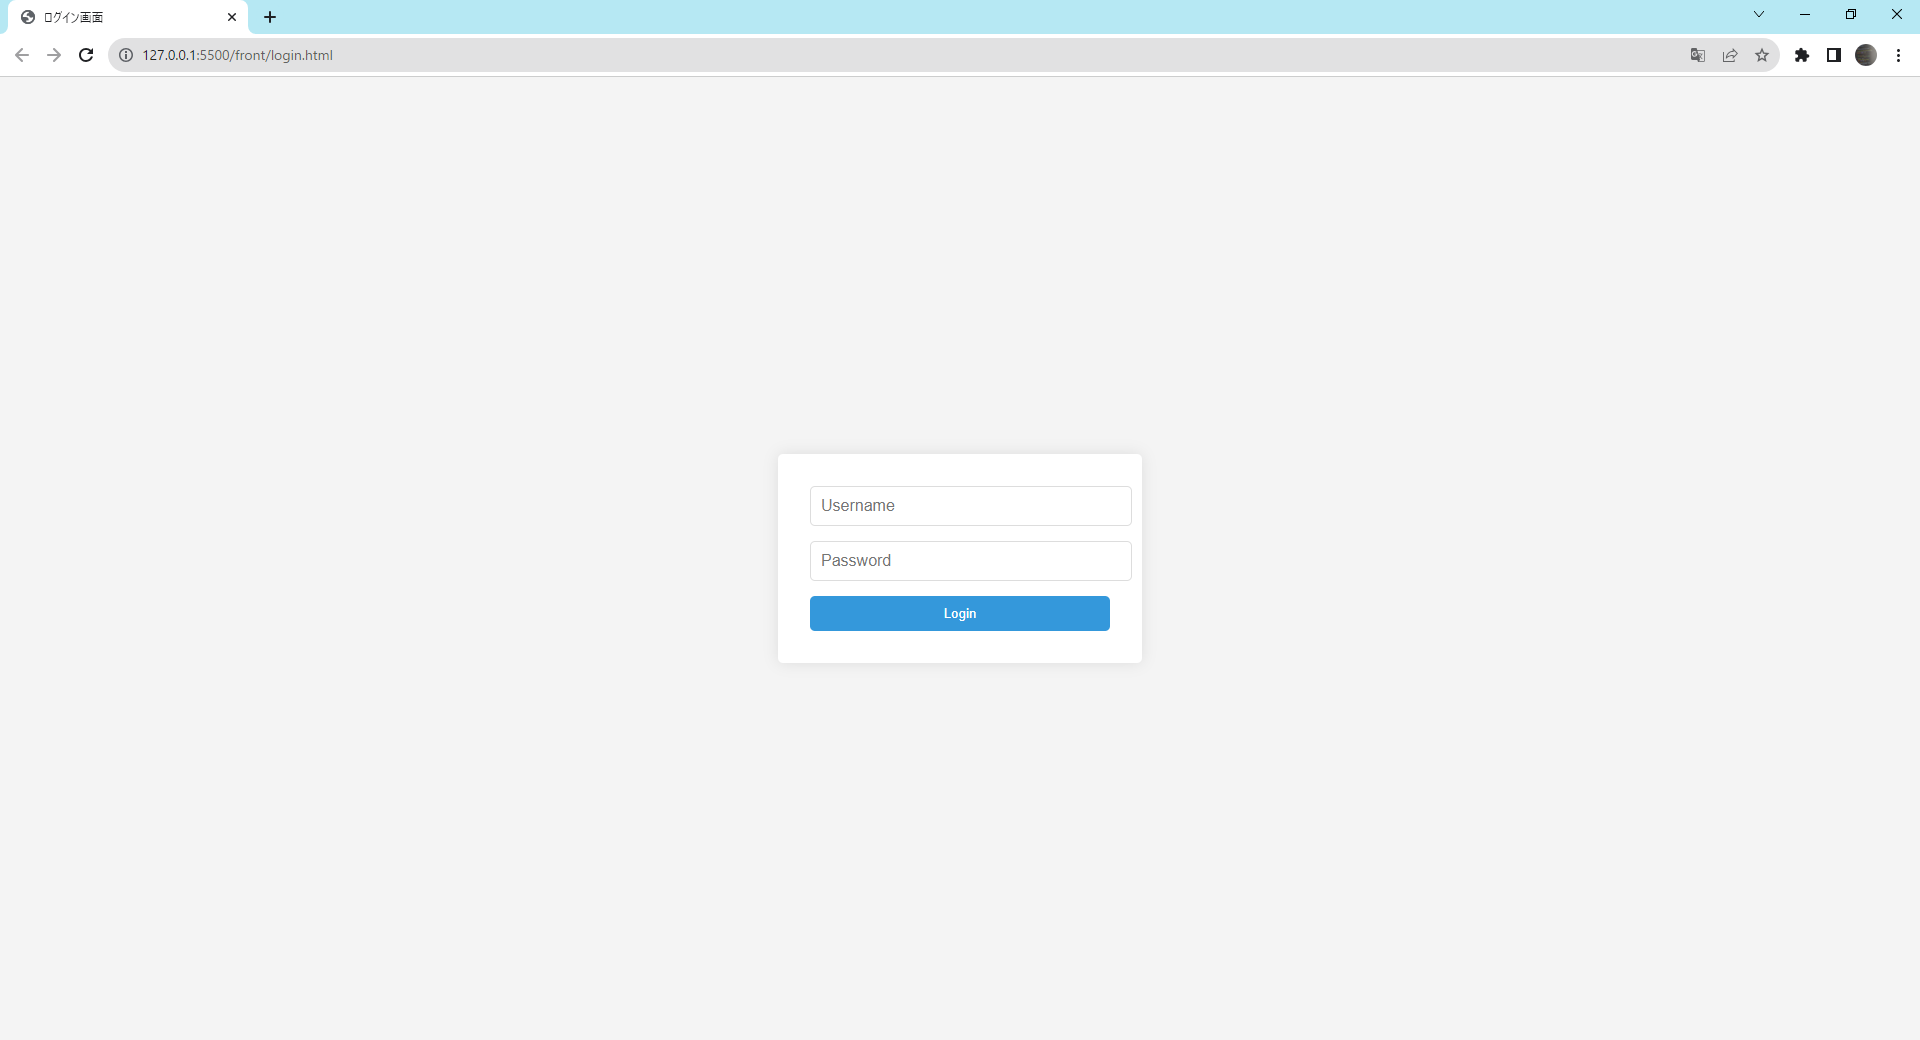
以下のユーザ名とパスワードを入力して、Loginボタンをクリックしてください。
- ユーザ名:testUser
- パスワード:testPass123
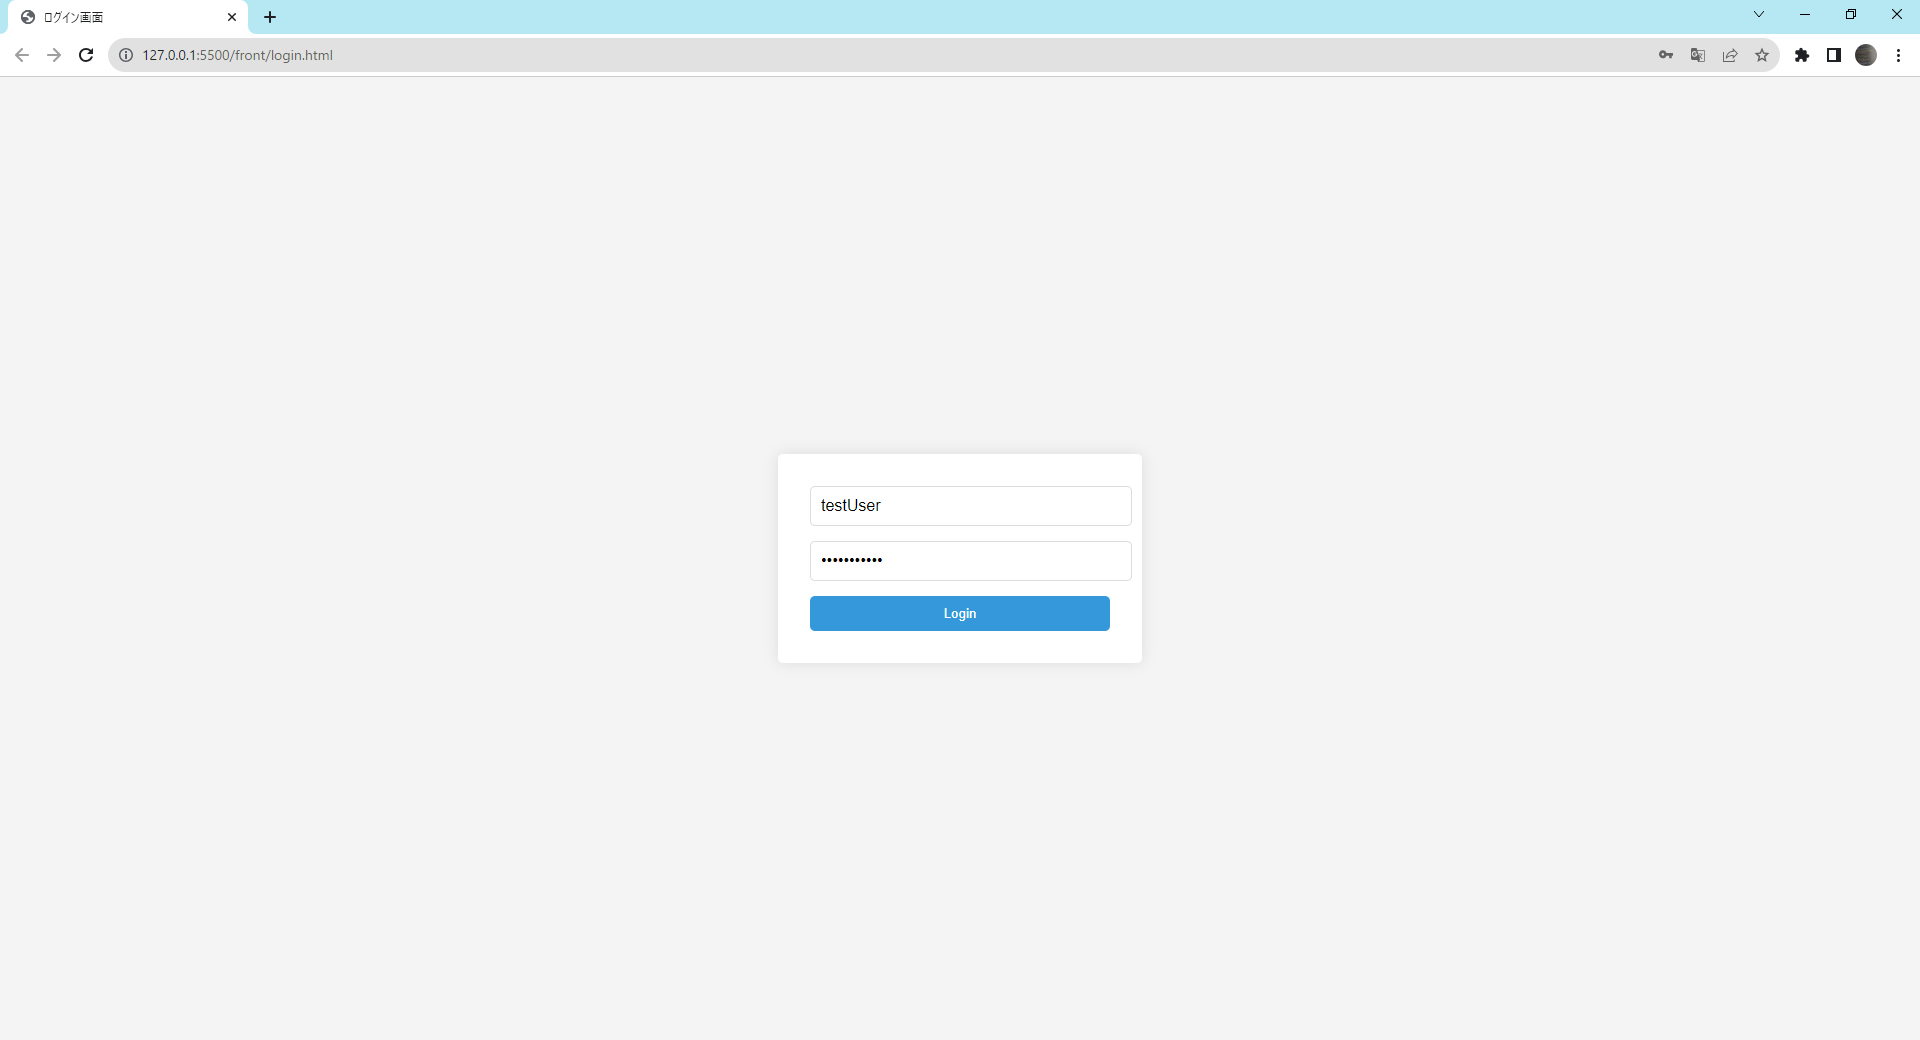
ホーム画面(index.html)が表示されれば成功です。

次に、エラー時の確認を行います。
以下のユーザ名とパスワードを入力して、Loginボタンをクリックしてください。
- ユーザ名:testUser2
- パスワード:testPass1234
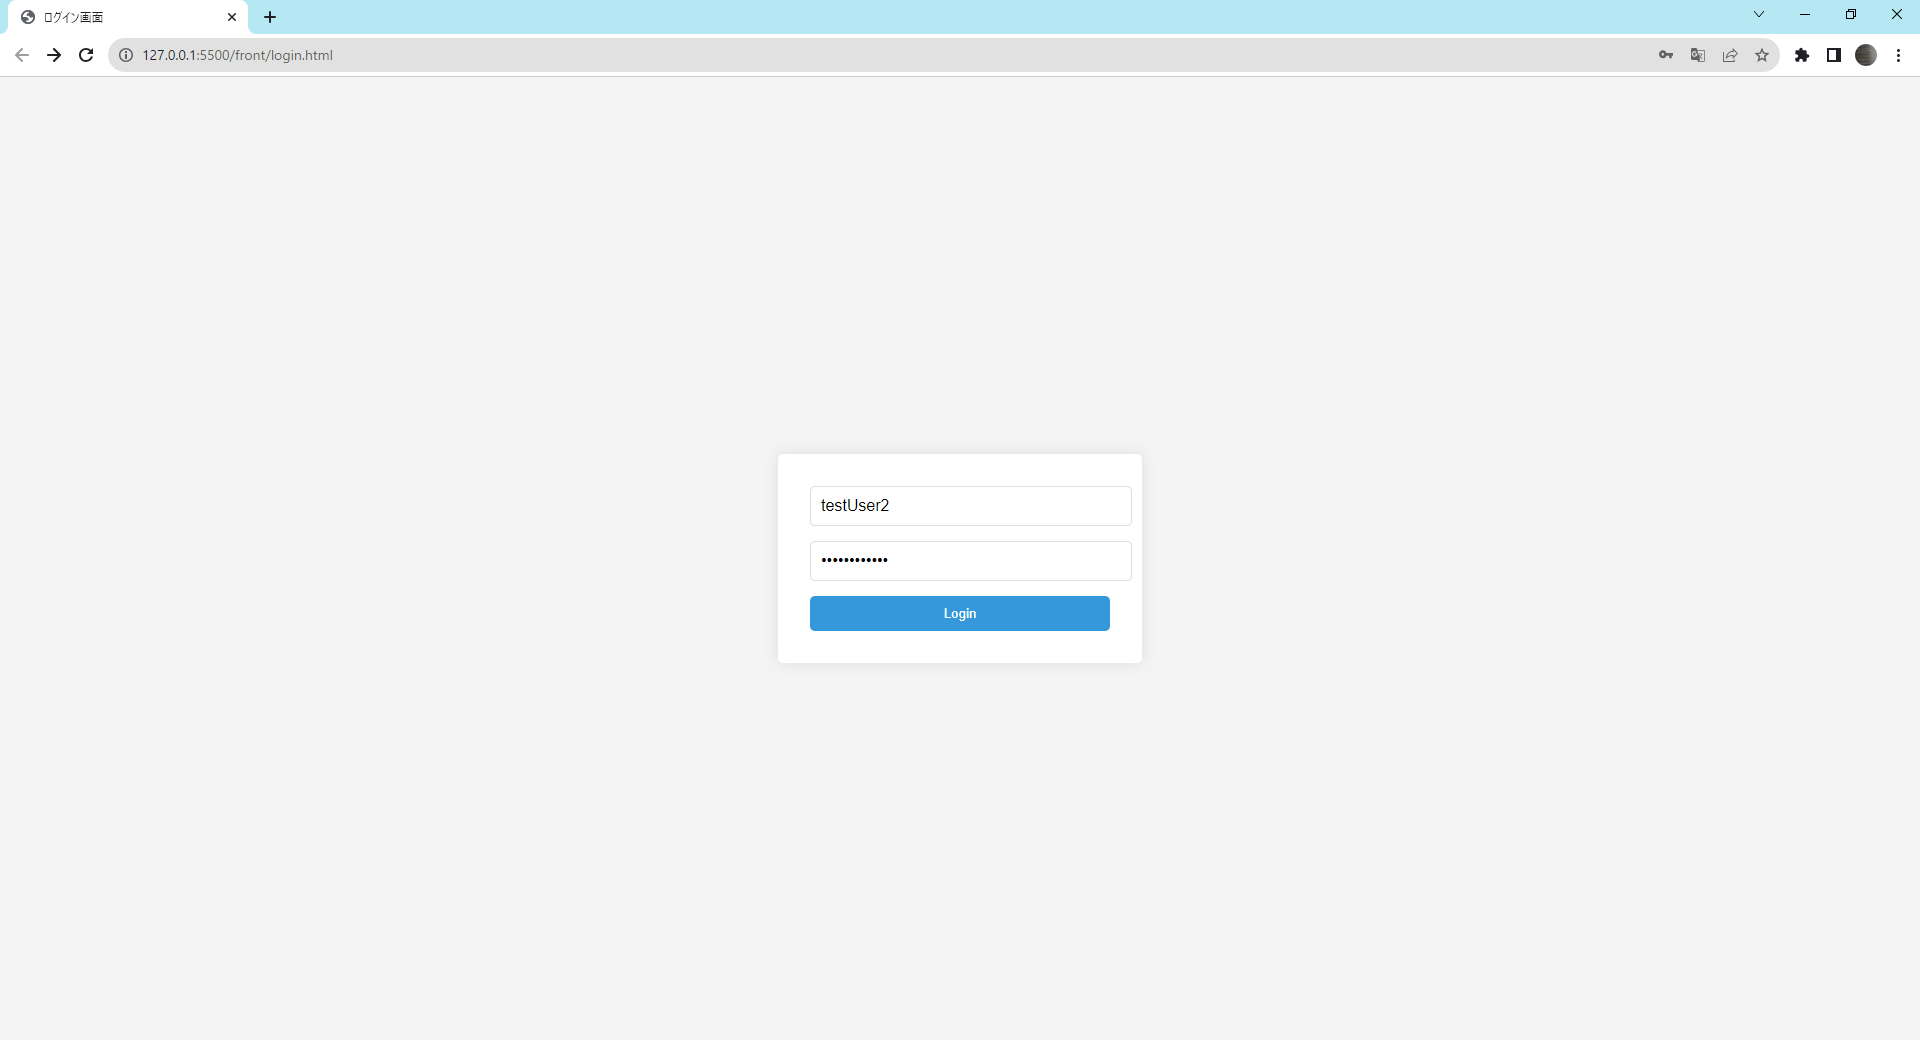
エラー画面(error.html)が表示されれば成功です。
CORSとは
CORS(Cross-Origin Resource Sharing)は異なるオリジンのリソースに安全にアクセスできるようにするための仕組みです。
オリジンとは、あるリソースやページの出所や起源を識別するためのもので
以下の3つの要素から成り立っています。
-
スキーム (プロトコル):例) httpやhttpsなど
-
ホスト (ドメイン名):例) 127.0.0.1(IPアドレス)やexample.com
-
ポート: 例) 8080や5500
これらの情報を組み合わせると、オリジンが形成されます。
例) http://127.0.0.1:5500
上記の場合、httpがスキーム、127.0.0.1がホスト、5500がポートです。
このとき、上記3つすべての要素が同じ場合に同一オリジンと呼ばれます。
例) http://127.0.0.1:5500/page1とhttp://127.0.0.1:5500/page2
逆にどれか1つでも異なる場合は異なるオリジンとなります。
例)
http://127.0.0.1:5500/page1とhttps://127.0.0.1:5500/page2
http://127.0.0.1:5500/page1とhttp://127.0.0.1:8080/page2
http://exampe.comとhttp://sub.example.com/page2
上記のように異なるオリジンの場合にCORSの設定が必要になります。
最後に
Part2は以上となります。Part3ではユーザ名とパスワードをデータベースにある値と検証するように修正します。


コメント