初めに
この記事は、前回の記事「Spring Securityを使用したログイン機能の実装方法をわかりやすく解説 Part2」の続編としてお届けします。前回は固定値のユーザ名とパスワードの比較に焦点を当てましたが、今回はデータベースに保存されているユーザ名とパスワードの比較機能の実装に取り組みます。
以下の手順に従って進めていきます。
1.Usersテーブルを反映したEntityクラスの作成
まず、データベースの usersテーブルの構造を確認しましょう。
| カラム名 | データ型 | 論理名 |
|---|---|---|
| id | serial | ユーザの一意のID |
| username | character varying(255) | ユーザ名 |
| password_hash | character varying(255) | パスワードのハッシュ値 |
| character varying(255) | ユーザのEメールアドレス | |
| created_at | timestamp(6) without time zone | 作成日時 |
| updated_at | timestamp(6) without time zone | 更新日時 |
このテーブル構造を基に、JavaのEntityクラスを作成します。「../java/com/study/loginpractice」の下に「entityパッケージ」を作成して、その下にUserEntity.java を作成してください。
以下がそのクラスの内容です。
package com.study.loginpractice.entity;

import lombok.Data;

@Data
public class UserEntity {
    private int id;
    private String username;
    private String passwordHash;
    private String email;
    private java.sql.Timestamp createdAt;
    private java.sql.Timestamp updatedAt;
}このクラスのフィールド名は、上記のテーブル構造のカラム名をキャメルケース(単語の区切りごとに次の単語の頭文字を大文字にし、最初の単語の頭文字は小文字のままとする)に変換したものとなっています。
データベースのカラム名とJavaのフィールド名の命名規則が異なることに注意が必要です。具体的には、データベースの password_hash カラムが Javaの passwordHash フィールドになっています。
このようなマッピングを簡単にするために、MyBatisの設定を利用します。以下の設定をプロジェクトの application.propertiesに追加することで、アンダースコア区切りとキャメルケースのマッピングを自動で行うことができます。
mybatis.configuration.map-underscore-to-camel-case=true上記を追加した application.properties を以下に示します。
spring.datasource.url=jdbc:postgresql://localhost:5432/login_db?currentSchema=auth
spring.datasource.username=postgres
spring.datasource.password=password
spring.datasource.driver-class-name=org.postgresql.Driver

mybatis.configuration.map-underscore-to-camel-case=true
2.Usersテーブルからデータを取得するMapperの作成
このセクションでは、データベースのUsersテーブルとJavaオブジェクトの間で情報を効率的にマッピングするためのMapperをMyBatisを使用して作成します。初めに、MyBatisの設定を行いましょう。
以下の設定を application.properties に追加してください。
mybatis.type-aliases-package=com.study.loginpractice.entity
mybatis.mapper-locations=classpath:mapper/*.xml
上記を追加した application.properties を以下に示します。
spring.datasource.url=jdbc:postgresql://localhost:5432/login_db?currentSchema=auth
spring.datasource.username=postgres
spring.datasource.password=password
spring.datasource.driver-class-name=org.postgresql.Driver

mybatis.configuration.map-underscore-to-camel-case=true
mybatis.type-aliases-package=com.study.loginpractice.model
mybatis.mapper-locations=mapper/*.xml
これにより、MyBatisは指定されたパッケージ内のエンティティクラスと、指定されたディレクトリ内のマッパーXMLを自動的に認識します。これで、XMLがよりシンプルに記述できます。
次に、Mapperインターフェースを作成し、その後で該当するXMLファイルを作成します。
まず、「../java/com/study/loginpractice」の下に「mapperパッケージ」を作成し、その中に UserMapper.java を作成してください。
以下がそのインターフェースの内容です。
package com.study.loginpractice.mapper;

import org.apache.ibatis.annotations.Mapper;
import com.study.loginpractice.entity.UserEntity;

@Mapper
public interface  UserMapper {
    UserEntity findByUsername(String username);
}ここで、ユーザ情報を表す型として前の手順で作成したUserEntityを利用しています。
最後に、「resourcesディレクトリ」の下に「mapperディレクトリ」を作成し、その中に UserMapper.xml を作成してください。
以下がそのXMLの内容です。
<?xml version="1.0" encoding="UTF-8"?>
<!DOCTYPE mapper PUBLIC "-//mybatis.org//DTD Mapper 3.0//EN" "http://mybatis.org/dtd/mybatis-3-mapper.dtd">

<mapper namespace="com.study.loginpractice.mapper.UserMapper">
    <select id="findByUsername" resultType="UserEntity">
        SELECT * FROM users WHERE username = #{username}
    </select>
</mapper>
3.ログイン情報をデータベースから取得するためのServiceクラスの作成
前の手順で作成したMapperを利用して、ユーザのログイン情報をデータベースから取得するためのServiceクラスを作成します。
「../java/com/study/loginpractice」の下に「serviceパッケージ」を作成し、その中に UserService.java という名前でクラスを作成してください。
以下がそのサービスクラスの内容です。
package com.study.loginpractice.service;

import com.study.loginpractice.entity.UserEntity;
import com.study.loginpractice.mapper.UserMapper;
import org.springframework.stereotype.Service;

@Service
public class UserService {

    private final UserMapper userMapper;

    public UserService(UserMapper userMapper) {
        this.userMapper = userMapper;
    }

    public UserEntity getUserByUsername(String username) {
        return userMapper.findByUsername(username);
    }
}
4.データベースから取得したユーザ情報をSpring Securityで利用可能な形式に変換するServiceクラスの作成
Spring Securityとアプリケーションのデータベース間でユーザ情報を適切にやり取りするために、特定のServiceクラスを作成します。このサービスクラスは、データベースから取得したユーザ情報をSpring Securityが認識できる形式に変換する機能を持ちます。
「../java/com/study/loginpractice/service」の中に CustomUserDetailsService.java という名前でクラスを作成してください。
以下がそのサービスクラスの内容です。
package com.study.loginpractice.service;

import org.springframework.security.core.userdetails.User;
import org.springframework.security.core.userdetails.UserDetails;
import org.springframework.security.core.userdetails.UserDetailsService;
import org.springframework.security.core.userdetails.UsernameNotFoundException;
import org.springframework.stereotype.Service;

import com.study.loginpractice.entity.UserEntity;

@Service
public class CustomUserDetailsService implements UserDetailsService{

    private final UserService userService;

    public CustomUserDetailsService(UserService userService) {
        this.userService = userService;
    }

    @Override
    public UserDetails loadUserByUsername(String username) throws UsernameNotFoundException {
        UserEntity user = userService.getUserByUsername(username);

        if (user == null) {
            throw new UsernameNotFoundException("User not found: " + username);
        }

        return User.builder()
                .username(user.getUsername())
                .password(user.getPasswordHash())
                .build();
    }

}
このサービスクラスは、Spring Securityの UserDetailsService インターフェースを実装しています。loadUserByUsername メソッドを通じて、前の手順で作成した UserServiceで ユーザ名に基づいてデータベースからユーザ情報を取得し、それをSpring Securityで利用可能な UserDetails インターフェースを実装する User クラスに変換する役割を果たします。
5.パスワードをエンコードするBeanを登録するConfigクラスの作成
セキュリティの観点から、平文のパスワードをデータベースに保存することは推奨されません。そのため、パスワードをエンコード(ハッシュ化)するための設定が必要です。
「../java/com/study/loginpractice/config」の中に PasswordEncoderConfig.java という名前でクラスを作成してください。
package com.study.loginpractice.config;

import org.springframework.context.annotation.Bean;
import org.springframework.context.annotation.Configuration;
import org.springframework.security.crypto.bcrypt.BCryptPasswordEncoder;
import org.springframework.security.crypto.password.PasswordEncoder;

@Configuration
public class PasswordEncoderConfig {

    @Bean
    public PasswordEncoder passwordEncoder() {
        return new BCryptPasswordEncoder();
    }
}
6.データベースのユーザ情報と入力した情報を照合するようにCustomAuthenticationProviderを変更
前回のパートで作成した CustomAuthenticationProvider は、固定の値との比較に基づいています。この部分を改良して、データベースのユーザ情報と入力された情報の照合を実行するようにします。
具体的には、以下の手順で作成したコンポーネントを組み合わせて利用します:
以下が改良後の内容です。
package com.study.loginpractice.config;

import org.springframework.security.authentication.AuthenticationProvider;
import org.springframework.security.authentication.BadCredentialsException;
import org.springframework.security.authentication.UsernamePasswordAuthenticationToken;
import org.springframework.security.core.Authentication;
import org.springframework.security.core.AuthenticationException;
import org.springframework.security.core.userdetails.UserDetails;
import org.springframework.security.core.userdetails.UserDetailsService;
import org.springframework.security.crypto.password.PasswordEncoder;
import org.springframework.stereotype.Component;

// @Componentをつけることで、このクラスがSpringのコンテナにBeanとして登録される
@Component
public class CustomAuthenticationProvider implements AuthenticationProvider{

    private final UserDetailsService userDetailsService;
    private final PasswordEncoder passwordEncoder;

    public CustomAuthenticationProvider(UserDetailsService userDetailsService, PasswordEncoder passwordEncoder) {
        this.userDetailsService = userDetailsService;
        this.passwordEncoder = passwordEncoder;
    }

    @Override
    public Authentication authenticate(Authentication authentication) throws AuthenticationException {
        String username = authentication.getName();
        String inputPassword = (String) authentication.getCredentials();

        UserDetails userDetails = userDetailsService.loadUserByUsername(username);

        if (passwordEncoder.matches(inputPassword, userDetails.getPassword())) {
            return new UsernamePasswordAuthenticationToken(username, inputPassword, userDetails.getAuthorities());
        } else {
            throw new BadCredentialsException("Authentication failed");
        }
    }

    @Override
    public boolean supports(Class<?> authentication) {
        // authentication(認証方式)がUsernamePasswordAuthenticationToken.class(ユーザー名とパスワード認証)か判定
        return authentication.equals(UsernamePasswordAuthenticationToken.class);
    }

}
7.SecurityConfigの修正
SecurityConfig の更新を行います。既存の実装方法でも問題なく動作しますが、最新のSpringフレームワークで推奨される実装方法に沿っていない点があります。具体的には、 @Autowiredアノテーション を使用してBeanの依存関係を注入するのではなく、コンストラクタを通じてBeanを注入する方法を推奨されています。
以下の修正を行います。
-   @Autowired
-   private CustomAuthenticationProvider customAuthenticationProvider;

+   private final CustomAuthenticationProvider customAuthenticationProvider;

+   public SecurityConfig(CustomAuthenticationProvider customAuthenticationProvider){
+       this.customAuthenticationProvider = customAuthenticationProvider;
+ }この変更により、CustomAuthenticationProvider のインスタンスはコンストラクタを介して SecurityConfig に注入されます。以下は、修正後のSecurityConfig の全文です。
package com.study.loginpractice.config;

import org.springframework.context.annotation.Bean;
import org.springframework.context.annotation.Configuration;
import org.springframework.security.config.annotation.web.builders.HttpSecurity;
import org.springframework.security.config.annotation.web.configuration.EnableWebSecurity;
import org.springframework.security.web.SecurityFilterChain;
import org.springframework.web.cors.CorsConfiguration;
import org.springframework.web.cors.UrlBasedCorsConfigurationSource;

// クラスに@Configurationをつけることで、このクラスがSpringの設定クラスであることを示す
@Configuration
// @EnableWebSecurityをつけることで、Spring Securityのウェブセキュリティサポートを有効化する
@EnableWebSecurity
public class SecurityConfig {

    // CustomAuthenticationProvider Beanをこのクラスに注入する
    private final CustomAuthenticationProvider customAuthenticationProvider;

    public SecurityConfig(CustomAuthenticationProvider customAuthenticationProvider){
        this.customAuthenticationProvider = customAuthenticationProvider;
    }

    @Bean
    public SecurityFilterChain securityFilterChain(HttpSecurity http) throws Exception {
        http
        // カスタム認証プロバイダを設定
        .authenticationProvider(customAuthenticationProvider)
        // CORSの設定を適用
        .cors(customizer -> customizer.configurationSource(corsConfigurationSource()))
        // CSRFの保護を無効にする
        .csrf(csrf -> csrf.disable())
        .authorizeHttpRequests(authorizeRequests ->
            authorizeRequests
                // loginのパスへのリクエストはすべて許可
                .requestMatchers("/login").permitAll()
                 // その他のリクエストは認証が必要
                .anyRequest().authenticated()
        )
        .formLogin(formLogin ->
            formLogin
            // ログイン処理のURLを指定(フロントがログインボタン実行時にPOSTする場所)
            .loginProcessingUrl("/login")
            // カスタムログインページのURLを指定(Spring Securityデフォルトの画面を置き換える)
            .loginPage("http://127.0.0.1:5500/front/login.html")
            // ログイン成功時のリダイレクト先URLを指定
            .defaultSuccessUrl("http://127.0.0.1:5500/front/index.html")
            // 認証失敗時のリダイレクト先URLを指定
            .failureUrl("http://127.0.0.1:5500/front/error.html")
        );

    return http.build();
    }

    // @Beanをつけることで、このメソッドがSpringのコンテナにBeanとして登録される
    @Bean
    public UrlBasedCorsConfigurationSource corsConfigurationSource() {
        // CORSの設定を行うためのオブジェクトを生成
        CorsConfiguration configuration = new CorsConfiguration();

        // クレデンシャル(資格情報(CookieやHTTP認証情報))を含むリクエストを許可する
        configuration.setAllowCredentials(true);

        // 許可するオリジン(この場合は"http://127.0.0.1:5500"のみ)を設定
        configuration.addAllowedOrigin("http://127.0.0.1:5500");

        // 任意のヘッダーを許可
        configuration.addAllowedHeader("*");

        // 任意のHTTPメソッド(GET, POSTなど)を許可
        configuration.addAllowedMethod("*");

        // CORS設定をURLベースで行うためのオブジェクトを生成
        UrlBasedCorsConfigurationSource source = new UrlBasedCorsConfigurationSource();

        // 全てのURLパスにこのCORS設定を適用
        source.registerCorsConfiguration("/**", configuration);

        return source;
    }

}
8.動作確認
動作確認のため、以下の手順を行います。
テストデータを作成
動作確認のため、usersテーブルにテストデータを登録します。特に、usersテーブルの password_hash カラムには、ハッシュ化したパスワードの値を登録する必要があります。初めに、パスワードをハッシュ化するためのツールを作成します。その後、そのツールを使ってハッシュ化したパスワードの値を取得し、テストデータのSQL文を作成します。
パスワードハッシュ生成ツールの作成
以下のツールを作成し、パスワードをハッシュ化します。このツールは、「src/test/java/com/study/loginpractice/utils」 ディレクトリに作成します。
package com.study.loginpractice.utils;

import org.springframework.security.crypto.bcrypt.BCryptPasswordEncoder;

public class PasswordHashGenerator {
        public static void main(String[] args) {
        BCryptPasswordEncoder encoder = new BCryptPasswordEncoder();
        String rawPassword = "test123";
        String hashedPassword = encoder.encode(rawPassword);
        System.out.println(hashedPassword);
    }
}
上記のツールを実行すると、ハッシュ化されたパスワードがコンソールに出力されます。
テストデータの登録
以下のSQL文を使用して、コピーしたハッシュ化されたパスワードをusers テーブルに登録します。
INSERT INTO auth.users (username, password_hash, email, created_at, updated_at)
VALUES ('testUser', '$2a$10$X3OuufZu4DmuQE9bdjOuqO4i/RSgeVrpAnJxRDwDlnjbtGyK3kluC', 'testUser@example.com', CURRENT_TIMESTAMP, CURRENT_TIMESTAMP);
このSQL文を、実行してデータベースに登録してください。
動作確認
画面とサーバを起動して動作確認を行います。以下をブラウザで起動してください。
http://127.0.0.1:5500/front/login.html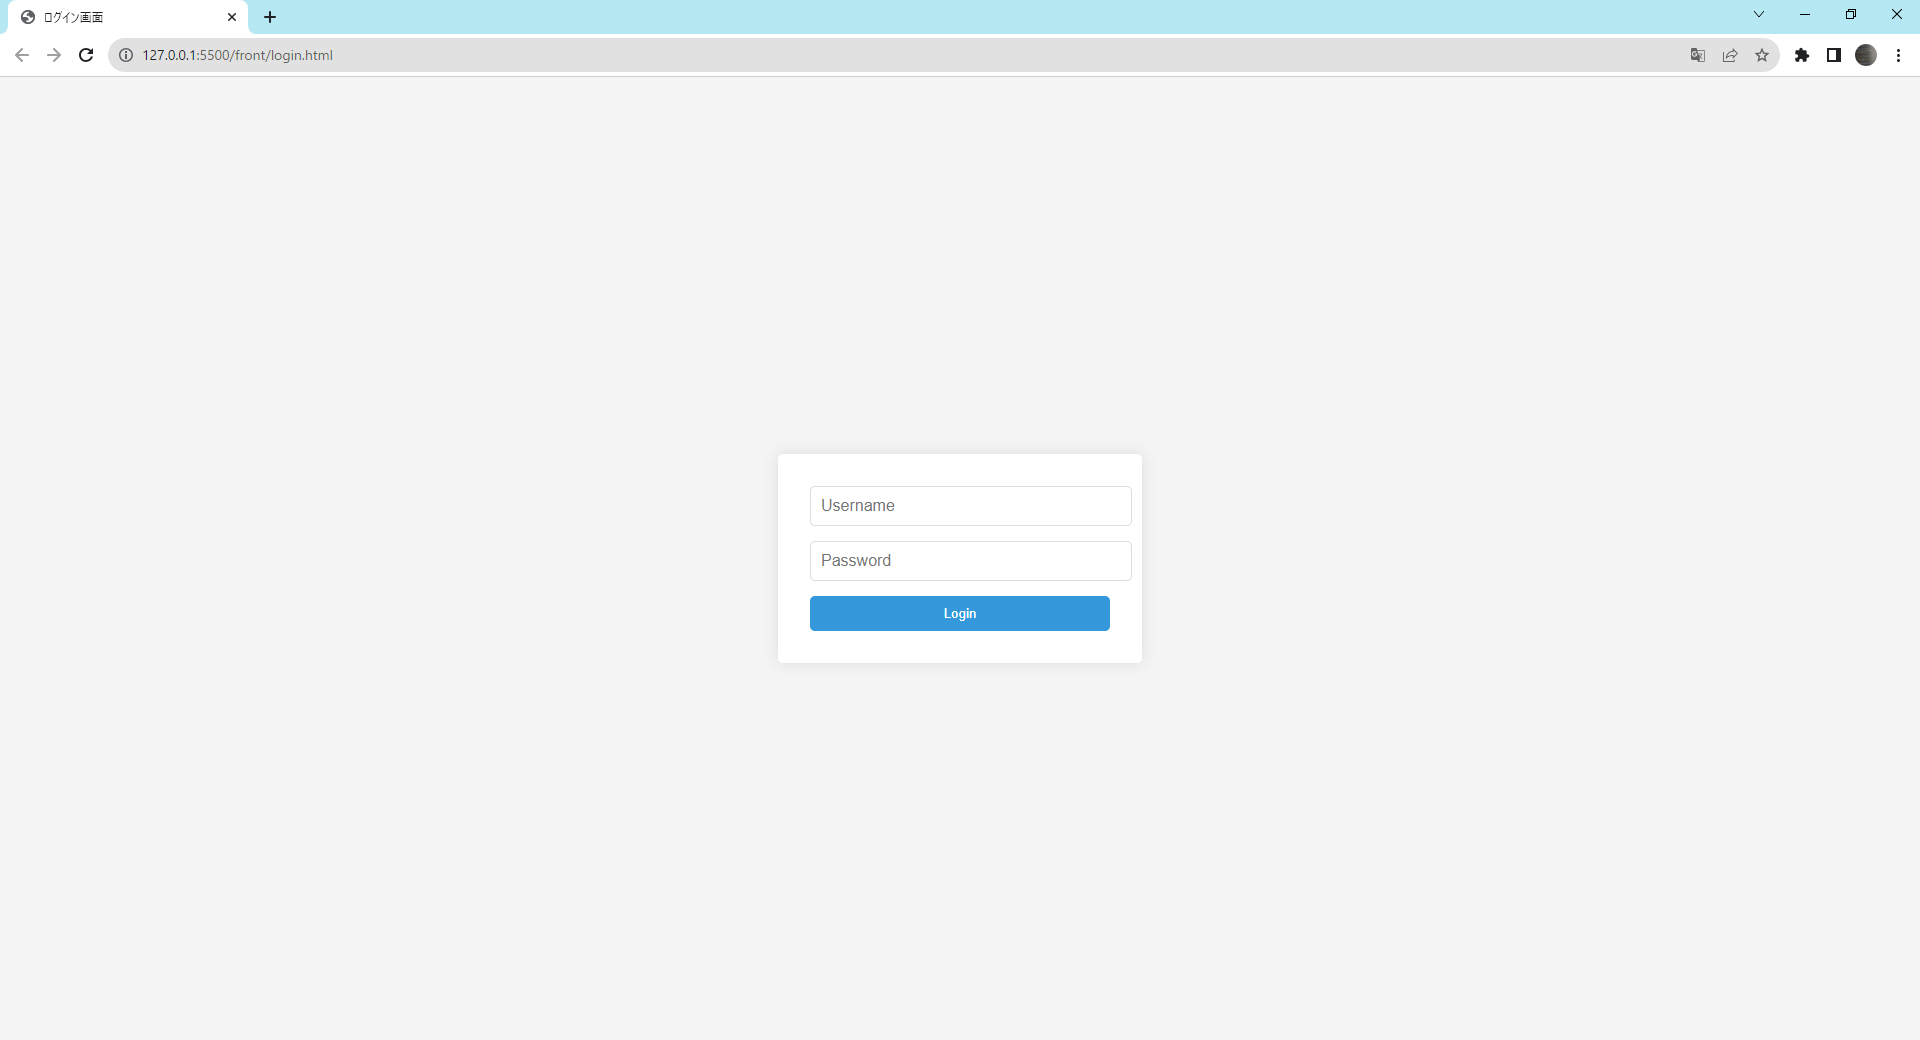
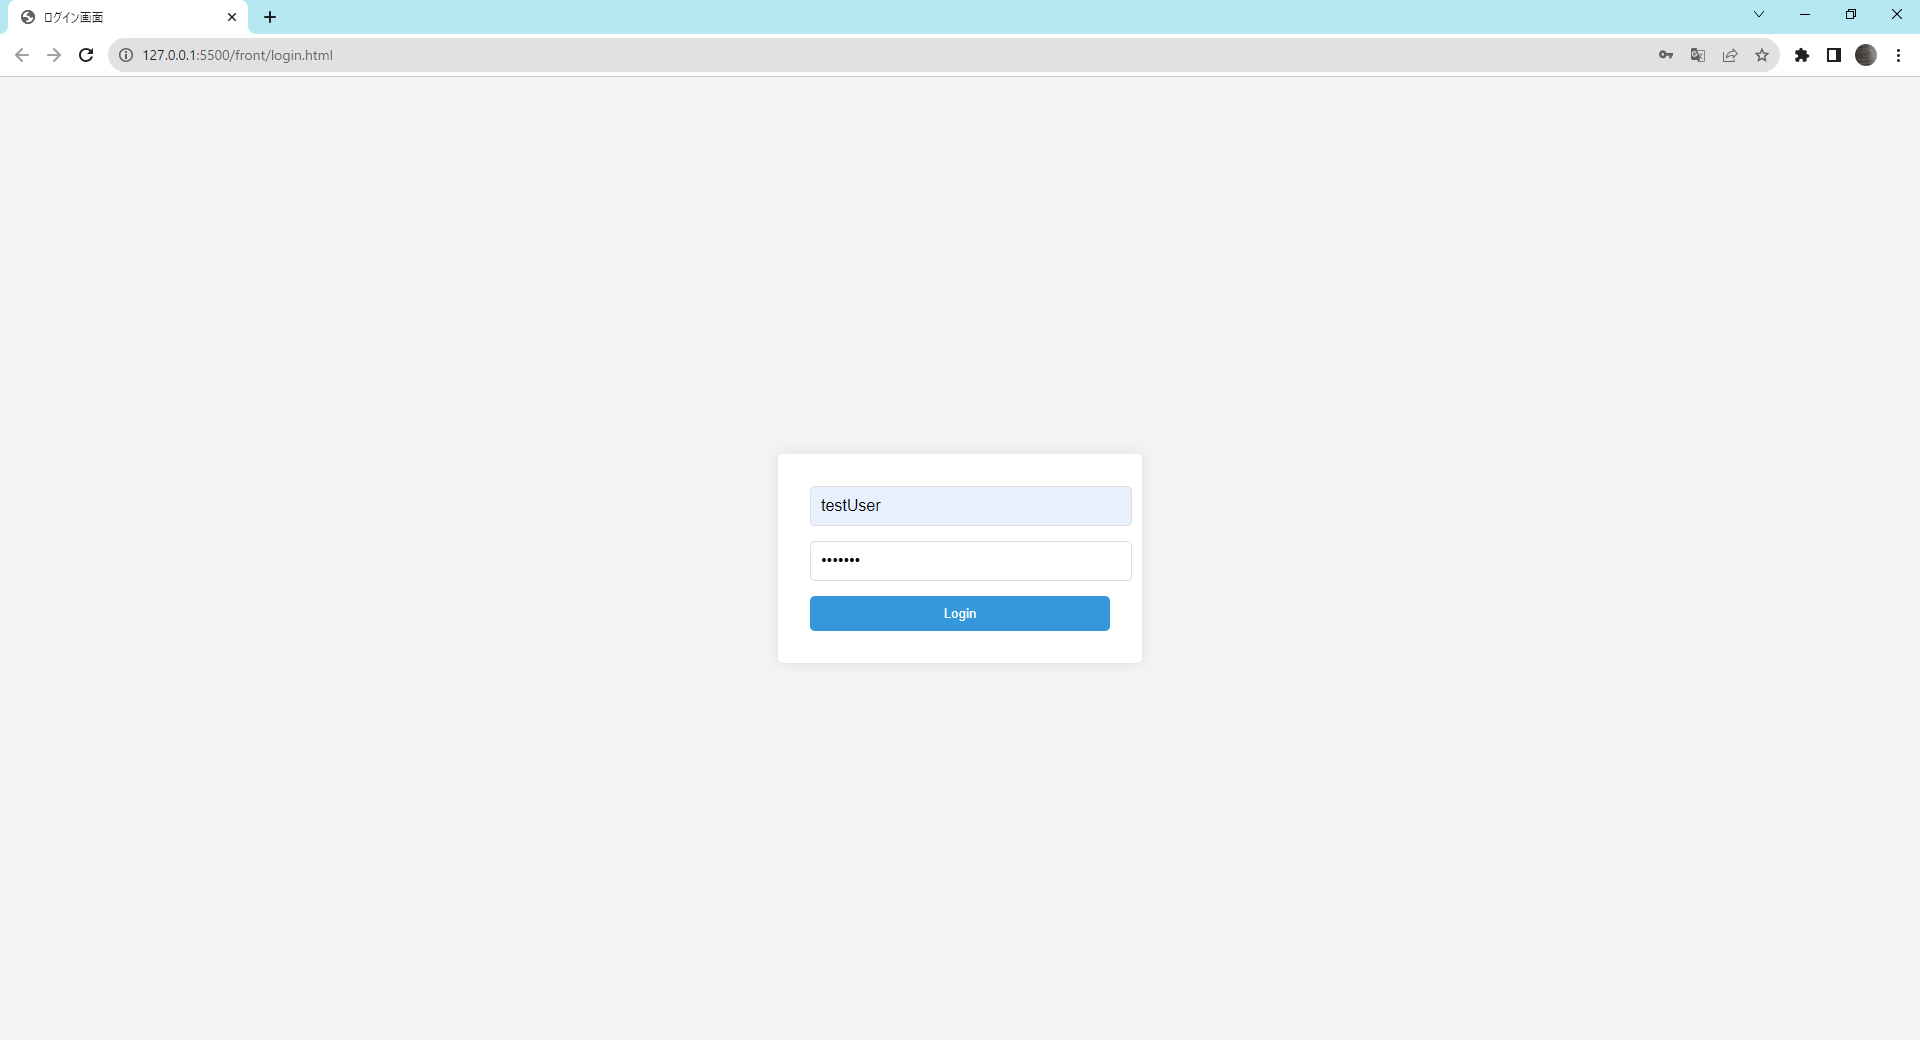
以下のユーザ名とパスワードを入力して、Loginボタンをクリックしてください。
- ユーザ名:testUser
- パスワード:test123
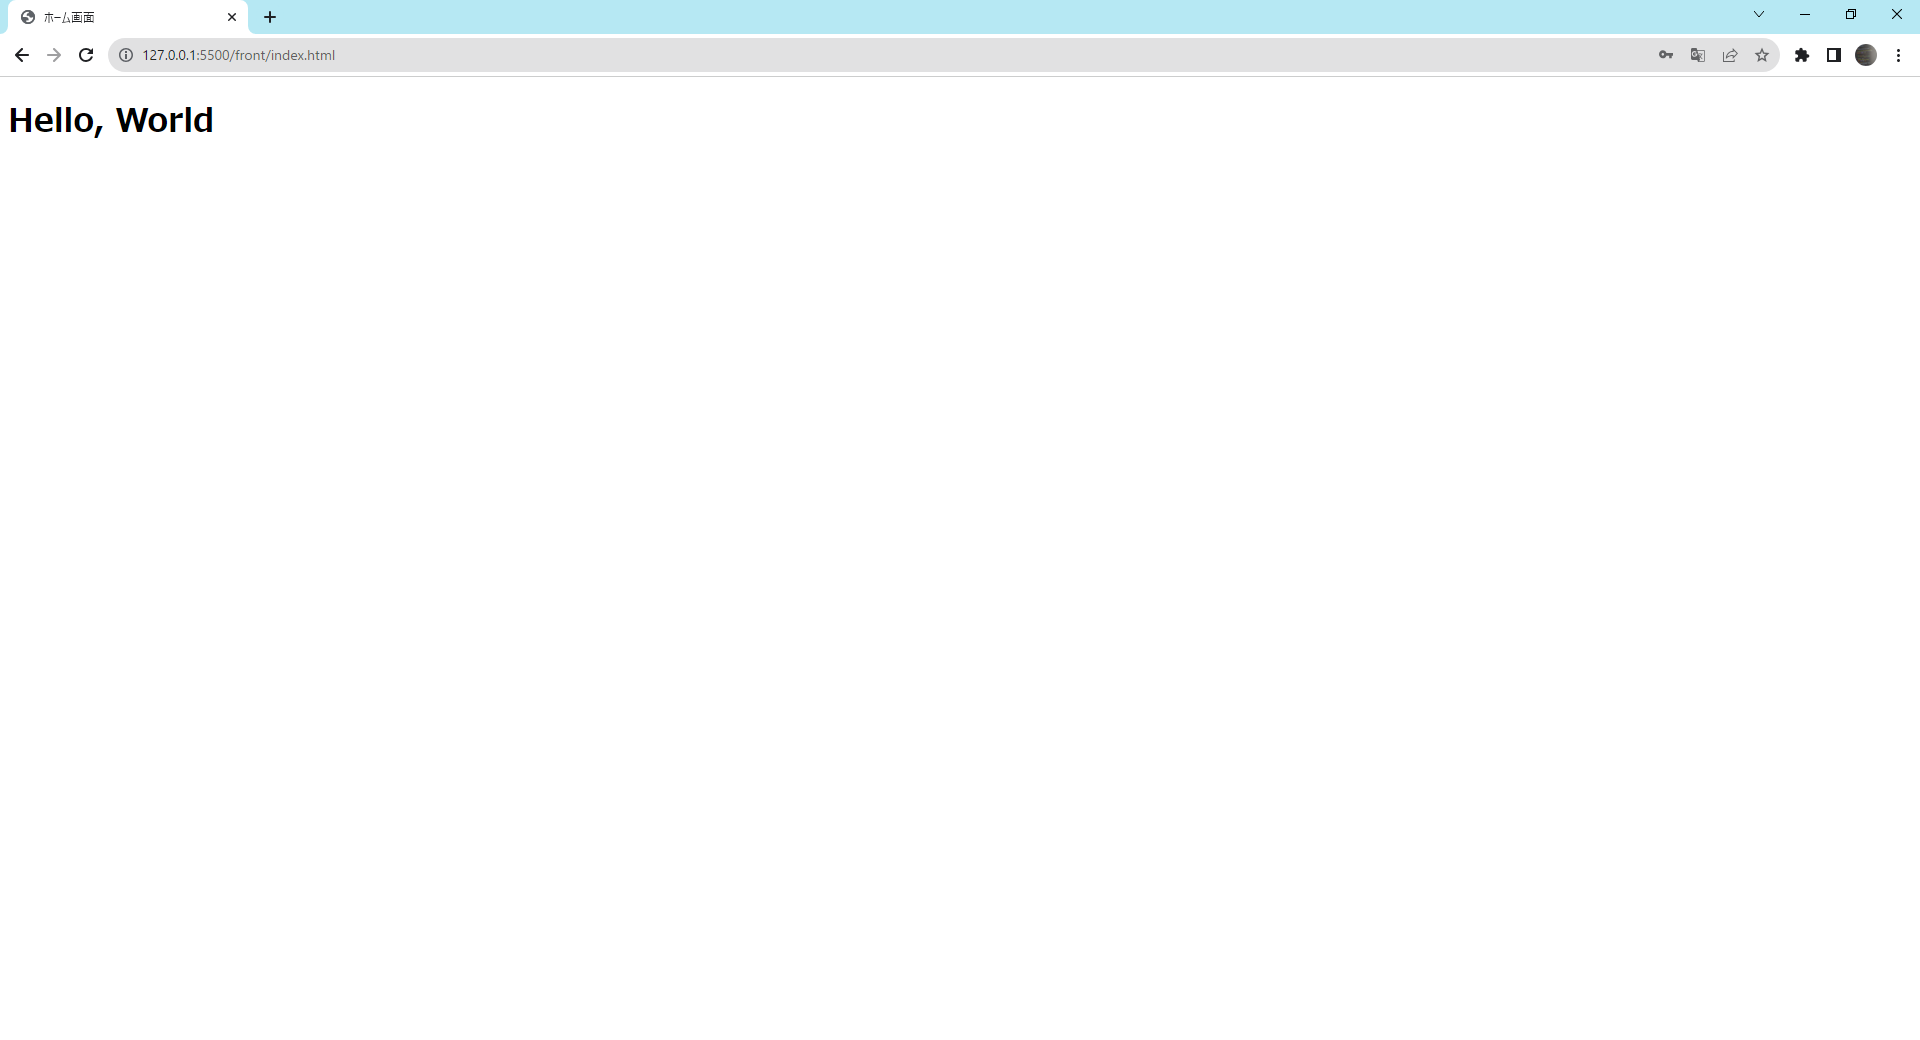
ホーム画面(index.html)が表示されれば成功です。
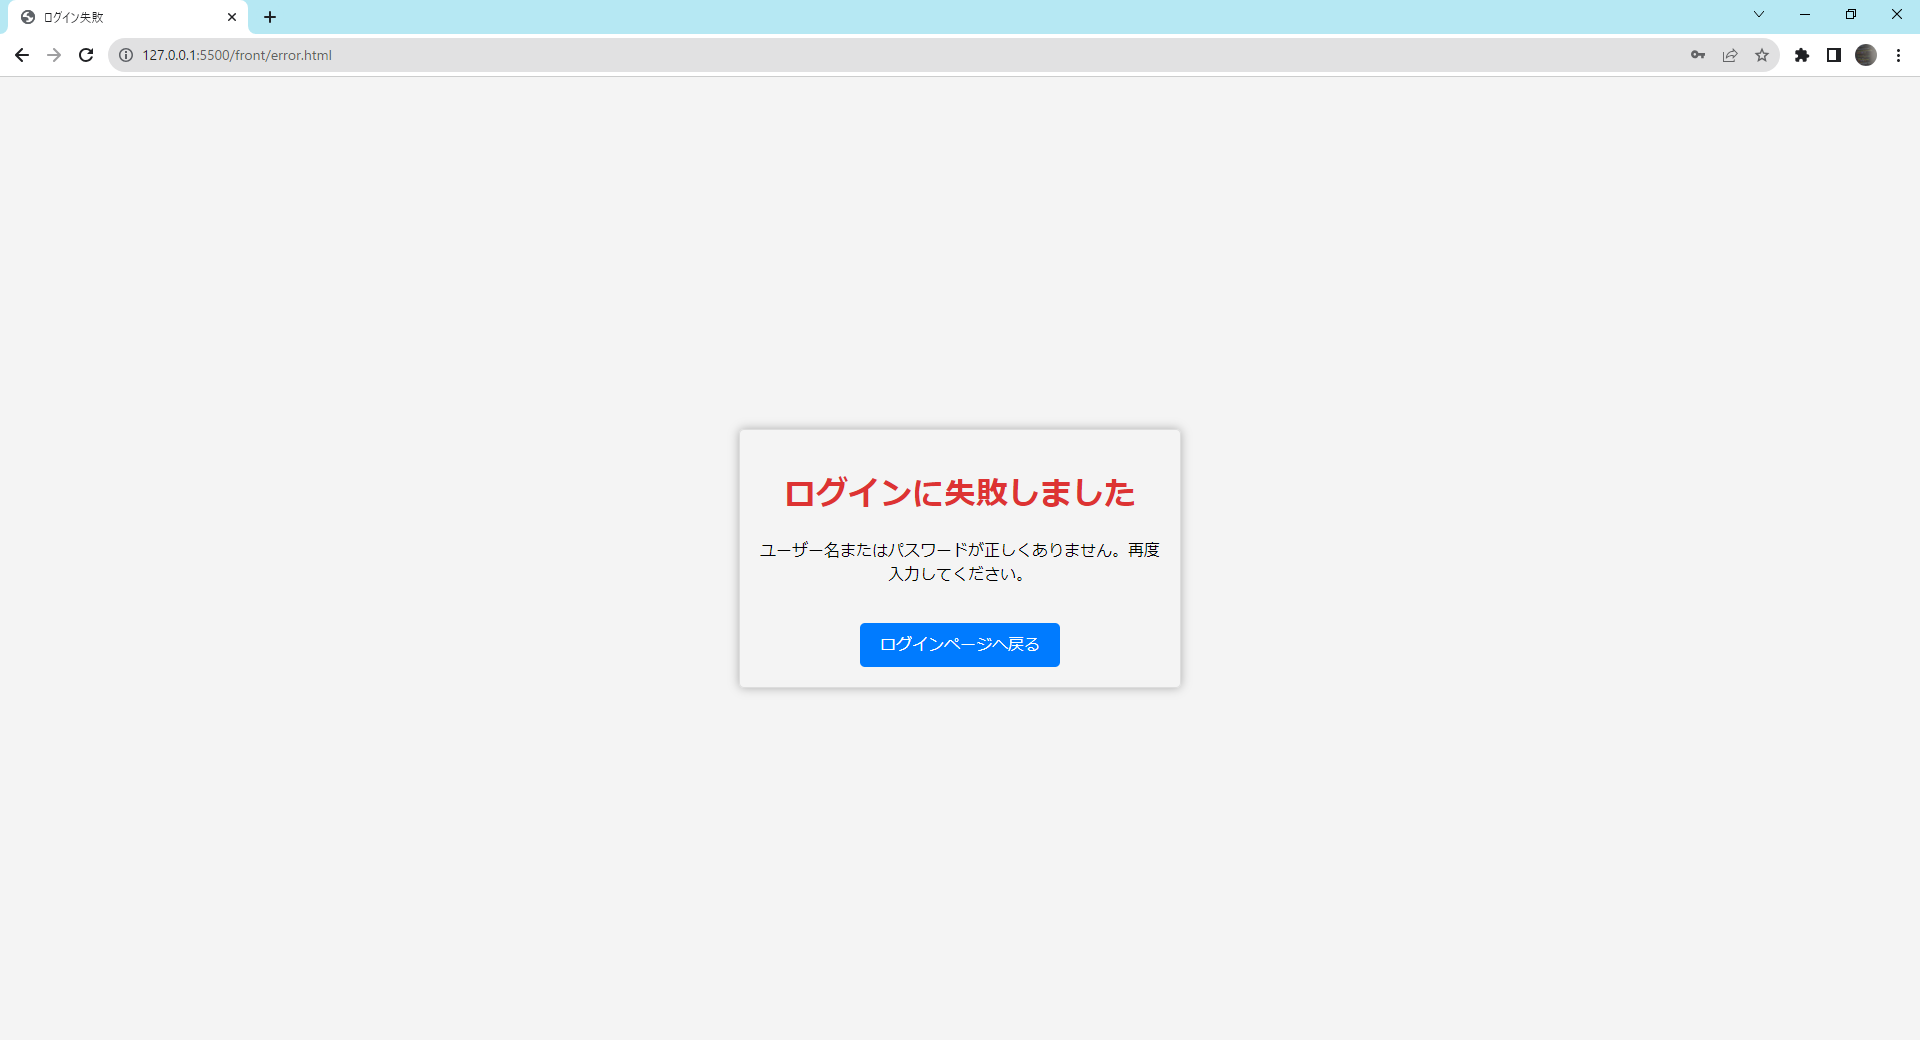
次に、エラー時の確認を行います。
以下のユーザ名とパスワードを入力して、Loginボタンをクリックしてください。
- ユーザ名:testUser2
- パスワード:test000
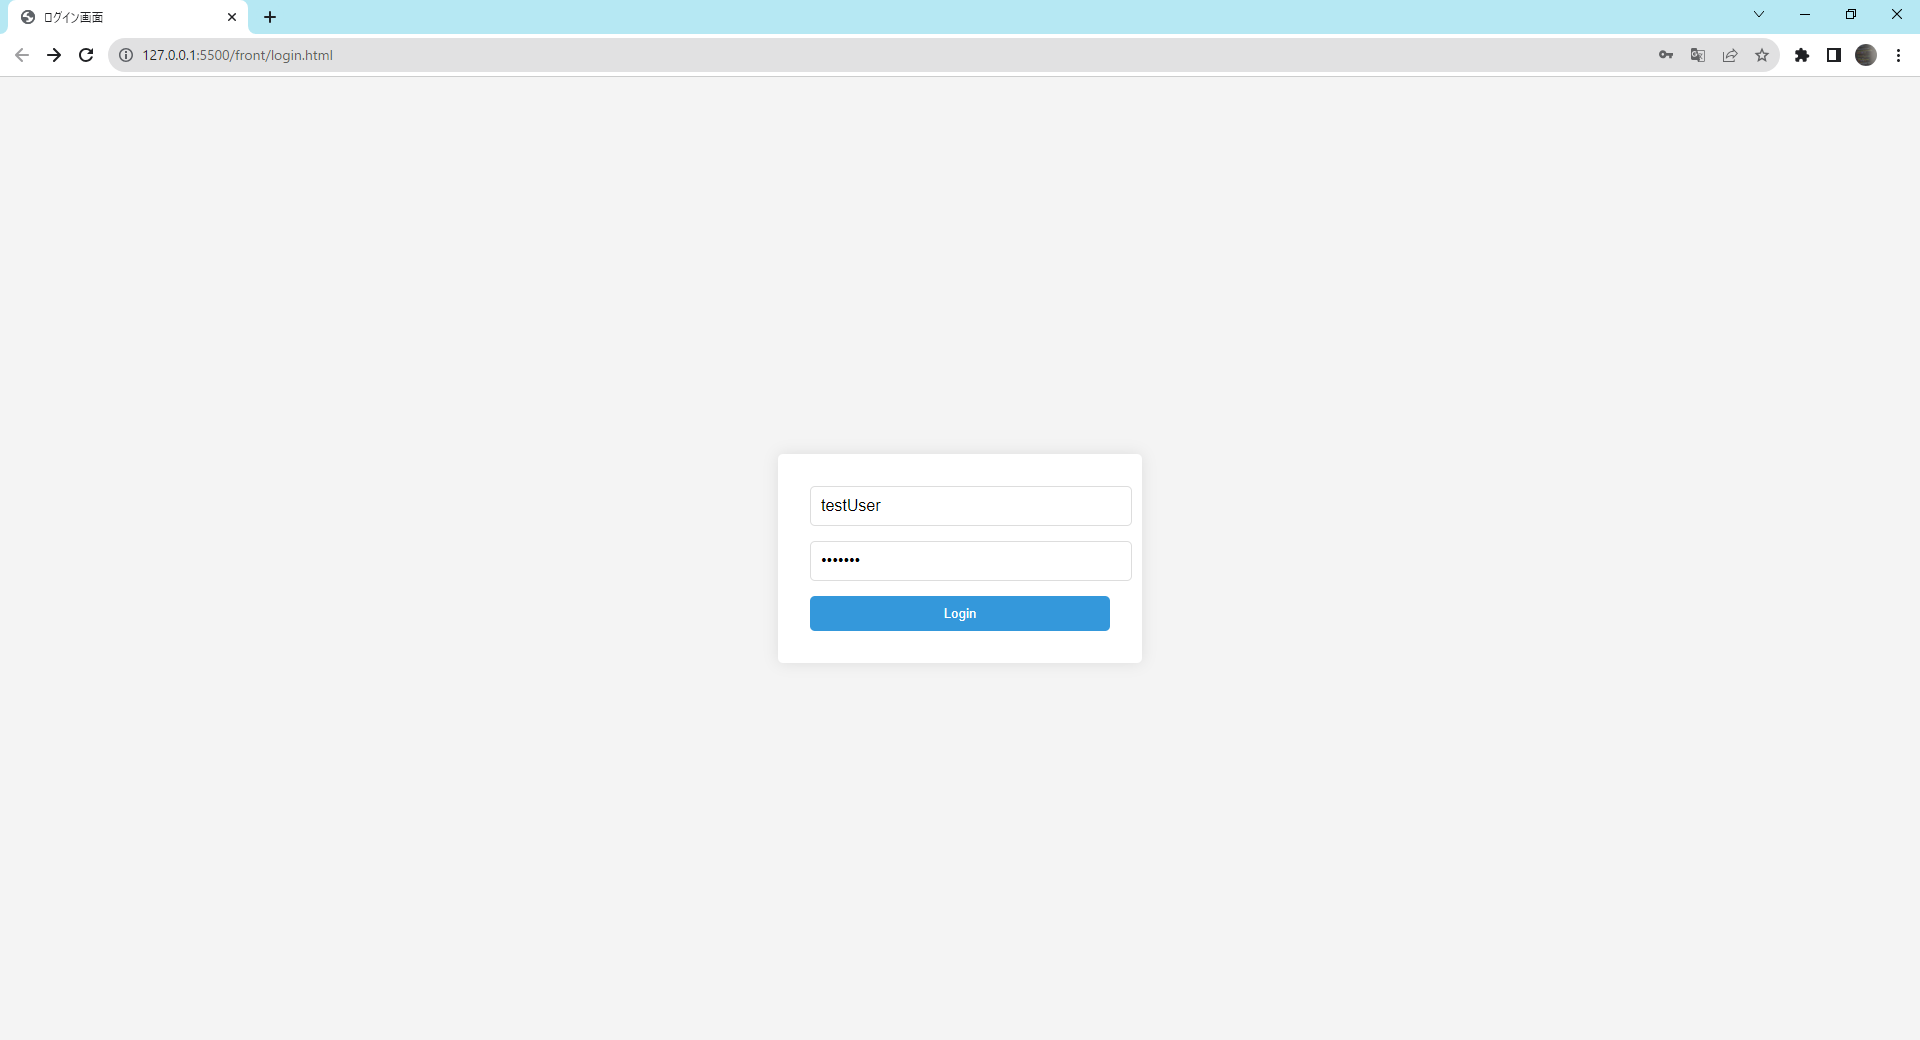
エラー画面(error.html)が表示されれば成功です。
最後に
Part3を完了することで、データベースに保存されたユーザ情報との照合を通じてホーム画面あるいはエラー画面への遷移が実現できました。これにより、ログインの基本的な機能の実装が完了しました。次のステップ、Part4では、ログアウト機能の実装に取り組みます。これにより、ユーザは安全にシステムから退出することができるようになります。


コメント